Page 2 of 3
Posted: Wed Aug 29, 2012 9:19 pm
by aaronbocknek
yay for the shop mate keeping a look out.
Posted: Wed Aug 29, 2012 10:17 pm
by gettaway
Posted: Sat Sep 01, 2012 1:19 pm
by gettaway
Posted: Sun Sep 02, 2012 10:01 am
by gettaway
Posted: Sun Sep 02, 2012 10:51 am
by aaronbocknek
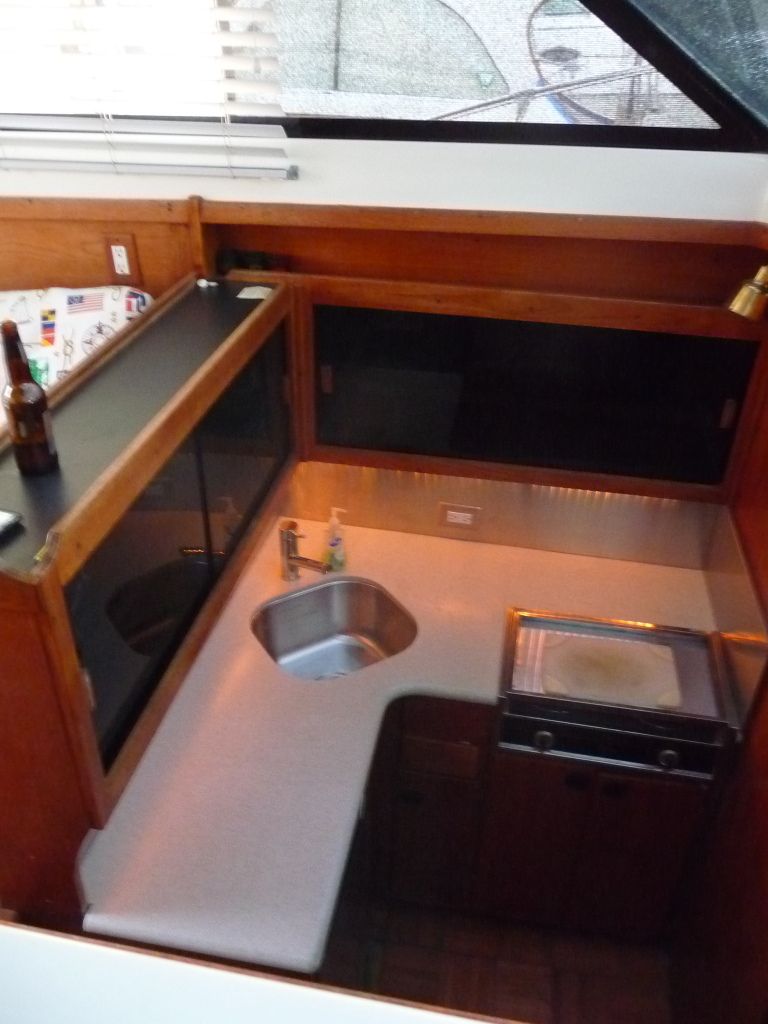
stunningly elegant, no two ways about it. it's absolutely amazing how just some cosmetic upgrades make these ladies shine. now i'm actually thinking about an upgrade to ENTERPRISE's galley. what i'd love to do is get rid of the 10cu foot energy hog of a refrigerator and get an over/under model, that way i can gain about 24"of counter space. maybe after i pay down some of these medical bill$$$$.
sent you a PM.
aaron in baltimore
Posted: Sun Sep 02, 2012 12:27 pm
by Vitaliy
wow that looks VERY nice
Posted: Sun Sep 02, 2012 12:34 pm
by yorklyn
Looks Great! Impressive update. Where did you find the new sinks? I love the deep galley sink. Never worked with corian but there is a discount place near me that sells left over corian pieces and overstock. did you just glue an extra piece to the underside of the front lip and round it with a router?
Good choice on the color, they really look good.
Posted: Sun Sep 02, 2012 2:22 pm
by summer storm
Looks great

Looks like one more project on my list

Posted: Mon Sep 03, 2012 1:52 pm
by gettaway
Todd,
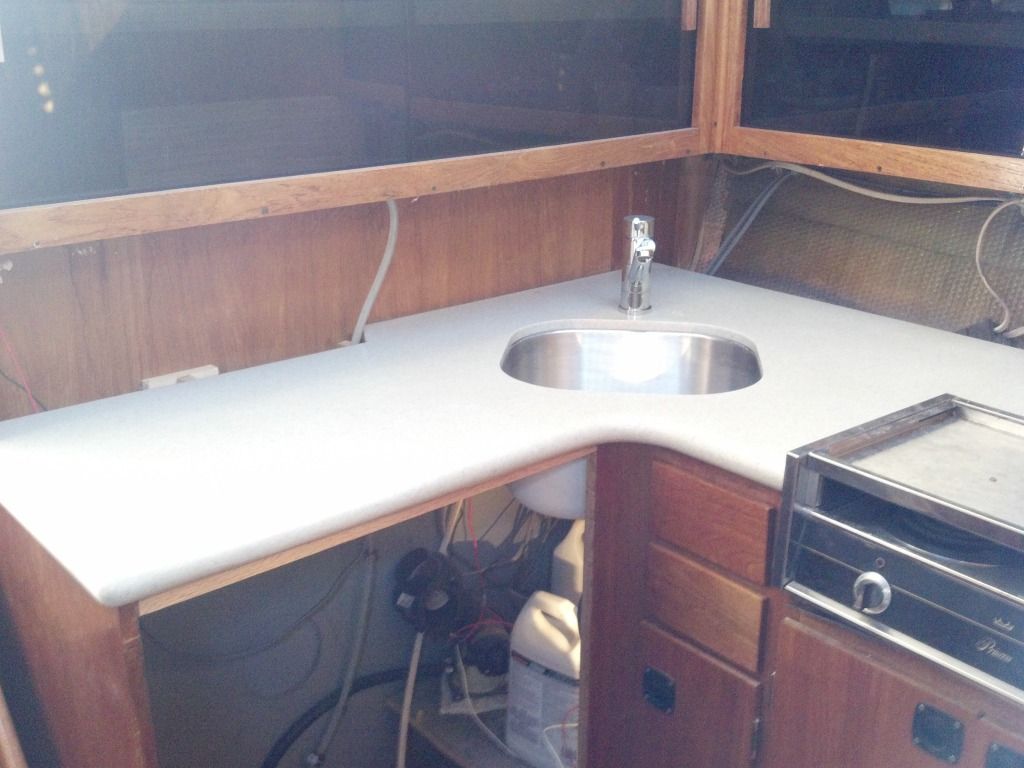
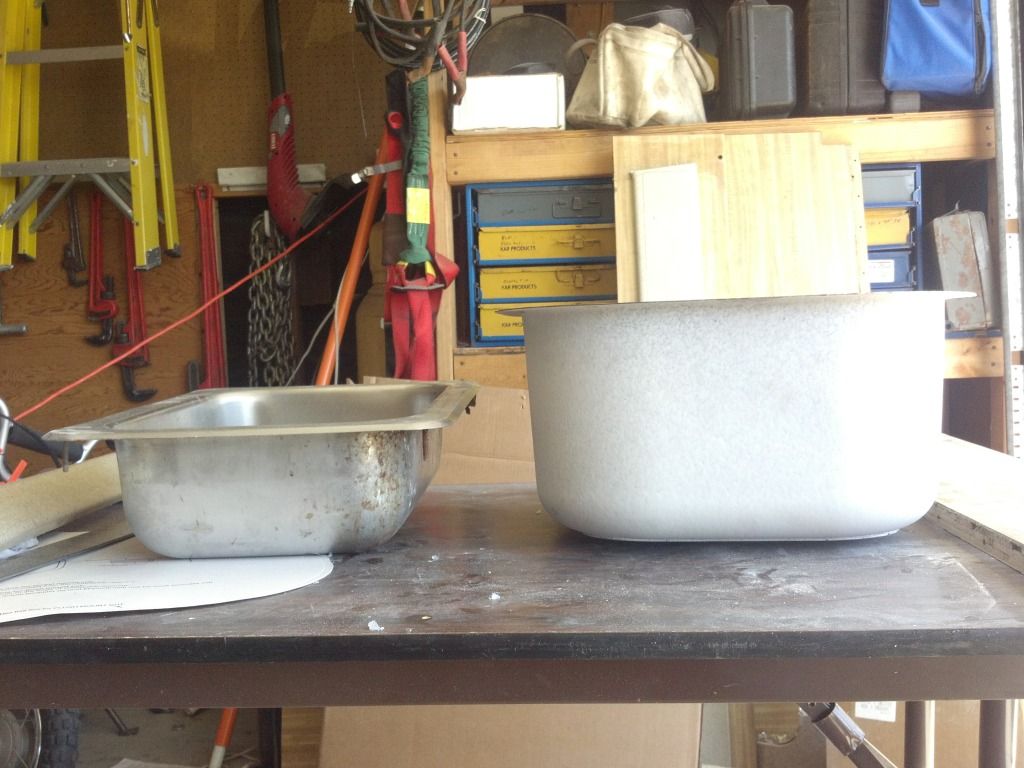
thanks for the note, I ordered the galley sink from "mr direct"
http://www.mrdirectint.com/kitchen-sink ... mount.html
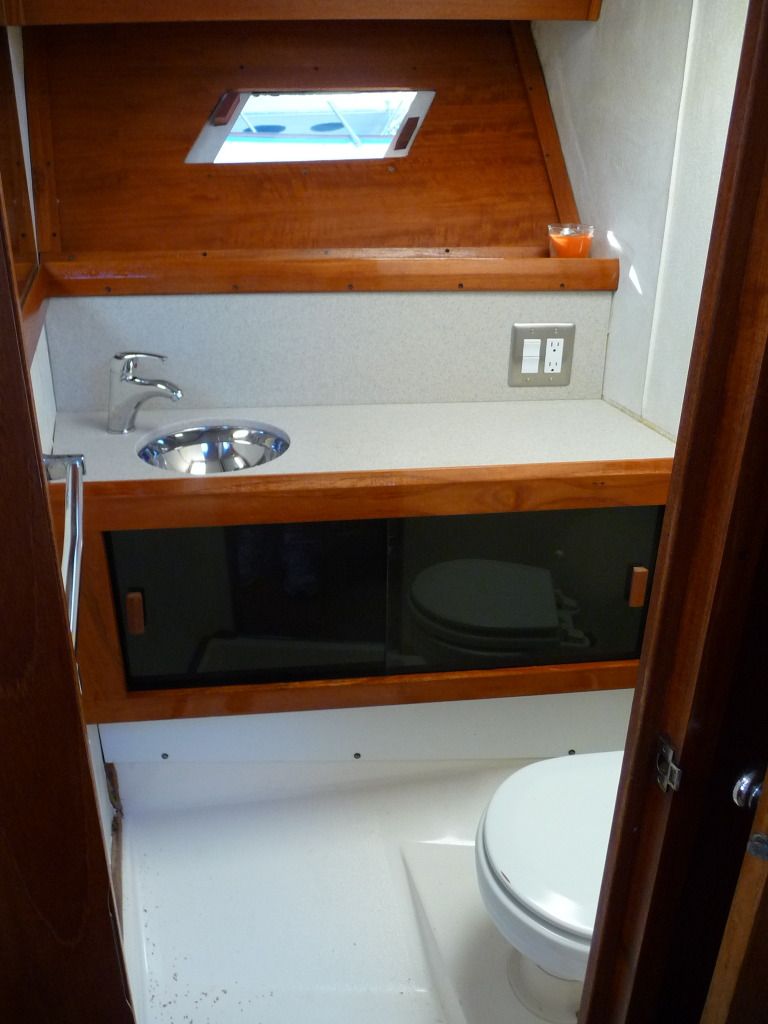
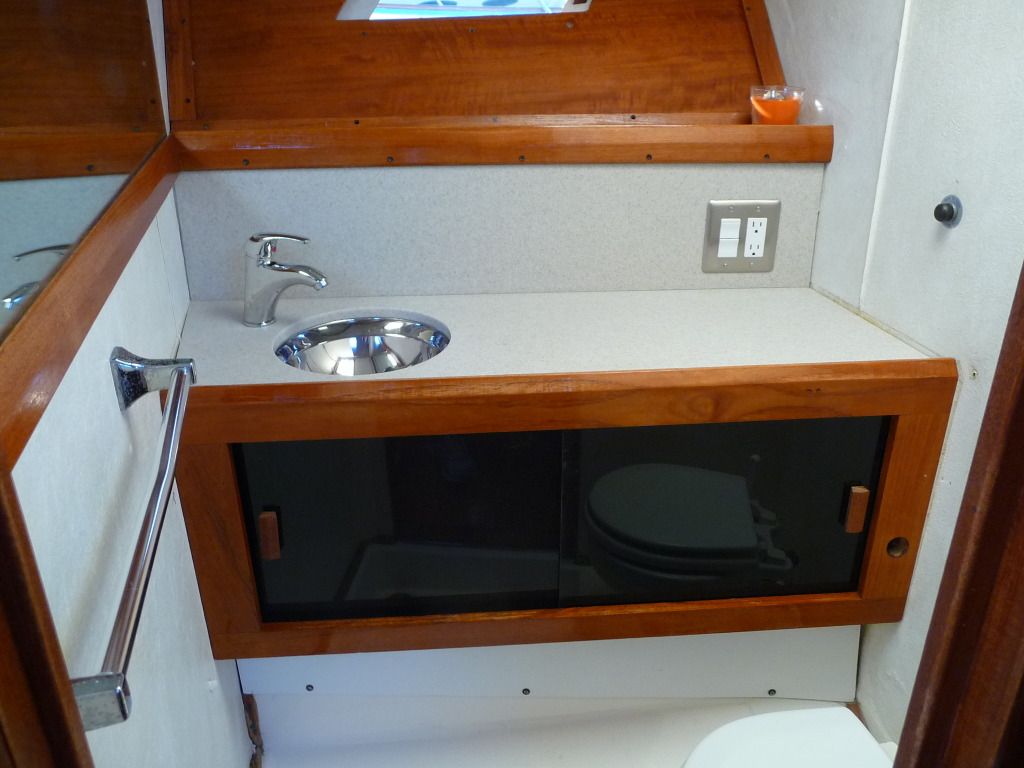
I got the head sink from Westmarine, they had it in stock and in the small diameter required for the small vanity top in the Trojan. It cost more than the galley sink but still 40.00 off with port supply
I got the sink quickly, and it looks great, completely soundproofed and of a heavier gauge than the cheap home depot or Ikea versions.
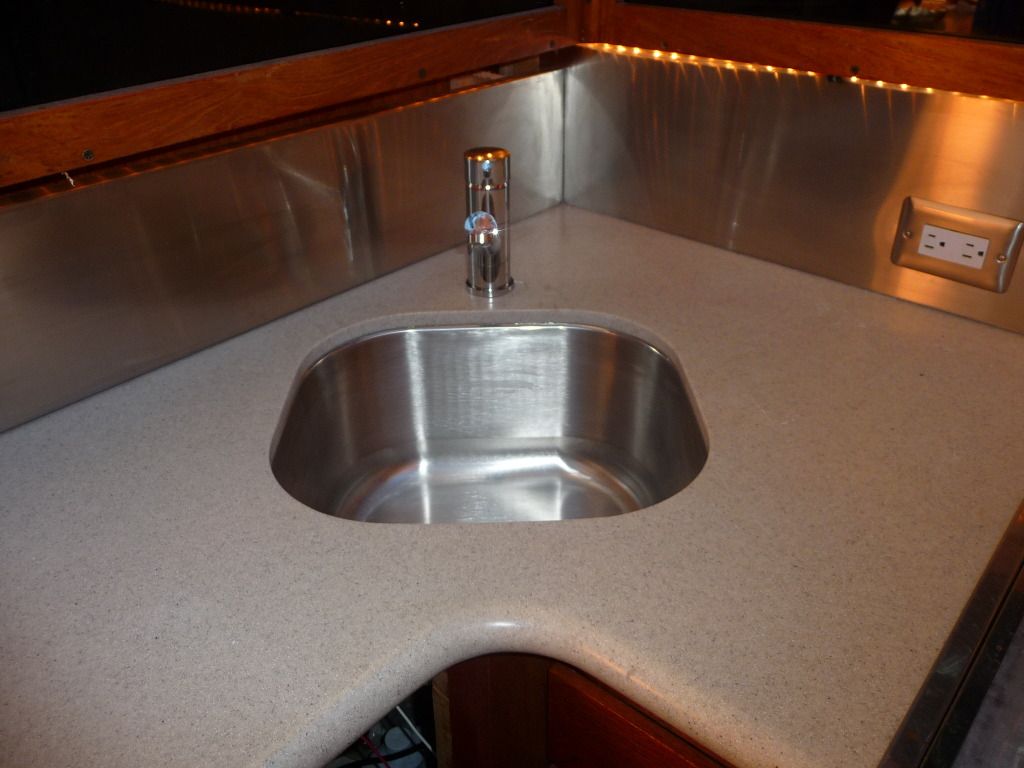
As far as the rounded edge, they were already on the corian peice and this added to the complexity of the project as I has to match and fit the edges, inside and outside courners, rememeber, I got the corian from a home kitchen wreck out.
I ordered the Corian adhesive and the "cheap" glue gun from Glue Warehouse,
http://gluewarehouse.com/
I matched the corian color and pattern from the corian website color chart and then ordered the appropriate adhesive.
I found the Corian fabricators guide online:
http://www2.dupont.com/Surfaces/en_US/a ... inting.pdf
and I followed the instructions that applied to my project
exactly
including the sink cutouts, the part of the corian project I was most concerned with hopeing to not screw it up, as I didnt have enough matgerial to correct the corner if I screwed up the cut.
I took my time and planned every cut and every piece very carefully and would hold my templates over my corian pieces before cuts and glueing to make sure I had the cuts, and orientation correct.
in the end, I had to buy a glue applicator, mixing tips and a 2HP router with a 1/2" collet, my 1-1/2 HP router has a 1/4 collet and I couldnt readily get the carbide router bits of the correct length to cut through the edge not to mention that 2 HP is on the small side according to dupont.
The corian cuts easily with a good bit, but it makes a lot of duct and router chips, so it is very messy , do the work at home and only trim at the boat, (Dupont tells you this on the manual)
Posted: Mon Sep 03, 2012 7:51 pm
by yorklyn
Thanks Scott. The links are a huge help.
Posted: Sat Sep 08, 2012 9:35 pm
by drbbqking
WOW that looks great!!
my wife did ours with a counter paint from rustolium we got it from Home Depot and it turns out very nice
Posted: Sun Sep 09, 2012 2:50 am
by aaronbocknek
drbbqking wrote:WOW that looks great!!
my wife did ours with a counter paint from rustolium we got it from Home Depot and it turns out very nice
what a neat idea to do the counter top paint! never even knew a product like that existed. just went to the rust-oleum website to get some idea of how it works etc. i think this would be a great project for me in the late fall. i absolutely HATE the fake cork counter top and back splash that trojan used in the late 1980's. i'm thinking of taupe or canvas. something to make that area a little brighter.
Posted: Sun Sep 09, 2012 7:59 am
by RWS
great stuff !!
RWS
Posted: Tue Sep 11, 2012 11:57 am
by gettaway
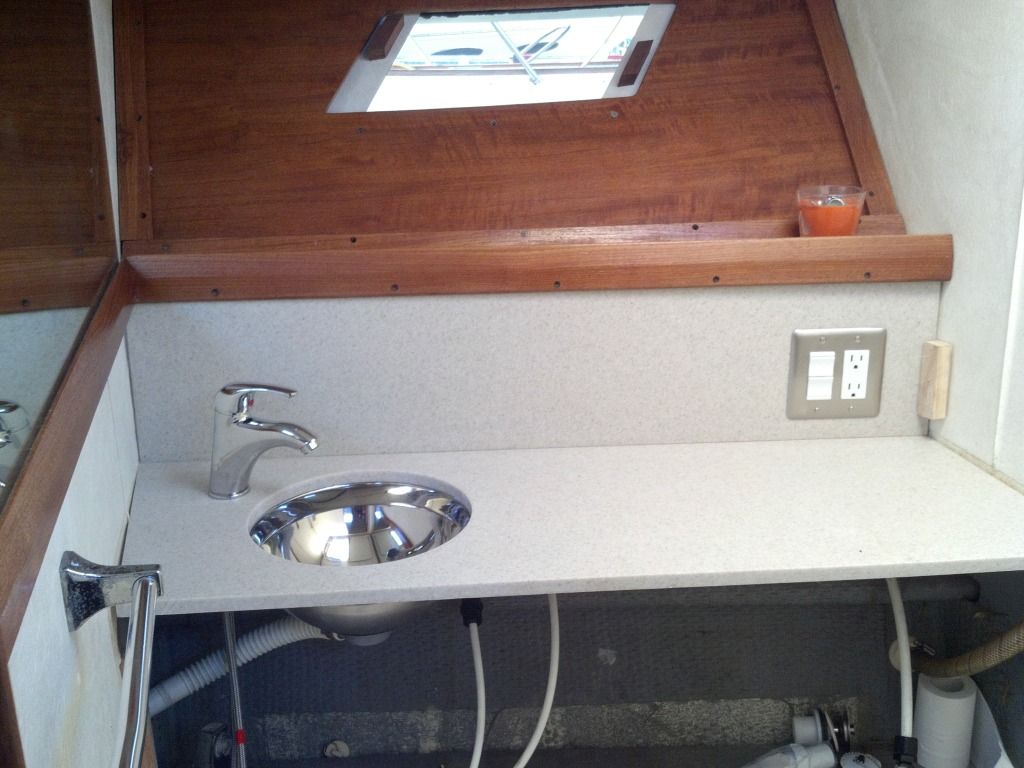
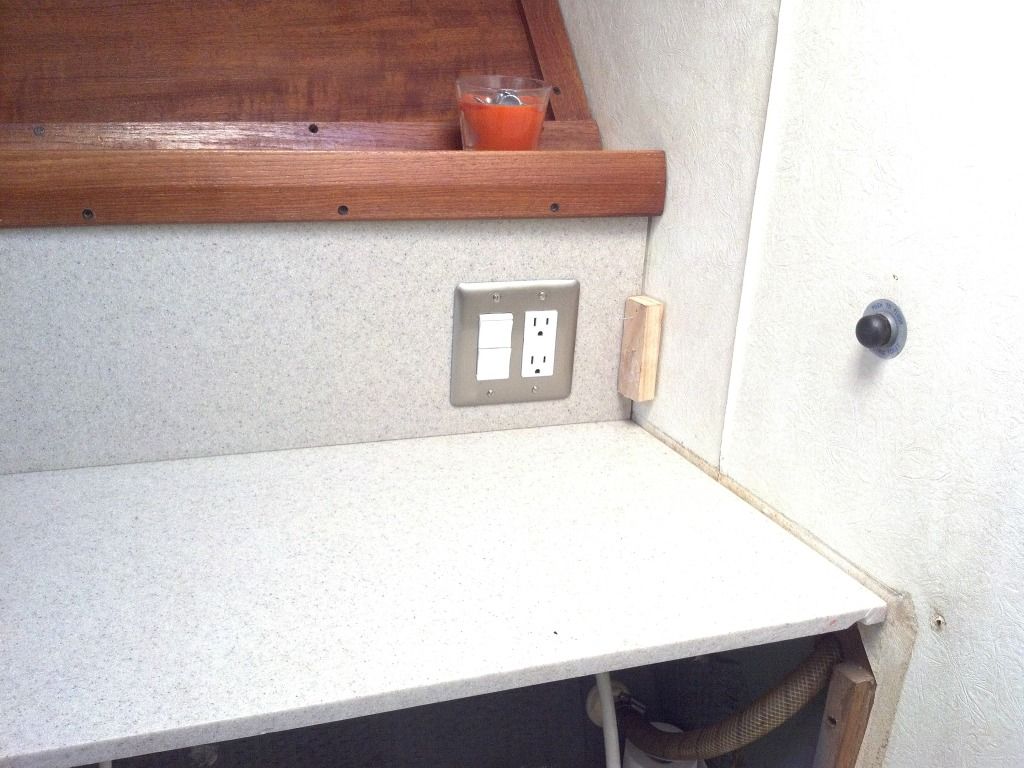
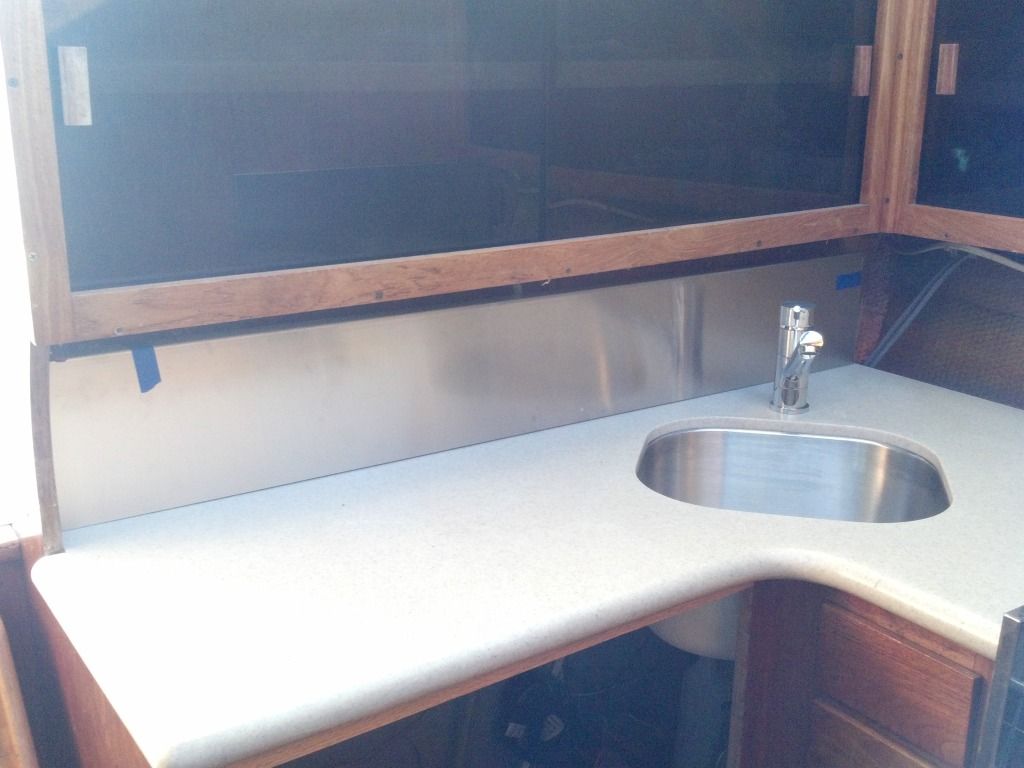
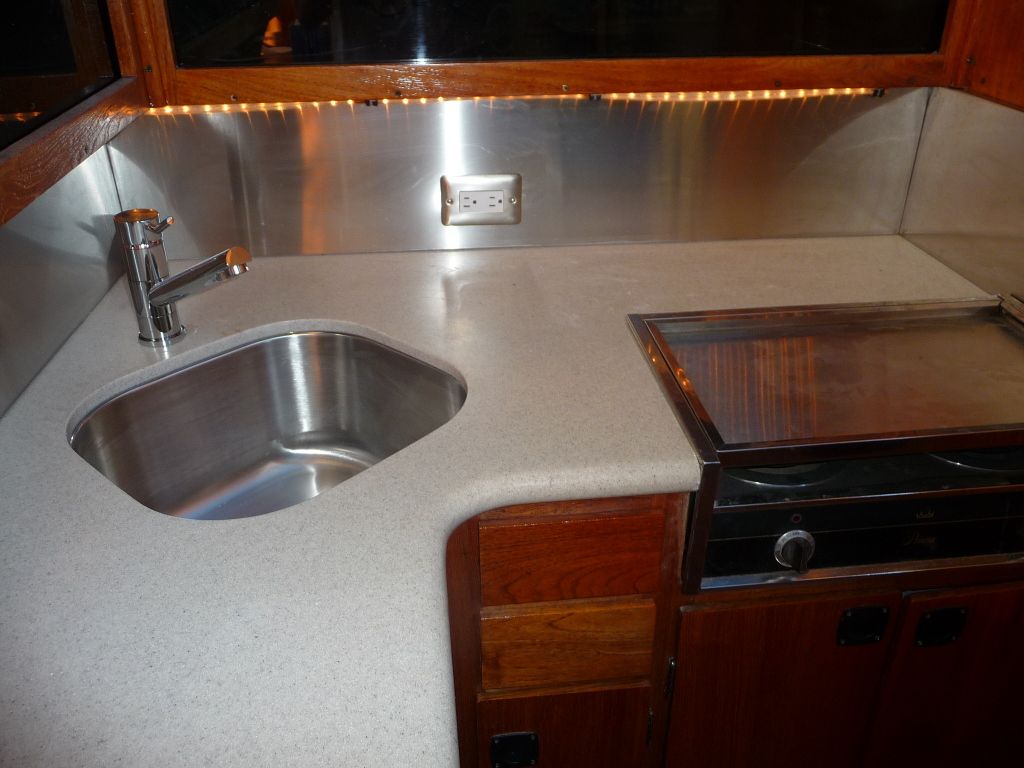
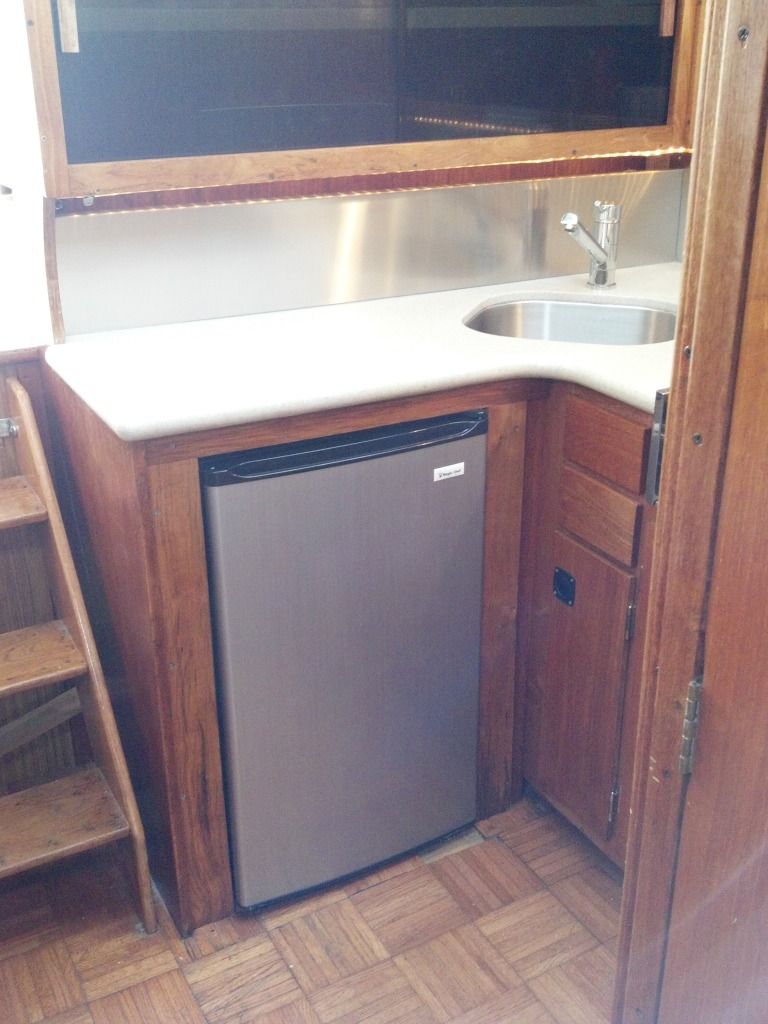
here are a couple of up date photos of the project
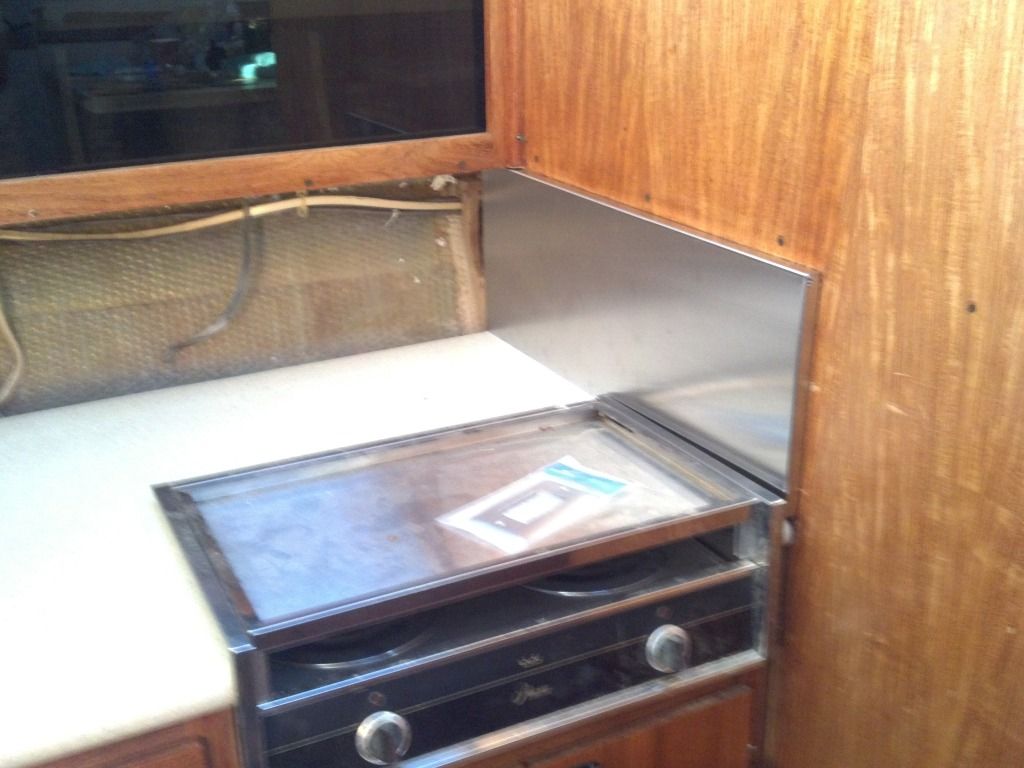
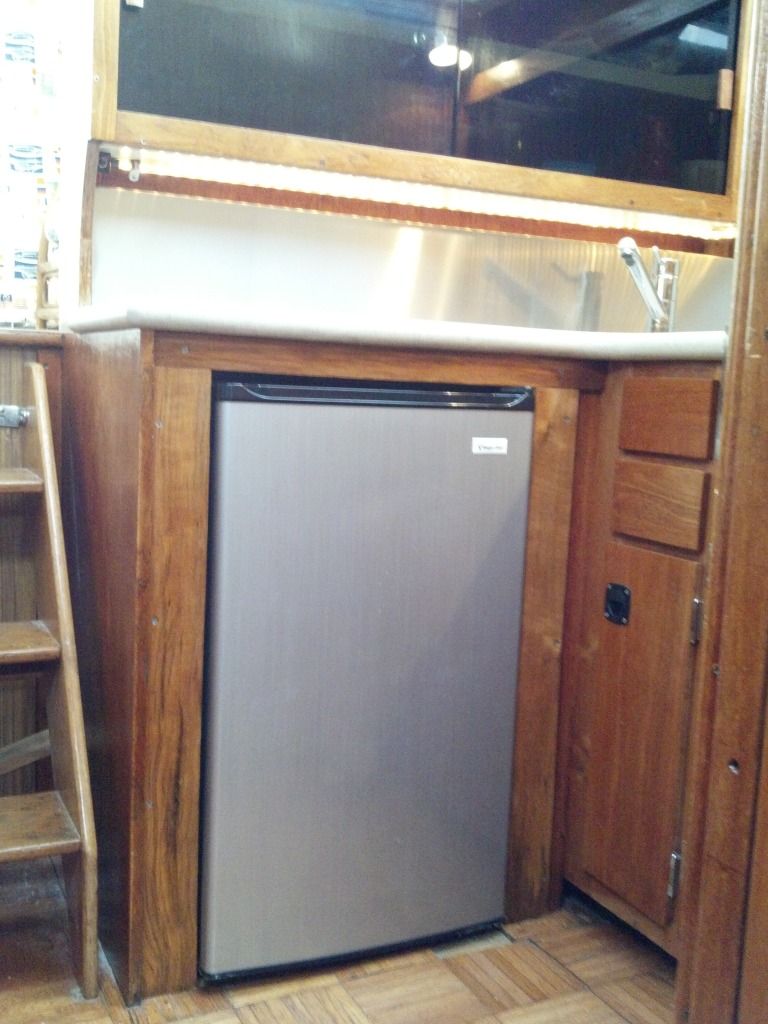
I spent a little of my "recovery time" finishing the details, I kept tring to figure a way to finish off the refridgerator opening around the sides and top of the fridge in an economical way, I finally broke down and just bought teak, $ 50.00 for two boards, Frost Hardwood supposedly gave me the cabinet shop discount...hmmm
My wife said I have spent enough time in recovery and to now get busy on the built in sofa and new floors....

sorry for the glare and i used my Droid camera
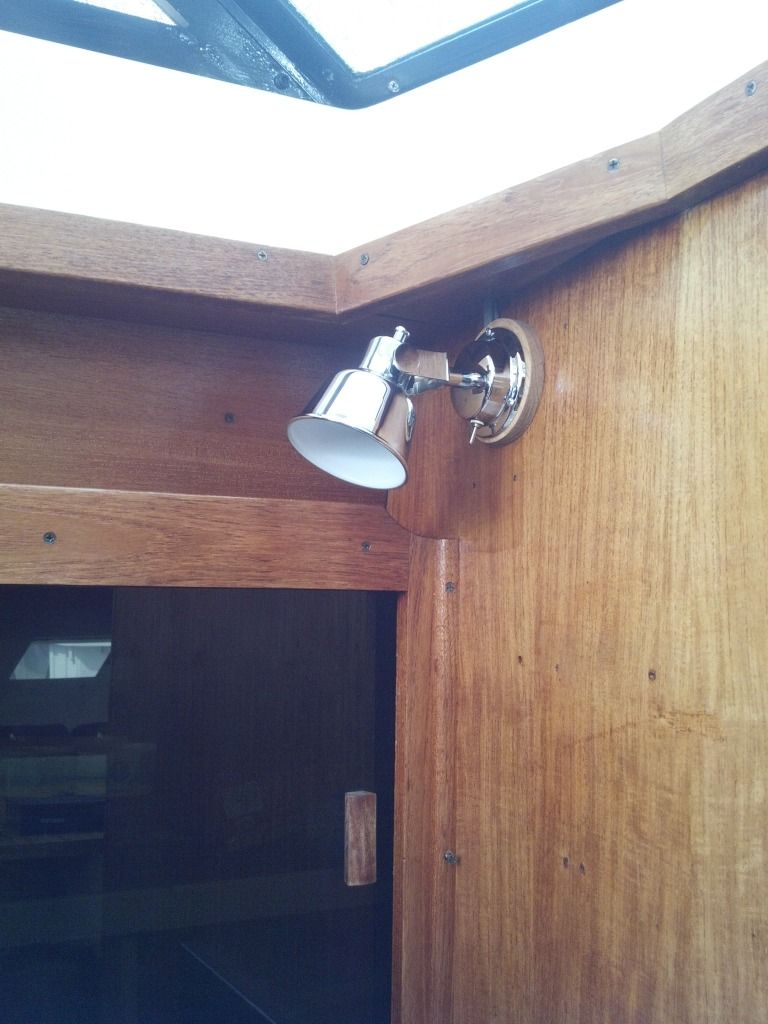
New Light for the galley
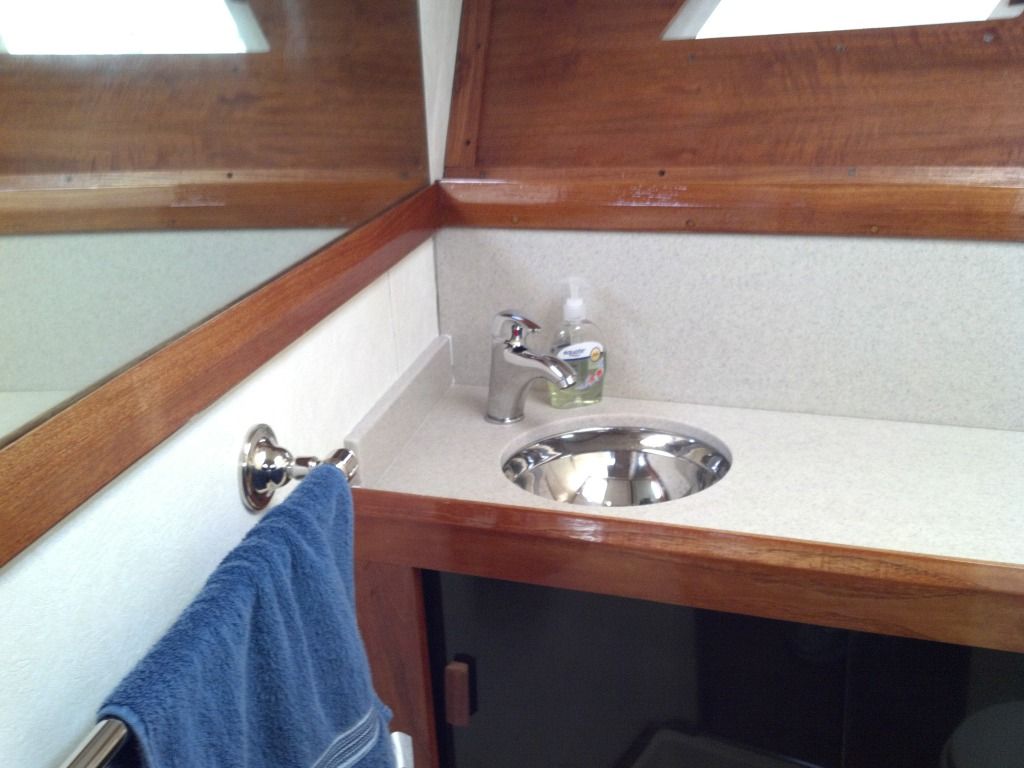
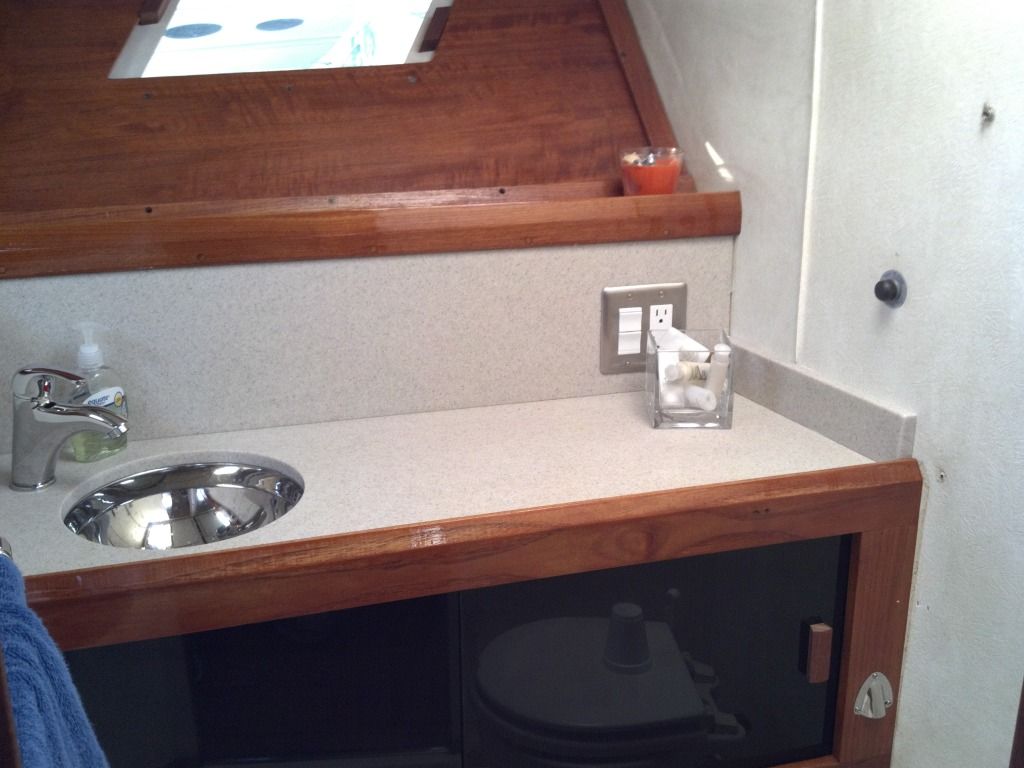
Added the backsplash end pieces and a new towell rack
Posted: Tue Sep 11, 2012 1:04 pm
by summer storm
built in sofa? I just did that
if you need ideas let me know

open for engine access