Page 3 of 14
Re: Project "Tri Fly"
Posted: Sat Dec 12, 2015 12:14 am
by rickalan35
Barrie, there are several YouTube posts relating to packing stuffing boxes.
Re: Project "Tri Fly"
Posted: Sun Dec 13, 2015 9:57 pm
by captainmaniac
Here is one of the good tutorials
http://www.pbase.com/mainecruising/stuffing_box&page=1.
And doing it in the water is not a big deal - just be prepared. Cut the new packing rings before you undo the nut. Make sure you have proper sized wrenches ready. Stay calm and don't cross-thread the nut putting it back on! When you back the nut off it's not like you have a 1.25" hole with water pouring in - all that is coming in is what can squeeze between the shaft the inside of the stuffing box itself - which has pretty tight tolerances.
Re: Project "Tri Fly"
Posted: Sun Dec 13, 2015 10:36 pm
by Barrie
Thanks for the advice on the stuffing boxes. I spent a couple hours watching videos, and the article from captainmaniac is quite good. thanks!
I will redo mine while I have the drive gear out, and leave myself a reminder of some type to adjust them properly when it's back in the water
I have more pictures from the week I will post when I get to work tomorrow:)
Re: Project "Tri Fly"
Posted: Mon Dec 14, 2015 11:53 am
by Barrie
Re: Project "Tri Fly"
Posted: Mon Dec 14, 2015 12:22 pm
by Paul
Hi Barrie,
The generator looks great however I'm not sure that Tremclad will actually be able to handle the heat. You'll want to keep an eye on it when you first start using it.
Re: Project "Tri Fly"
Posted: Mon Dec 14, 2015 12:40 pm
by Barrie
Paul wrote:Hi Barrie,
The generator looks great however I'm not sure that Tremclad will actually be able to handle the heat. You'll want to keep an eye on it when you first start using it.
Good point...

I will be running it this week and testing the generator output. I'll run it hard for a while and report back the results.
Being water cooled I don't expect it to get all that hot.
Re: Project "Tri Fly"
Posted: Mon Dec 14, 2015 1:41 pm
by Misty
Thanks Barrie for posting the paint you got to match. Valuable details.
Re: Project "Tri Fly"
Posted: Mon Dec 14, 2015 1:43 pm
by Misty
Can you describe pulling the genset?
Re: Project "Tri Fly"
Posted: Mon Dec 14, 2015 4:18 pm
by Barrie
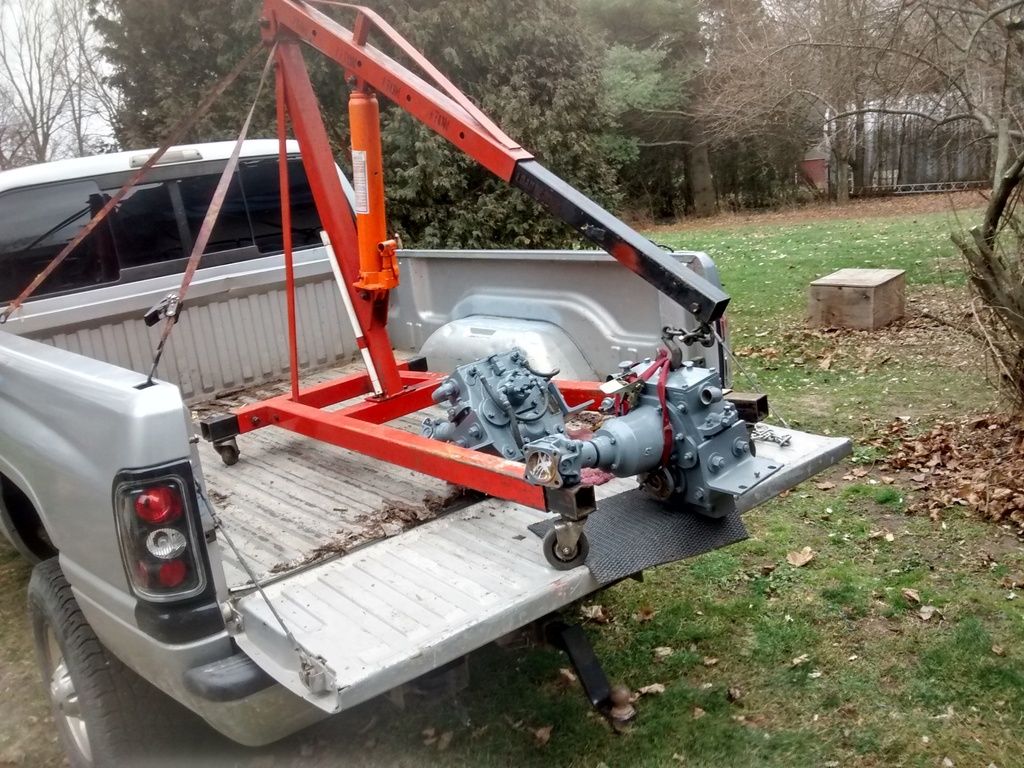
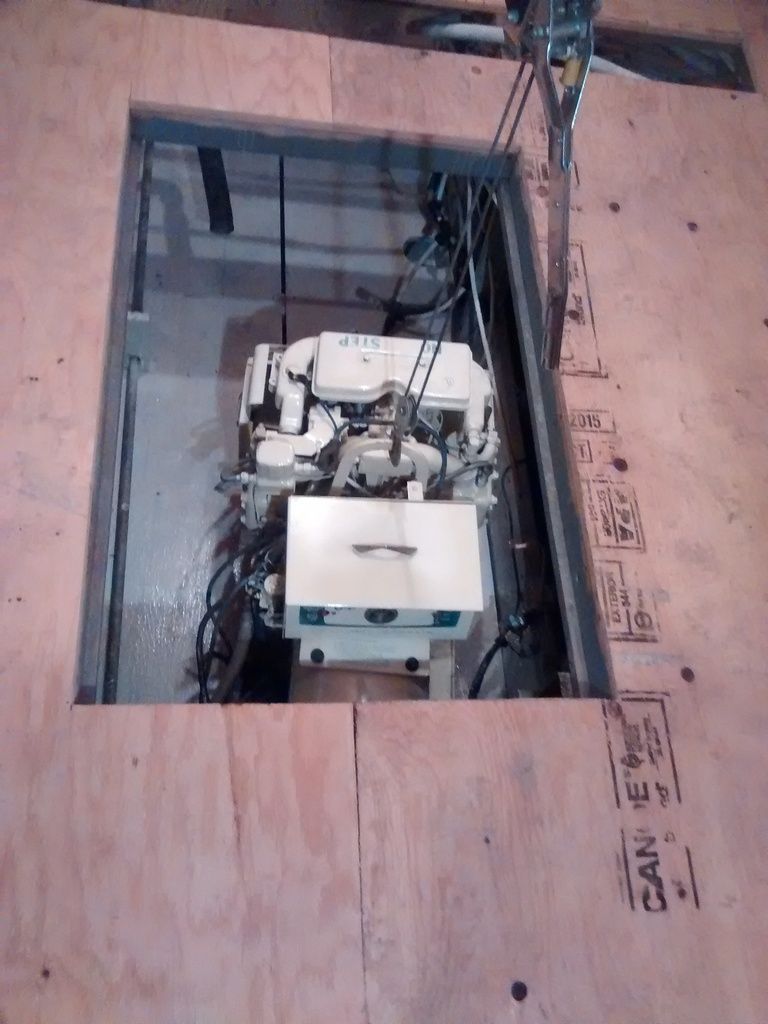
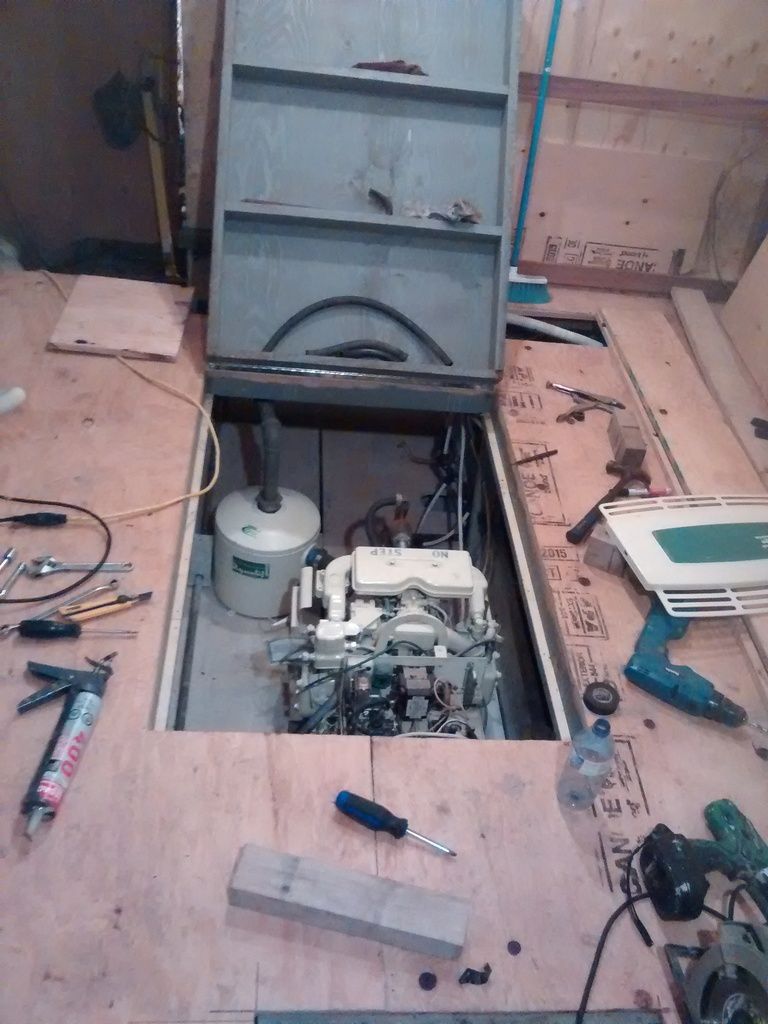
To lift the unit out I screwed together 3 pcs of 2x8 to make a beam about 12’ long. I opened the salon windows and blocked the beam on the gunwale high enough to not touch the window frames (3 2x6 blocks). I used a chain fall to lift it up to the floor then placed 2x6s across the hole.
It weighs about 400lbs I would guess, I was able to slide it around the floor by myself.
I measured it and the salon door and it would fit if you wanted to remove it, I decided to work on it place
Re: Project "Tri Fly"
Posted: Mon Dec 14, 2015 6:34 pm
by Misty
Ok. Here it is storm season and I'd vowed to either have it running or gone by now but I guess I got lazy. Through the salon door would be great. Thanks for that detail.
Re: Project "Tri Fly"
Posted: Wed Dec 30, 2015 1:20 pm
by Barrie
Over the last couple weeks and some holiday time I’ve got a little more work done.
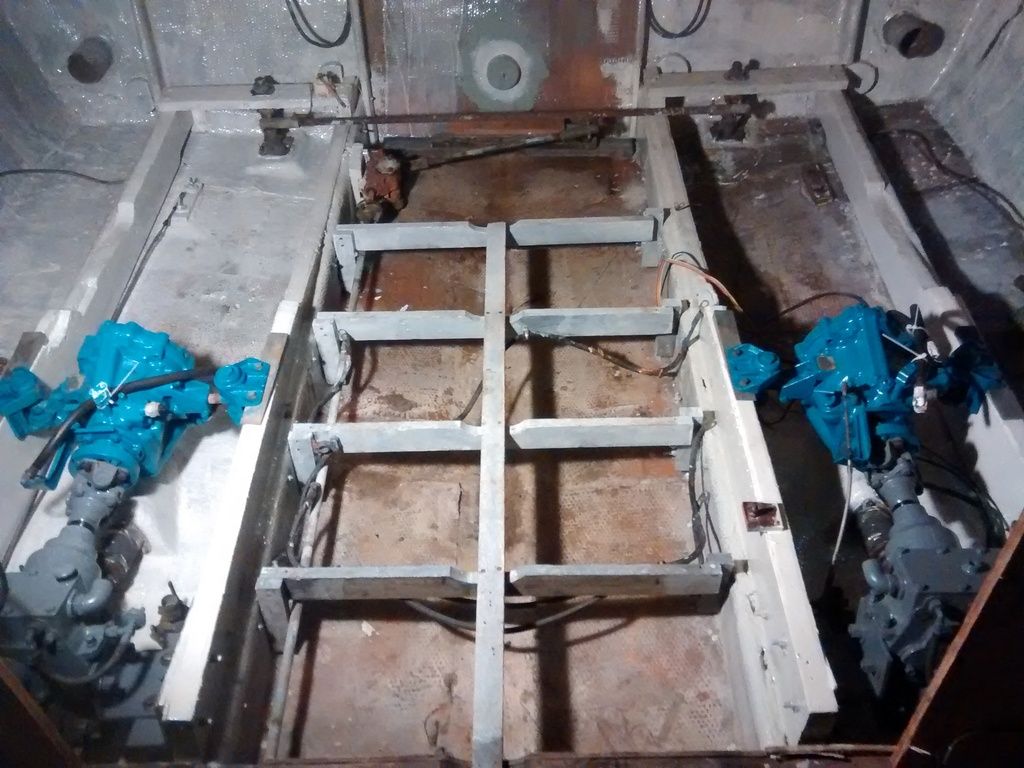
In the engine area I’ve coated the stringers with several coats of thickened resin and most of the rest of the area with one coat.
The stringers are made up of 1 large plank with what looks like ¼†ply wood laminated to the sides. This was starting to pull away, so after running a dehumidifier for a month to dry everything out I poured resin into the voids and ran a couple hundred screws in it, I think it will be ok for another 20+ years.
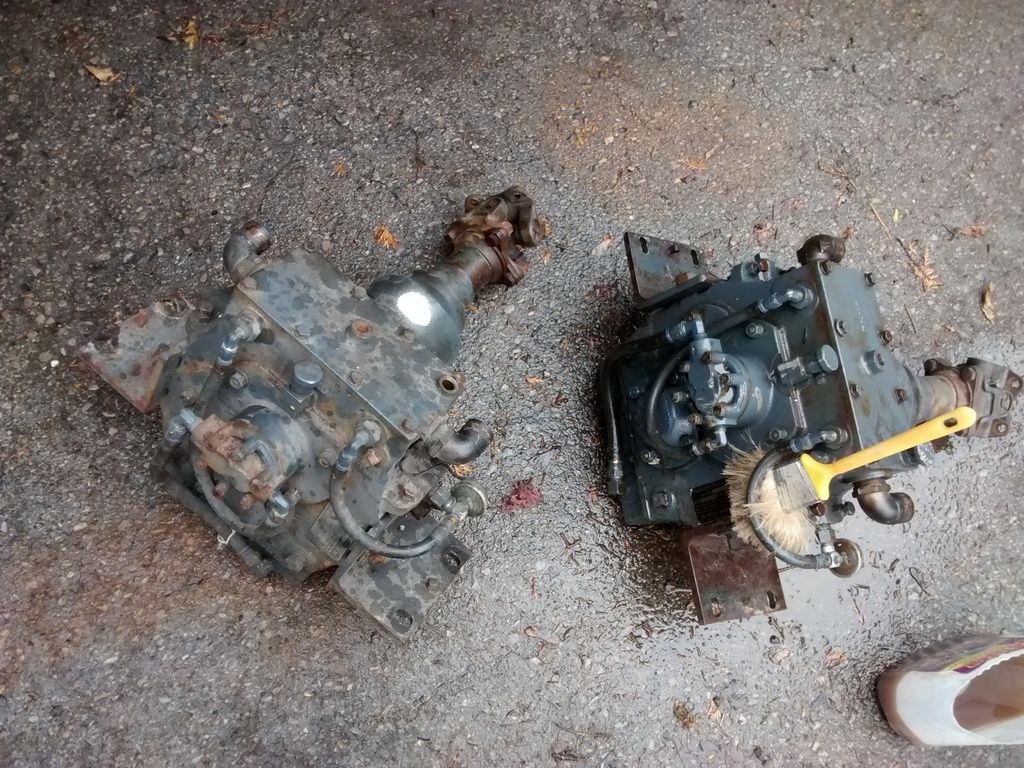
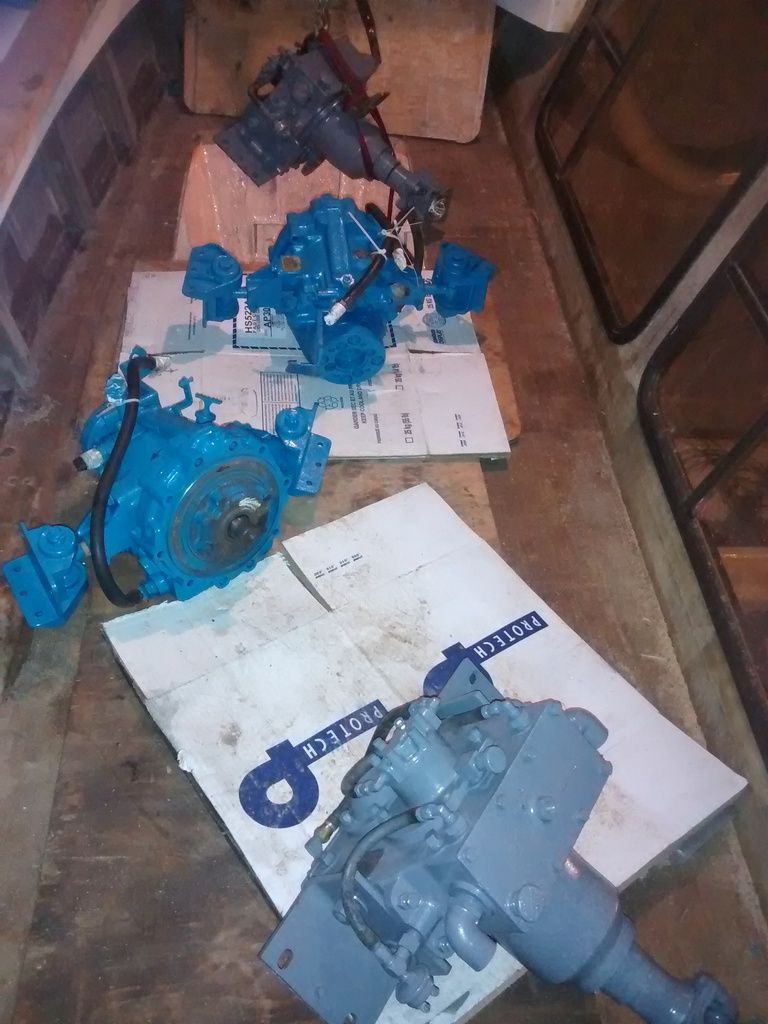
I cleaned the Vdrives, I drained the oil and had some tested for contamination to see if there were any signs of gear wear. All was good, input seal was changed.
Transmissions were cleaned and my brother in law (transmission guy) gave them a look over and said they appeared good to go. So back in they went.
All the mounts and hardware were marked before removal and put back in as it was, so I assume it’s aligned correctly, after the engines are installed I’ll do a little research on that!
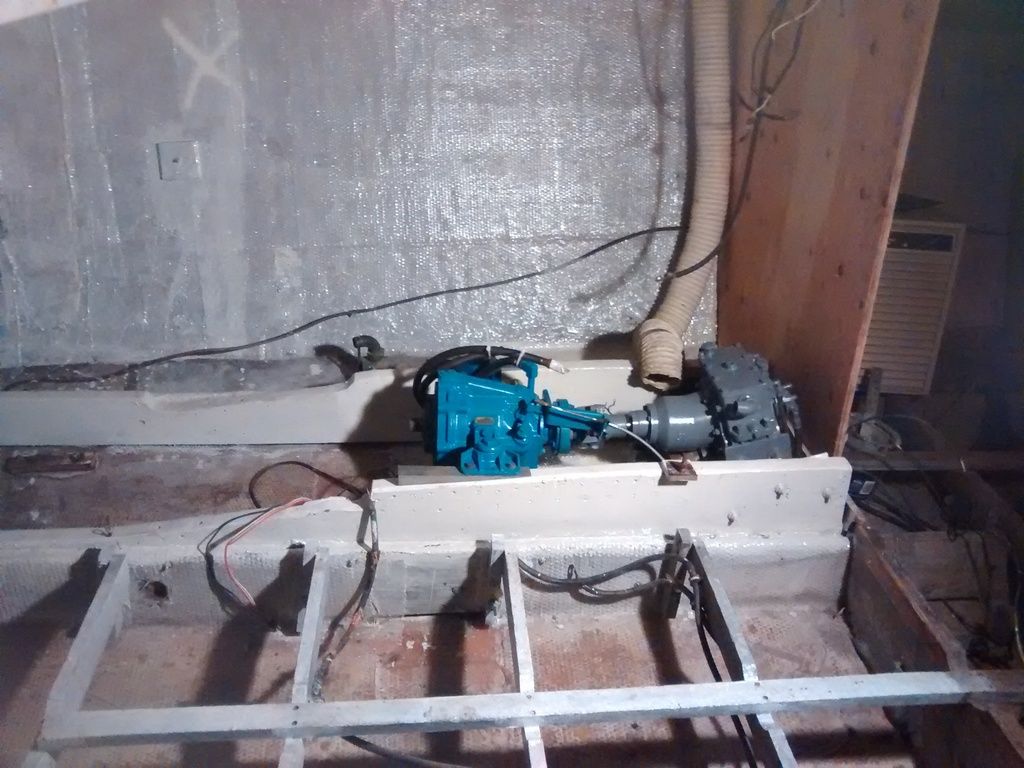
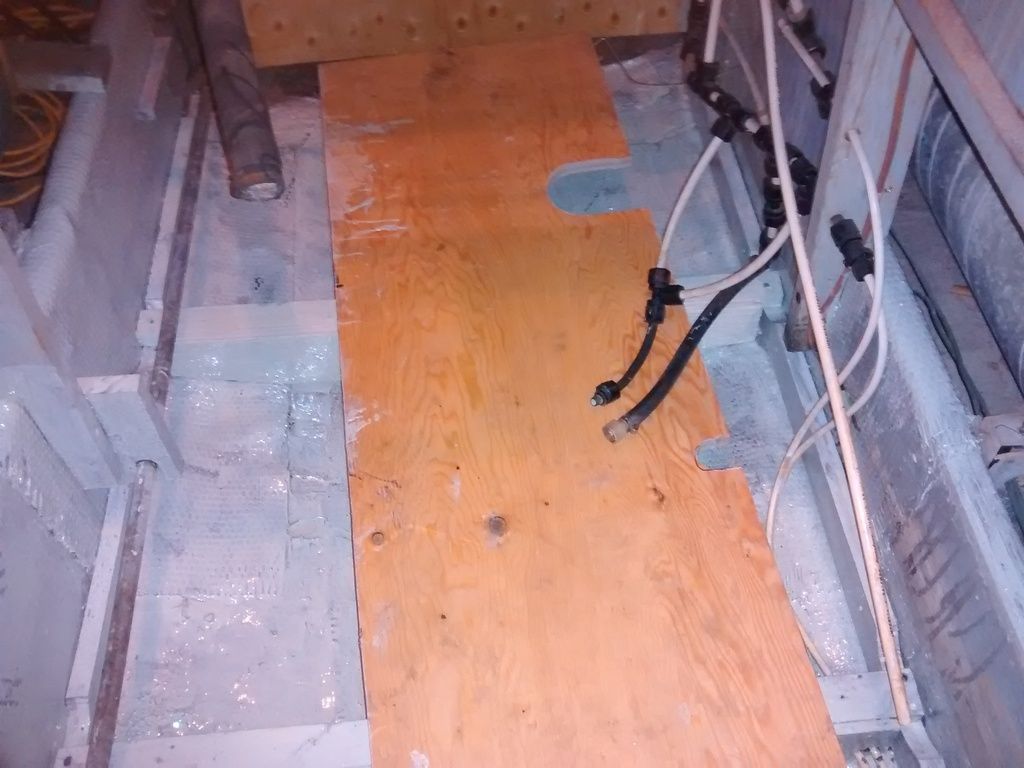
I also put a new “basement†in the salon, coated everything with resin, reinstalled AC (just needs a charge), reinstalled the generator and muffler (forgot to hole saw access to the cooling sea cock ïŒ)
Also got most of the new salon floor installed ¾†plywood, turned out pretty solid.
More to come

Re: Project "Tri Fly"
Posted: Wed Dec 30, 2015 6:33 pm
by Paul
Hi Barrie,
Good to see that you're making progress. The transmissions and generator are looking good, especially since there back in the boat. I just want to remind you to be careful when you run the generator at first, I'm concerned about the Tremclad paint on the exhaust manifold. I've seen this before and I'm thinking that you may be in for a bit of a smoke show.
Re: Project "Tri Fly"
Posted: Wed Dec 30, 2015 6:43 pm
by jimbo36
Looks awesome Barrie. Rock-on. You inspire me. Settled in Belleville, keep in touch. Jim.

Re: Project "Tri Fly"
Posted: Wed Dec 30, 2015 8:03 pm
by blair
Barrie you're work looks amazing! I can't imagine the hours into her.
Jimbo, welcome to the lower Trent. Stop by Young's Point some time!
Re: Project "Tri Fly"
Posted: Thu Dec 31, 2015 2:30 pm
by mike0469
I just bought a 76 tri-cabin...It is awesome following your project getting to know exactly how my boat is built! You are doing a beautiful job. My boat is not perfect, but is in very good shape to be all original and 40 yrs old. I love the original interior, but plan on starting to do under-deck upgrades and plumbing work in the next month or so. I noticed you did not replace your fuel tanks on this project. I don't I have any issues with mine, but they are galvanized tanks! Everything I have read, indicates the difficulty and expense of replacement. I totally agree ! How did you determine that the tanks are gonna be OK for a while? were you able to scope them out somehow? Just curious. I am just gonna be prepared to spent $3-4K when the time comes and tear up some stuff getting them out! Thanks again for all the photo's !!!!


