Page 3 of 41
Posted: Thu Feb 16, 2012 4:42 pm
by yorklyn
I hope I dont drive everyone nuts with my updates but its really helping me stay motivated!
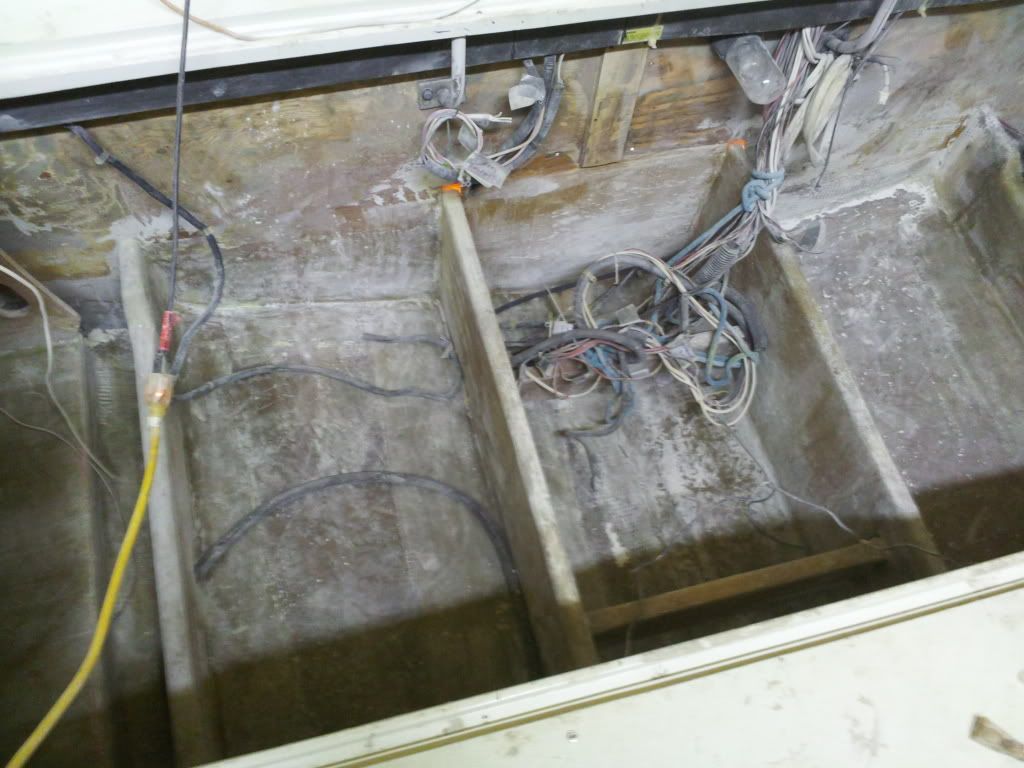
Just spent two days in the boat with two of my workers doing nothing but grinding the last remaining gell coat from all interior bilge areas (Yes they hate me!)
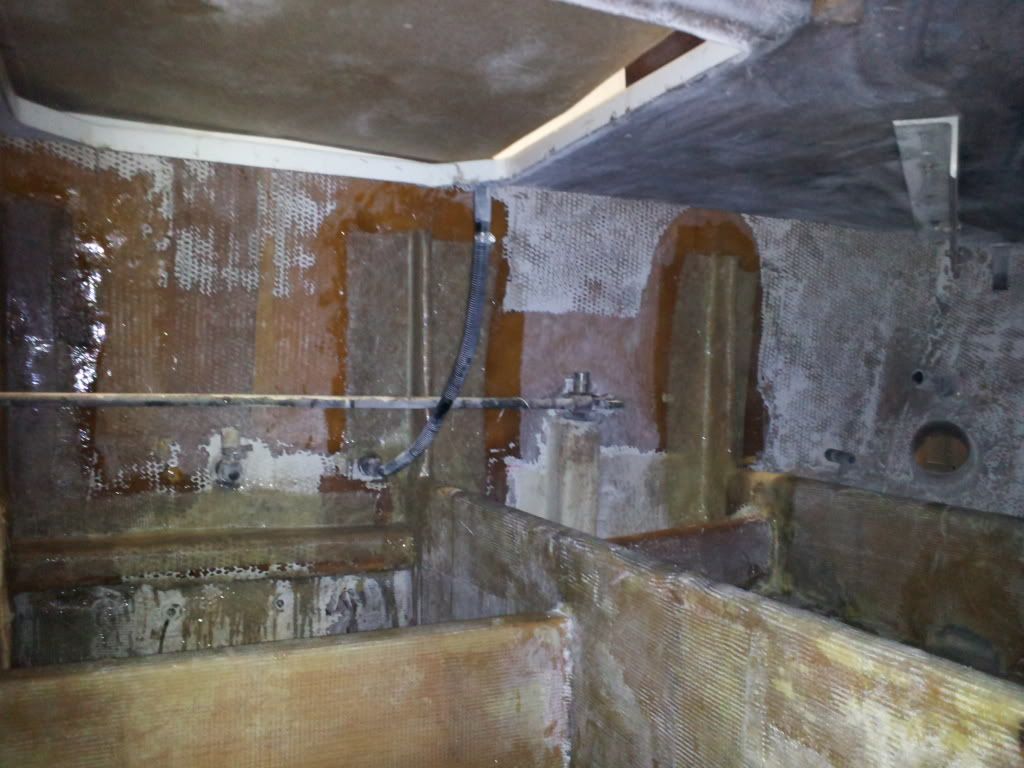
I decided to add an additional layer of 24oz woven roving to the bottom of the bilge between all of the new stringers. I was planing on simply rolling a few coats of west system epoxy over everything in the bilge to ensure everything was completly waterproof. After preping for the epoxy I figured I might as well use up the remaining roving I had. This should help tie everything together with an epoxy bond and give me a waterproof barrier coat at the same time.

[/img
[img
][/img]
[img
][/img]
[img
]
[/img
]
Posted: Thu Feb 16, 2012 8:55 pm
by RWS
Hi Todd !
It's all about doing these projects together.
You're a lucky man to have your better half in there with you.
See what I mean?
RWS

Posted: Thu Feb 16, 2012 9:47 pm
by yorklyn
[img
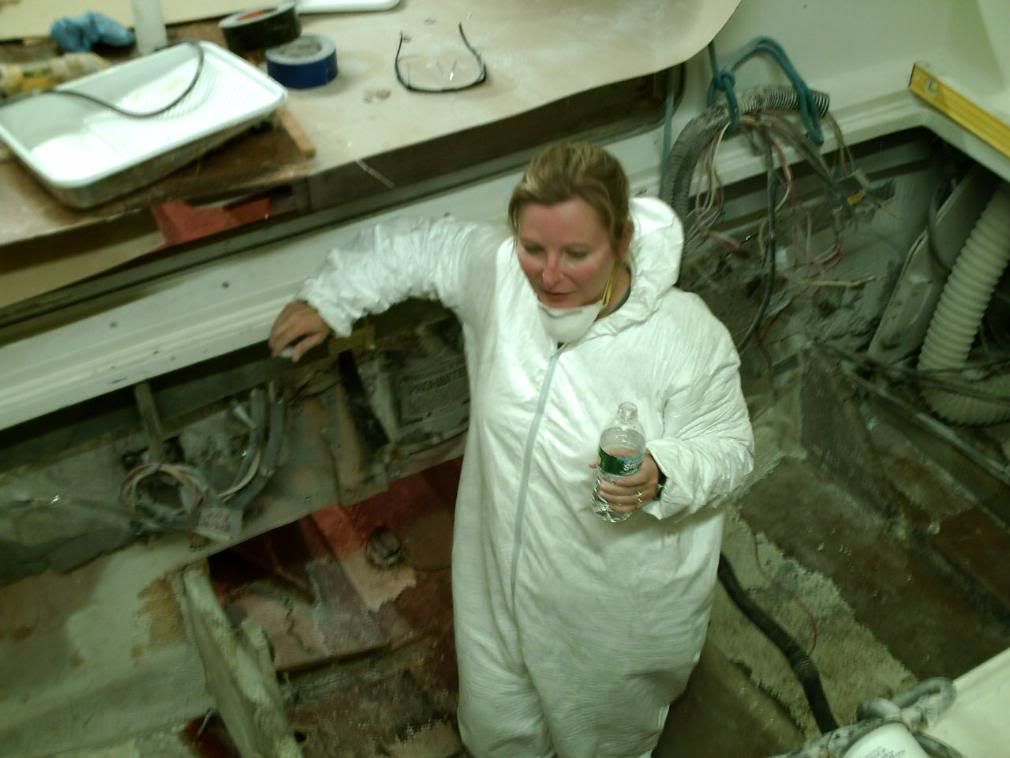
She's avoided the project alittle since I had her help cut the stringers out! LOL][/img]
Posted: Thu Feb 16, 2012 10:13 pm
by Paul
I couldn't agree more. My wife was an integral part of the restoration of our boat as well. Dirty jobs or fun jobs, it didn't matter. It was great time that we spent together and we both have a connection to this boat.
Posted: Fri Feb 17, 2012 4:23 am
by alexander38
glad to see the Supervisors are helpin' out..

Posted: Fri Feb 17, 2012 4:01 pm
by yorklyn
Well once again I thought I'd get more done today than I did. I keep getting side tracked with other things to repair. I was planning on reinforcing the stern with some additional tabbing and some additional mat laid over plywood strips to reduce the flex when fat people like myself are on the swim platform! I just replaced the forward "gas tank bulkhead" that was rotted on the port side. I thought I could repair the rot in the same one on starbord side but after closer inspection I decided to replace it. I managed to get it made up and installed as well as reinforced two of the four plywood stern "stiffiners". Ran out of west system epoxy again! used a large 5.5 gal kit as well as a 1.25 kit. I have another 5.5 kit ordered but it wont be in until next thursday. Guess I'm buying another small kit so I can keep working tomorrow!
Paper Templet

[/img]
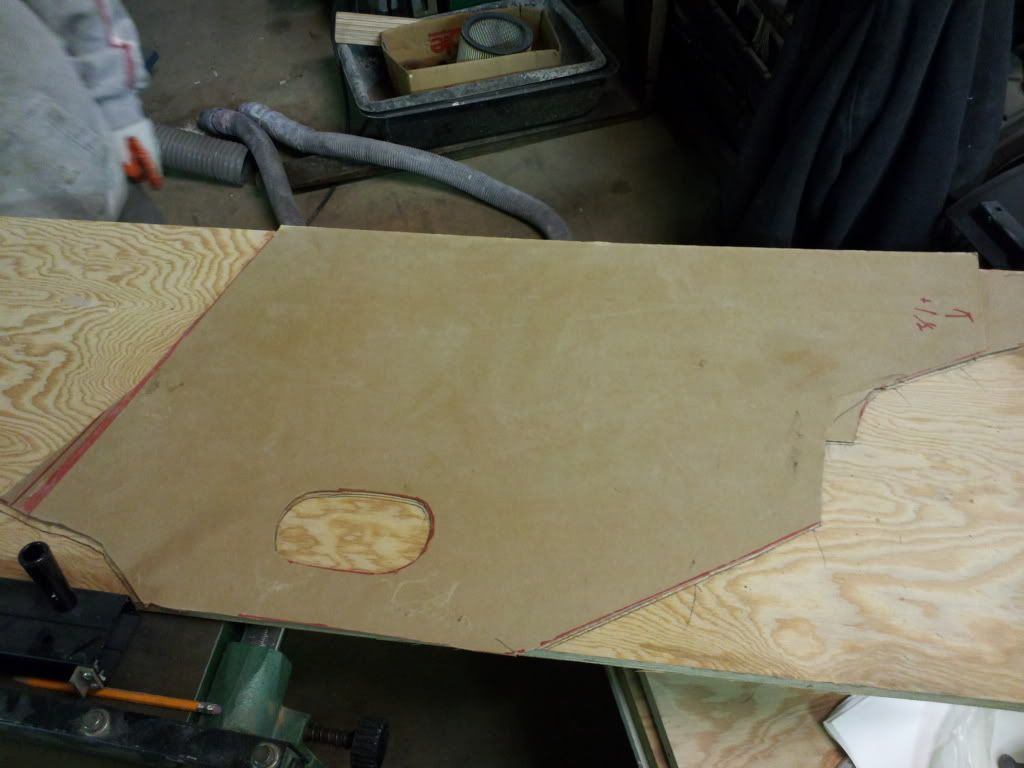
Ready to install

Made these out of marine ply to help stiffen up the stern. plan on putting them across the stern and glassing over them.

[/img]
Posted: Fri Feb 17, 2012 5:57 pm
by BobCT
Todd, I beefed up the swim platform supports too but didn't do any glass work. All I did was replace the really narrow wood backing plates (inside the hull) with wider and taller pieces.
It was better but I thought I could park a car on the platform when I was done. I found out afterwards that most of the flex is the transom part of the hull itself, it's actually pretty thin.
I think you're on the right track trying to reinforce that.
Bob
Posted: Fri Feb 17, 2012 7:34 pm
by jefflaw35
Todd the pics are awsome and helping me alot, dont worry about getting on anyones nerves, ive already killed that problem, its great to see another mans wife doing work, mine is right there with us. true bonding.. keep it up and keep posting. I need all the help and ideas I can get. your work is looking great!!!
Posted: Fri Feb 17, 2012 9:45 pm
by RWS
BobCT wrote:Todd, I beefed up the swim platform supports too but didn't do any glass work. All I did was replace the really narrow wood backing plates (inside the hull) with wider and taller pieces.
It was better but I thought I could park a car on the platform when I was done. I found out afterwards that most of the flex is the transom part of the hull itself, it's actually pretty thin.
I think you're on the right track trying to reinforce that.
Bob
did the same but used starboard
RWS
Posted: Mon Feb 20, 2012 1:05 am
by yorklyn
For the record I just spent 40 min typing my progress from this past weeked only to have my computer lock up and erase everything. I will repost tomorrow. did have a very productive weekend!!
Posted: Mon Feb 20, 2012 9:14 am
by DOUGNASH
jefflaw35 wrote:Todd the pics are awsome and helping me alot, dont worry about getting on anyones nerves, ive already killed that problem
It's all good
Posted: Mon Feb 20, 2012 9:40 pm
by yorklyn
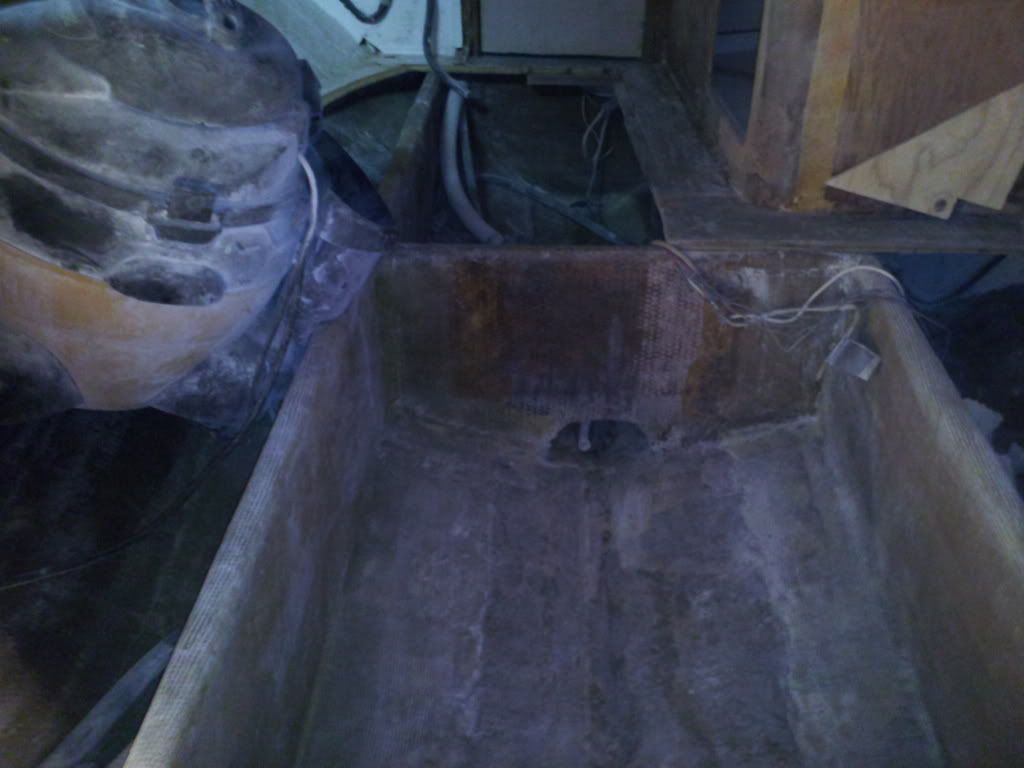
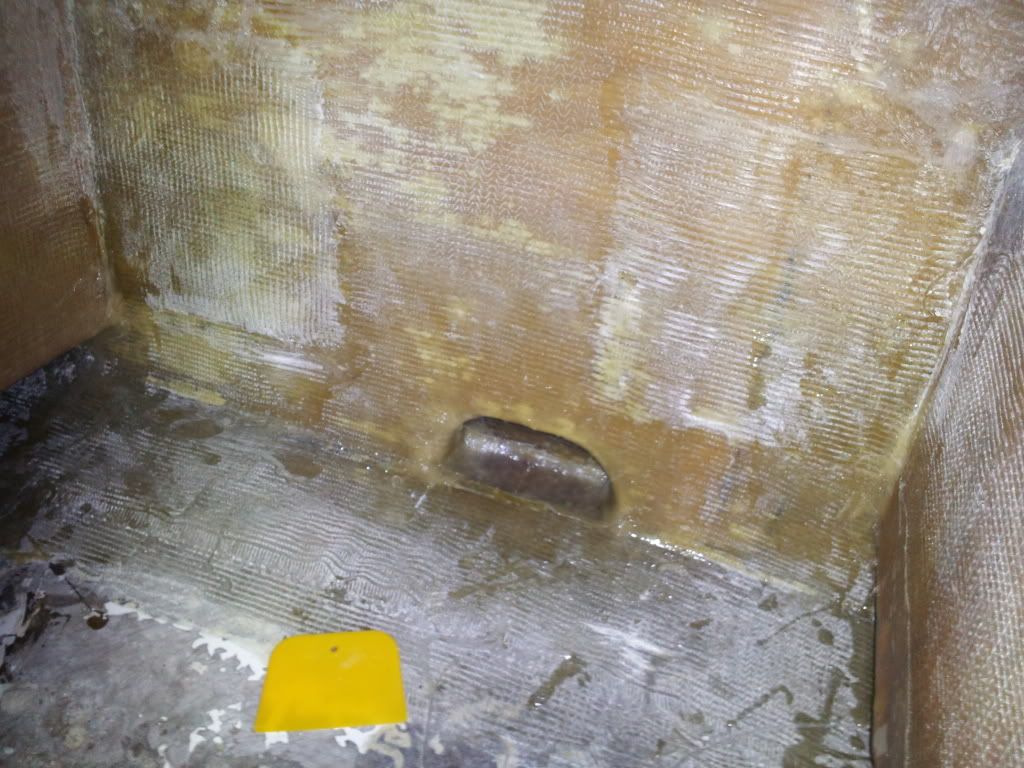
had some help from my neighbor this weekend. An extra set of hands sure makes a difference! got the limber holes glassed in
[img
]
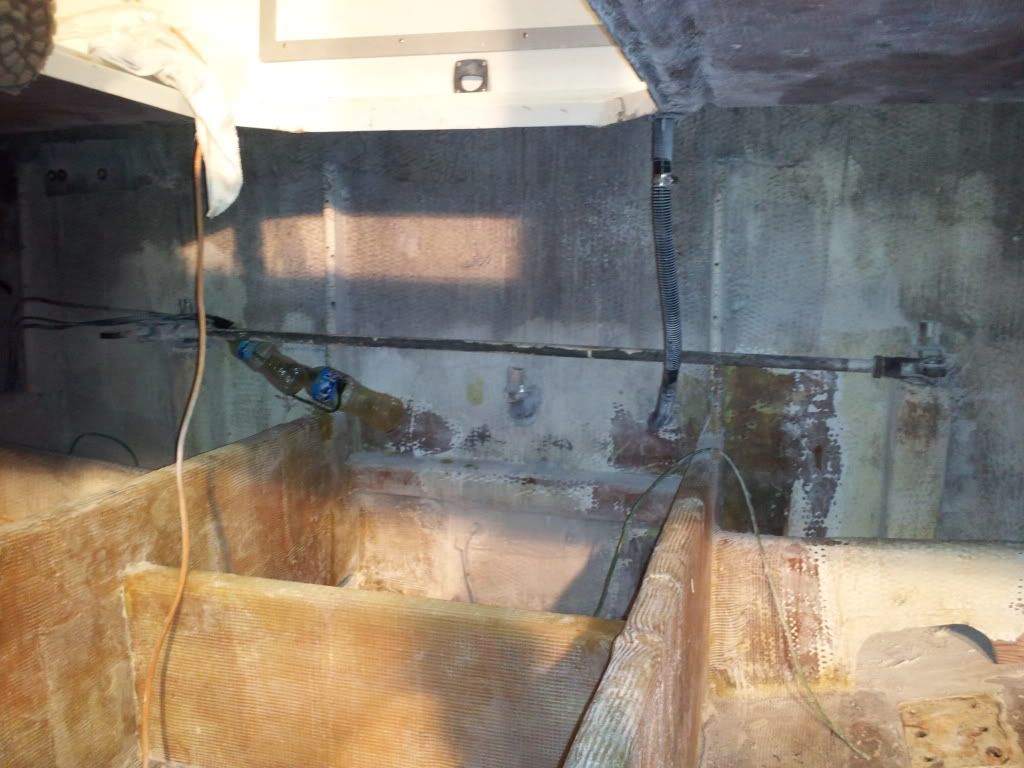
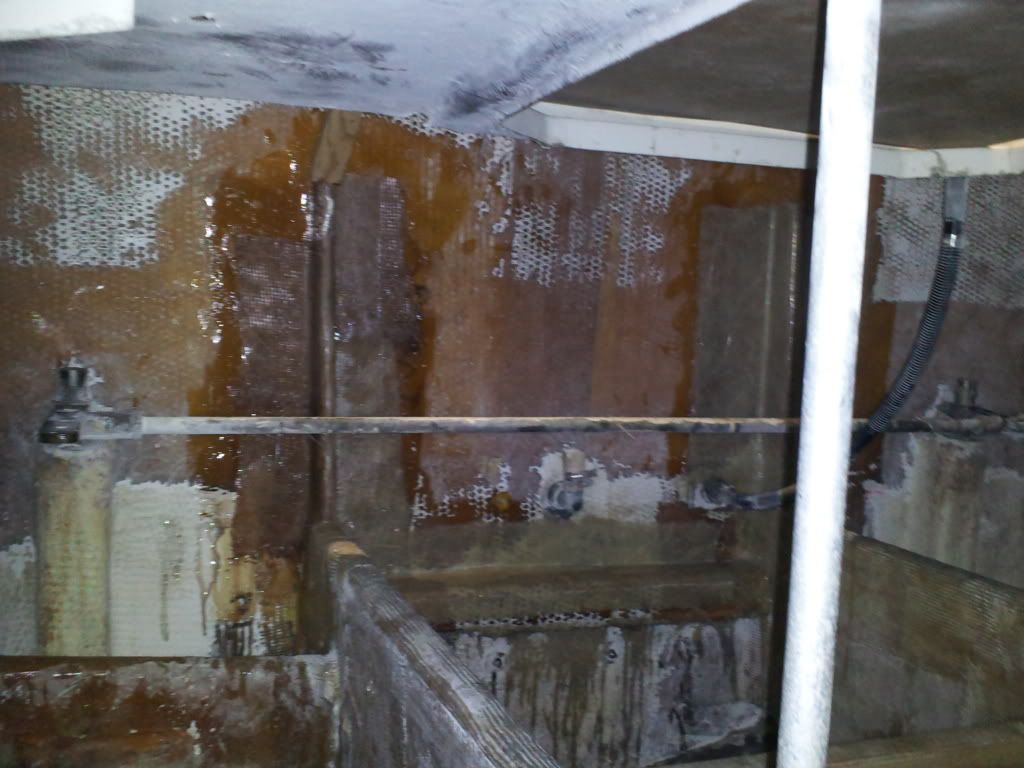
Finished glassing the bulkhead between the engine room and mid cabin
[/img

]
Completed the first layer of glass on the stern supports
[img
]
[/img
]
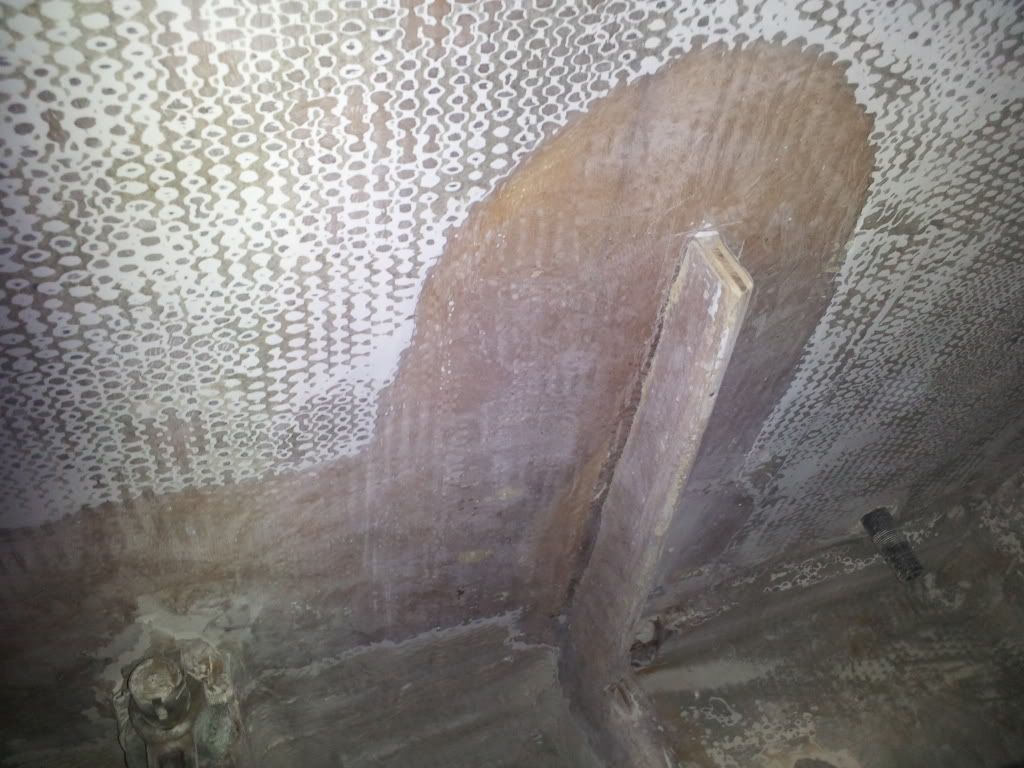
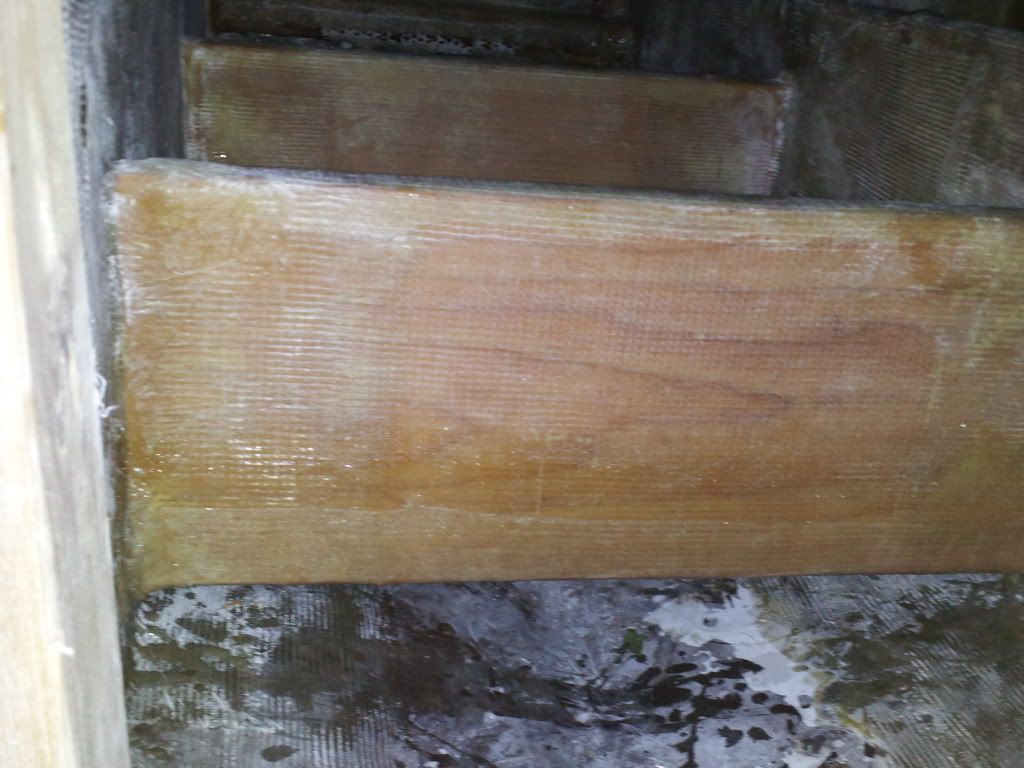
And finished sealing the underside of the cross-members between the stringers
[img
][/img]
Posted: Mon Feb 20, 2012 9:49 pm
by yorklyn
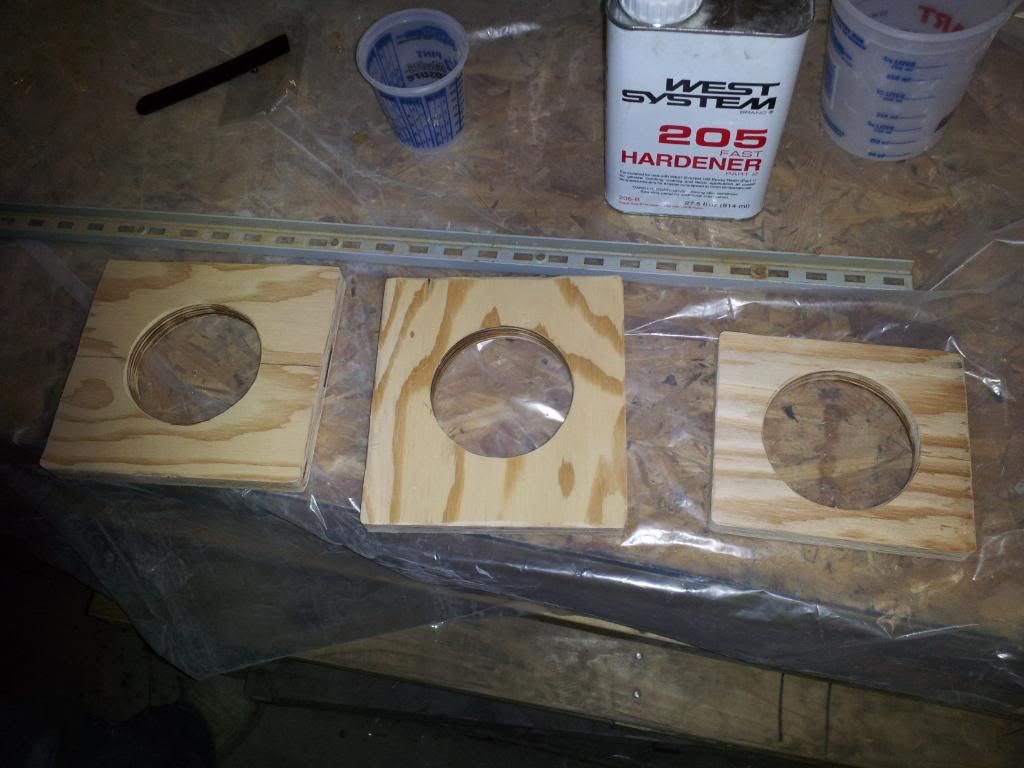
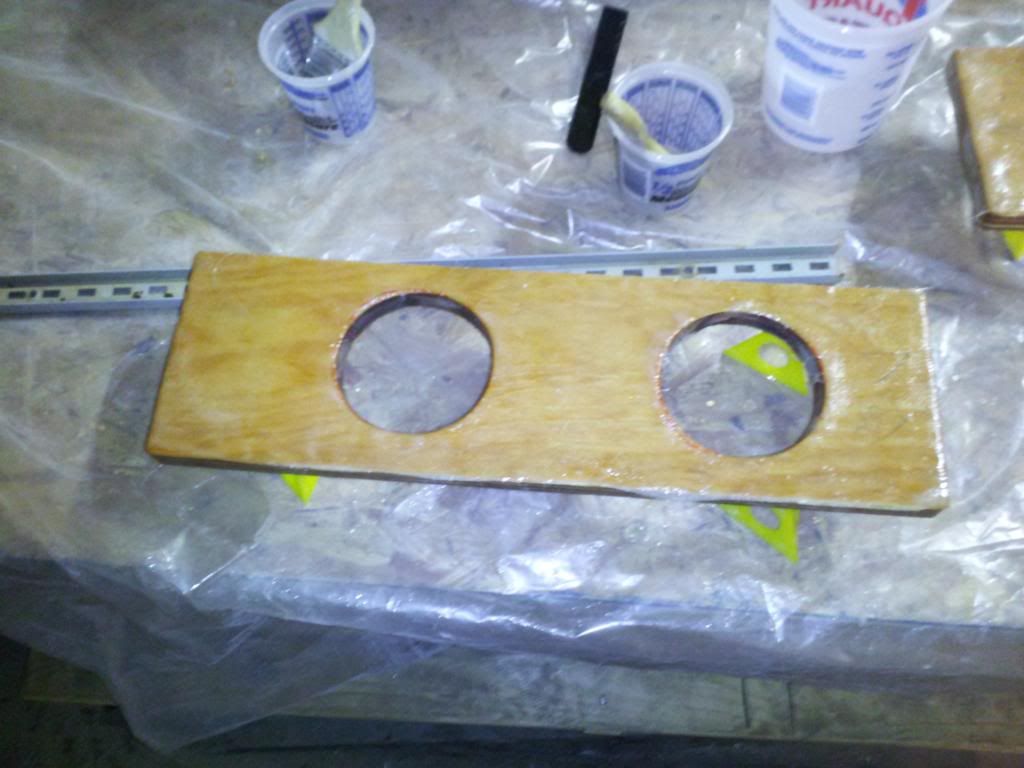
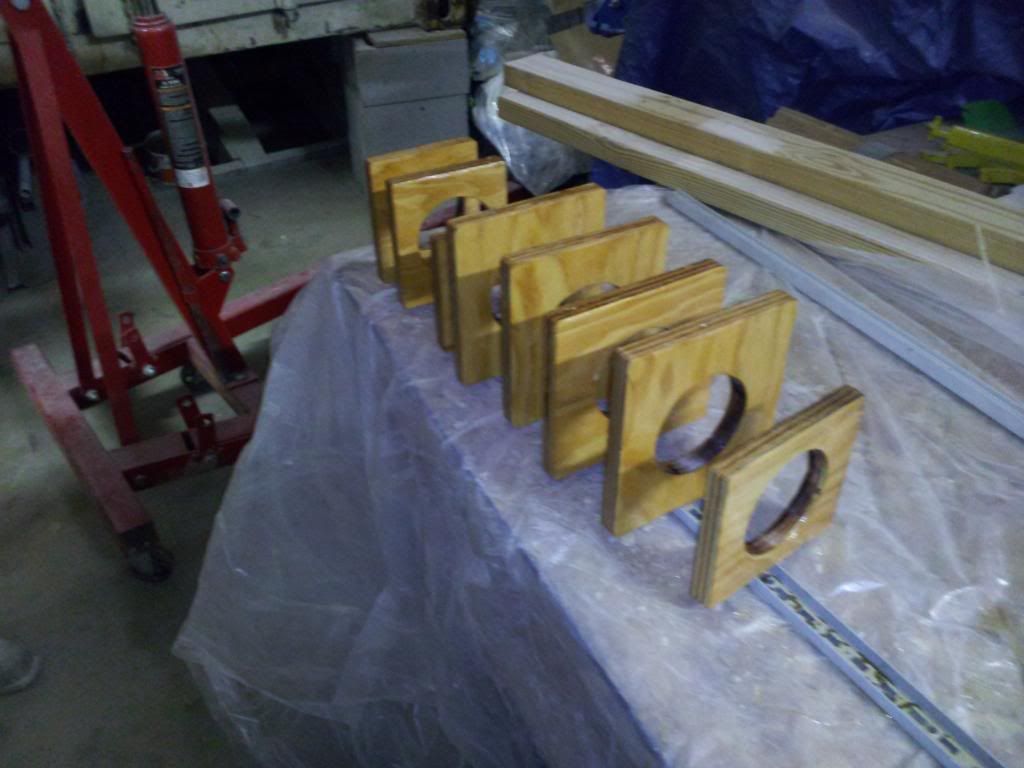
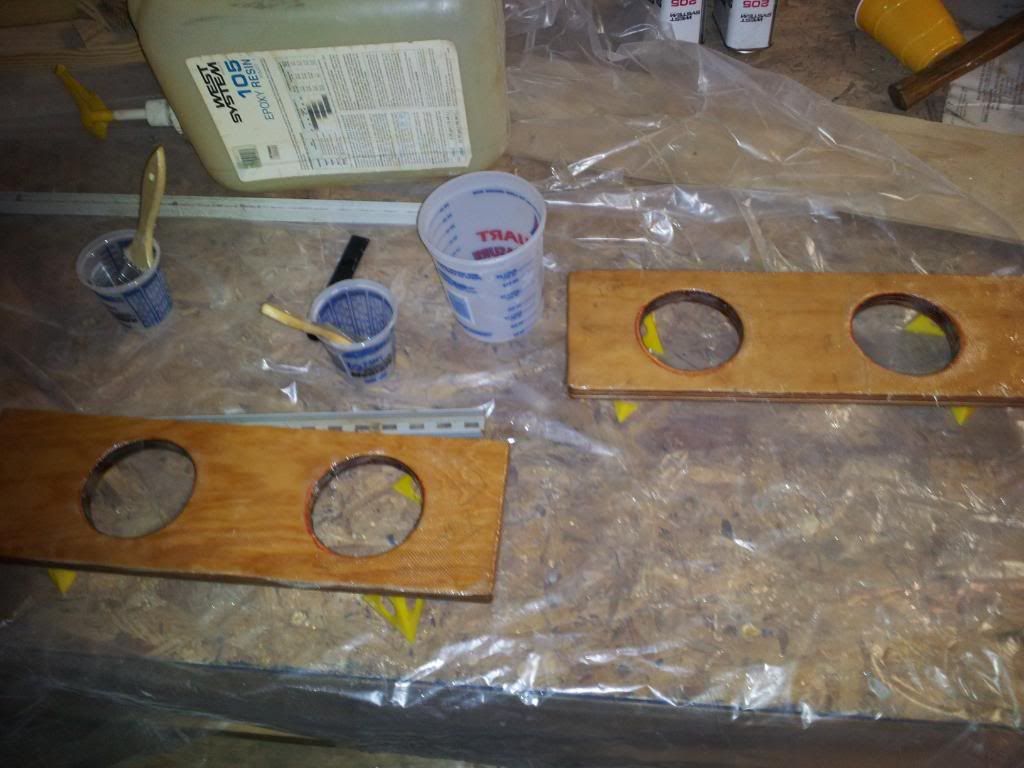
Started making the air intake flanges today. used a hole saw to cut 4 inch holes in 3/4 plywood. the double ones will be the inserts for the side vents and the other individual ones will have the bilge hoses stapled to them ,then bolted to the rear intakes. I put a layer of glass on the double intakes to protect them since the old wood was so rotted.
[img
]
[/img
]

[/img
][img
][/img]
Posted: Mon Feb 20, 2012 9:51 pm
by yorklyn
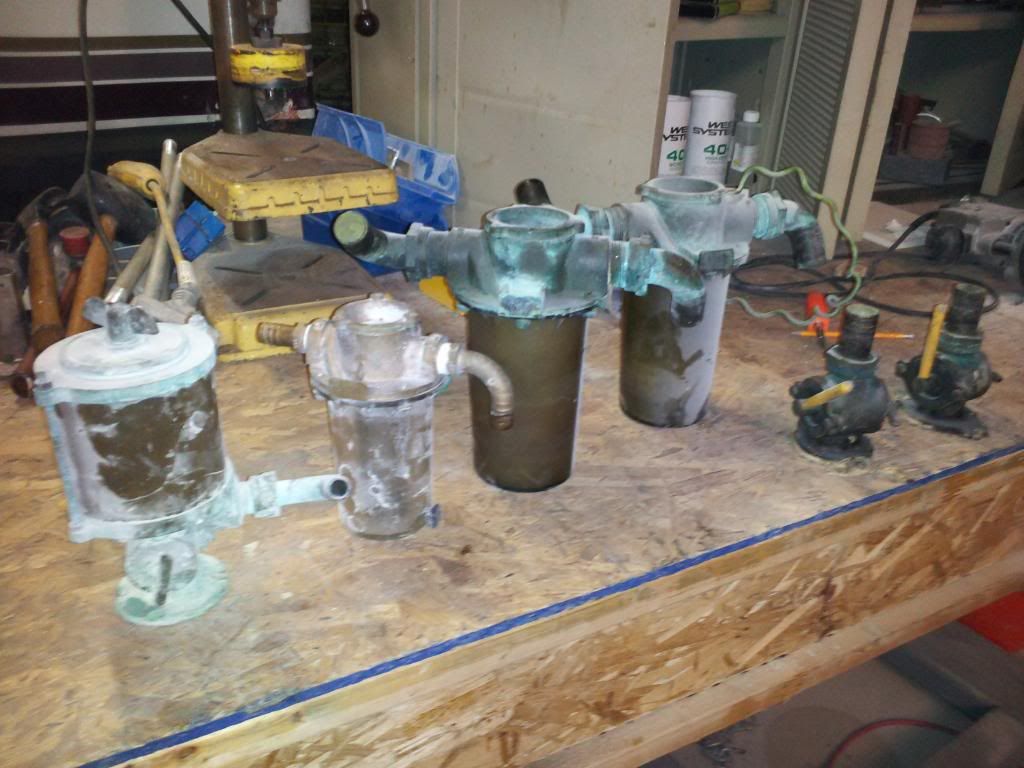
Almost ready to start digging out pieces to put this thing together!
[img][img]
http://i247.photobucket.com/albums/gg14 ... 141917.jpg[/img][/img]
Posted: Mon Feb 20, 2012 10:05 pm
by yorklyn
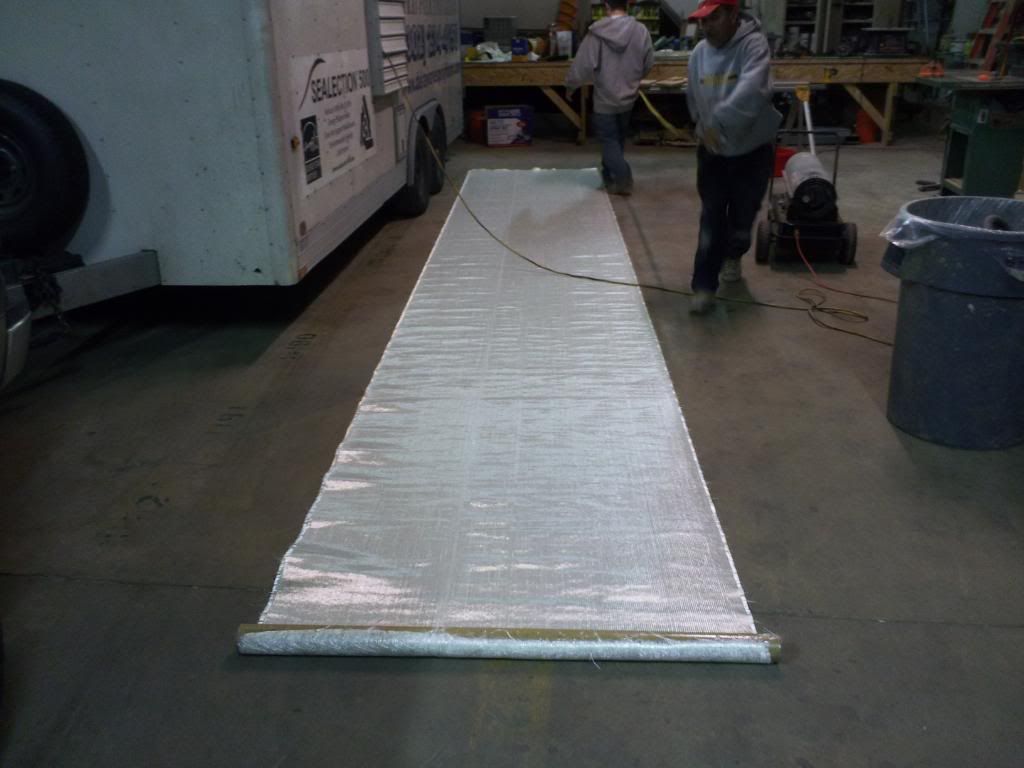
25 feet of glass left! There is a light at the end of the tunnel!!!
[/img
]