Page 3 of 4
Re: New Member - Beginning of a Restoration Journal
Posted: Fri Jan 22, 2016 5:53 pm
by prowlersfish
The price on the bottom work sounds ok , but its hard to say as it depends a lot on bottom condition . 8 hours just to pull a engine seems a lot but can happen if there is a lot of rusty stuff like shaft bolts and if a v-dive that adds to the fun . I must be missing something you said " take out a perfectly fine engine" and I know you said something about your mechanic working on the engine when its out . So why exactly are you pulling the engine ?
Re: New Member - Beginning of a Restoration Journal
Posted: Fri Jan 22, 2016 7:13 pm
by Captain Chill
prowlersfish wrote:The price on the bottom work sounds ok , but its hard to say as it depends a lot on bottom condition . 8 hours just to pull a engine seems a lot but can happen if there is a lot of rusty stuff like shaft bolts and if a v-dive that adds to the fun . I must be missing something you said " take out a perfectly fine engine" and I know you said something about your mechanic working on the engine when its out . So why exactly are you pulling the engine ?
All the bolts have no rust on them. He said it could take that long though if they are possibly stripped.
I didn't have any plans to do work on my engine. When he saw it though at the yard he said the gaskets look pretty rough and could cause a problem if not treated.
I'm only pulling the engine so that I can replace the engine seawater cooled seacock, paint bilge, install a new water tank, black water tank and water heater along with all new plumbing.
Re: New Member - Beginning of a Restoration Journal
Posted: Fri Jan 22, 2016 10:00 pm
by Captain Chill
Here are some cabin pics of the first interior makeover I did. Going to change a lot on the next go around. Cantina/Christmas lights will be replaced by recessed lighting. Curtains will be replaced by double limo tint (so you can't see in at night even with the lights on.)
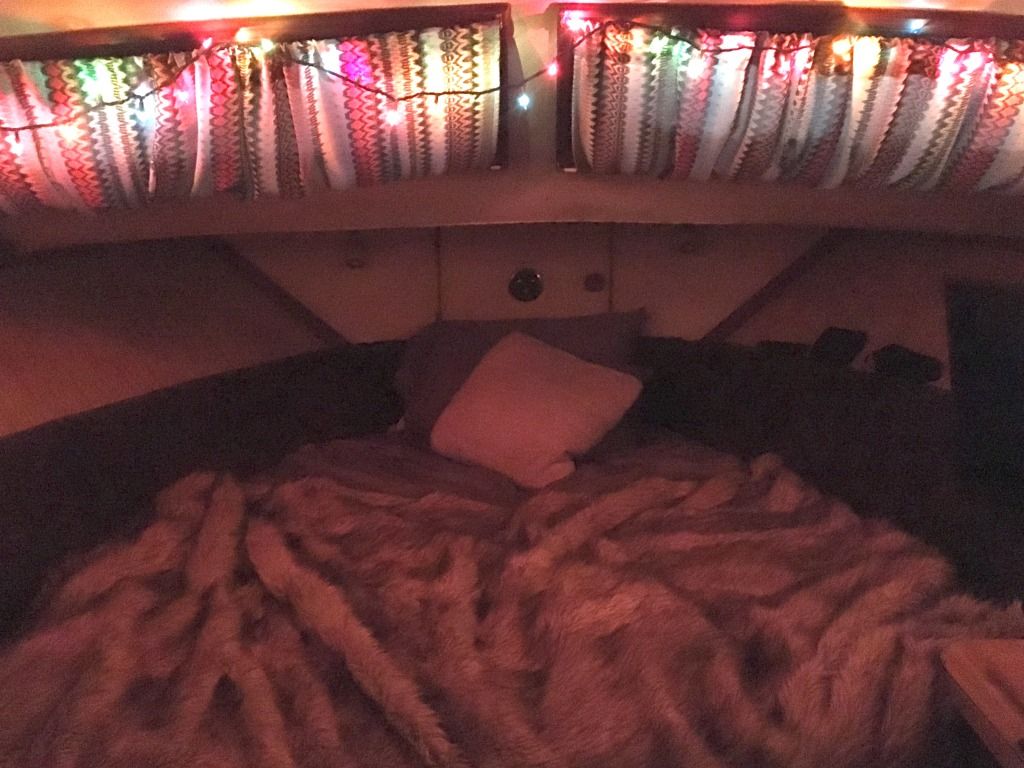
The fireplace space heater is a real charmer.

Super realistic looking flames and just enough heat output for a short California winter.

Re: New Member - Beginning of a Restoration Journal
Posted: Sun Jan 24, 2016 10:16 pm
by DOUGNASH
Mood lighting, fur blanket & a fireplace
Captain chill must be a single dude

Good luck with your project!
Re: New Member - Beginning of a Restoration Journal
Posted: Tue Jan 26, 2016 12:22 am
by 1967 seavoyager
I'd put the second fuel tank back in. You'll want the range.
Re: New Member - Beginning of a Restoration Journal
Posted: Tue Jan 26, 2016 1:47 am
by Captain Chill
1967 seavoyager wrote:I'd put the second fuel tank back in. You'll want the range.
Hi Seavoyager, thanks for the opinion. I think I am going to pass on the 2nd gas tank as I need all the room I can get for live-abord necessities and that engine cubby is pretty small. (Fresh water, black water, water heater, water filter, and generator.)
There are fuel docks all up and down the CA coast and at the Catalina/Channel islands. That's about all I'll be exploring in the years to come so I think I'll be ok on range.
Nice to have you along.
Re: New Member - Beginning of a Restoration Journal
Posted: Tue Jan 26, 2016 1:55 am
by Captain Chill
DOUGNASH wrote:Mood lighting, fur blanket & a fireplace
Captain chill must be a single dude
Good luck with your project!
Yes sir, as I'm sure you know it's a little harder to settle down in our two big cities.
Re: New Member - Beginning of a Restoration Journal
Posted: Tue Jan 26, 2016 4:07 am
by Captain Chill
Engine removal success video.

Re: New Member - Beginning of a Restoration Journal
Posted: Thu Jan 28, 2016 11:29 pm
by Captain Chill
Update.
The theme of this project is mechanical, electrical and plumbing simplicity.
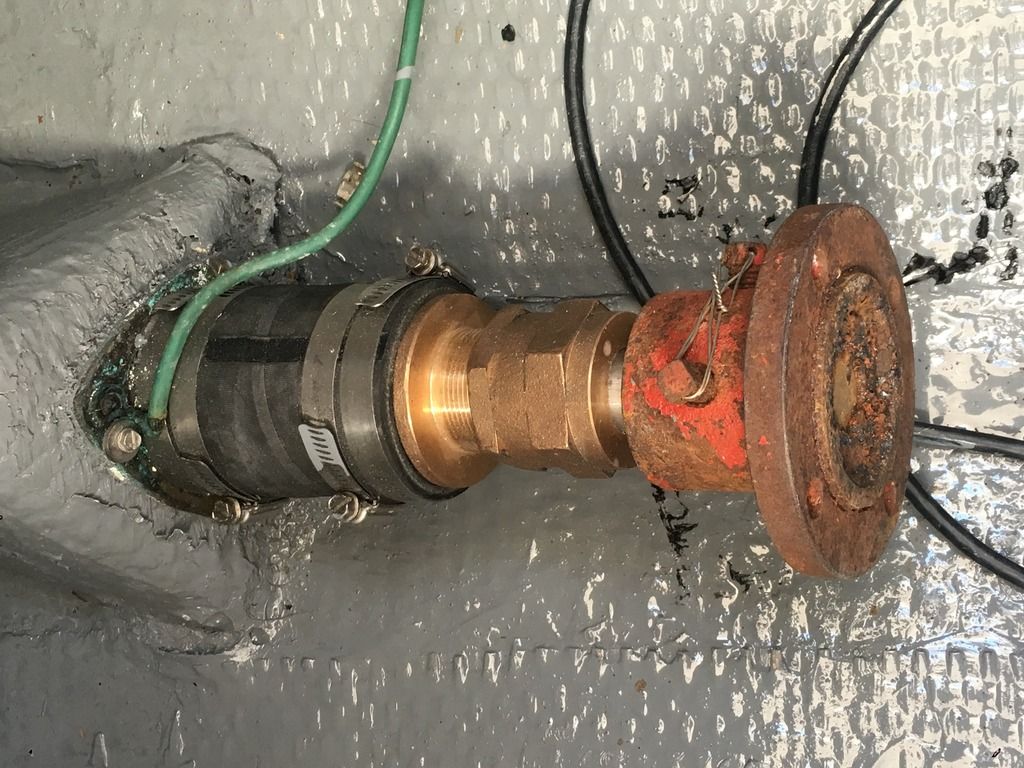
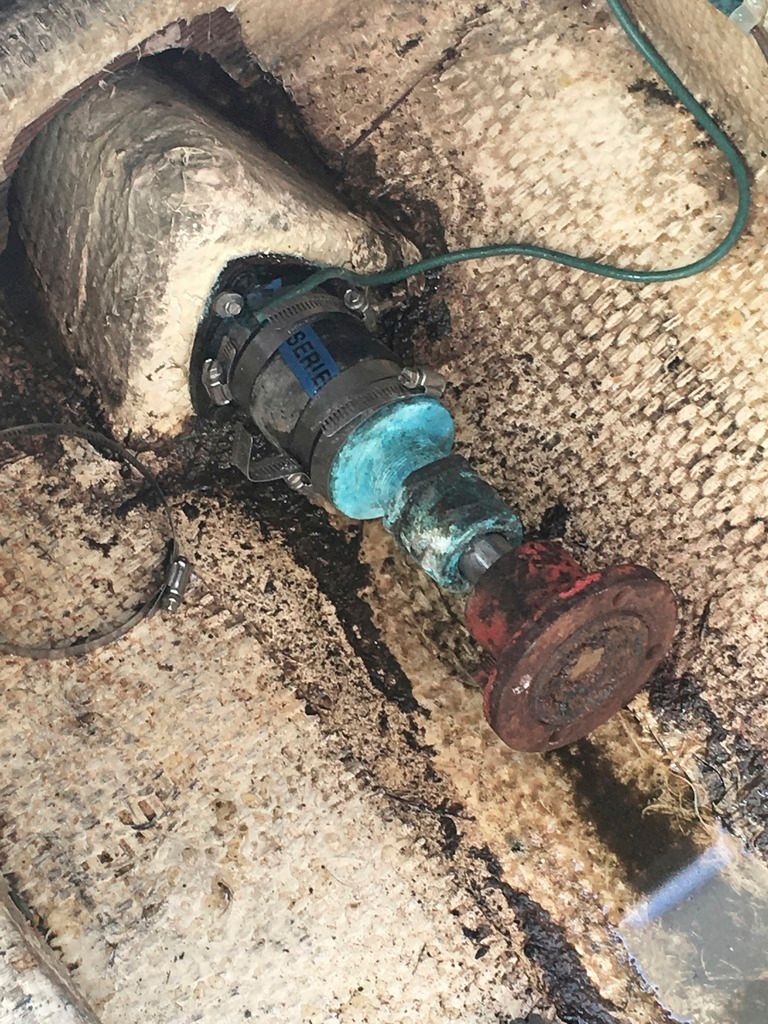
I had a total of 4 thru-hulls going through the bottom.
1. Salt-water cooled engine
2. Unused Toilet waste discharge
3. Washdown/Bait tank
4. Unknown usage under V-Berth
I've canceled out 3 of the 4 thru-hulls and glassed them up. Now I only have 1 thru-hull for my engine to be cooled. This is a great piece of mind for me as I had my toilet discharge seacock platform spring a leak. As it was my first ever boat leak of my short boating career I think I lost about 10 years off my heart from pounding so hard. Luckily, I had my previously broken main mid-cabin bilge pump replaced a month before this happened. It worked flawlessly and kept me afloat for a day going off every 2.5 minutes like clockwork before a diver came and put splash zone underneath the boat to stop the leak. Video below of the situation.

Now, with only 1 thru-hull, if there is ever a leak I'll know exactly where it is coming from.
Re: New Member - Beginning of a Restoration Journal
Posted: Mon Feb 01, 2016 10:41 pm
by Captain Chill
Update.
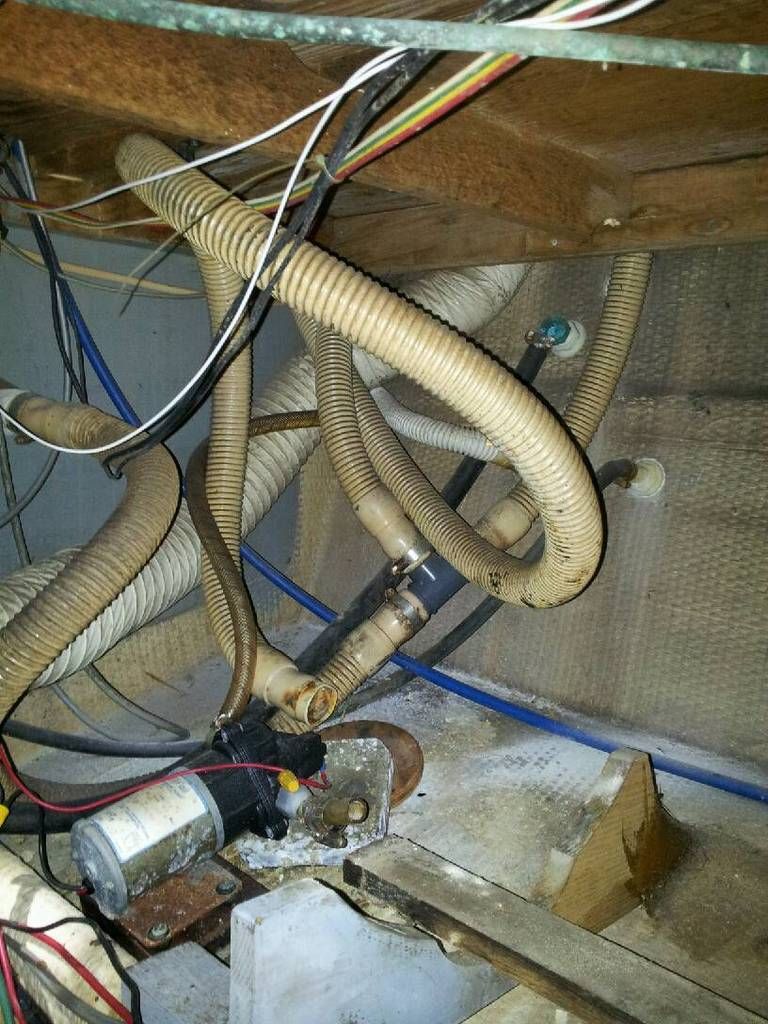
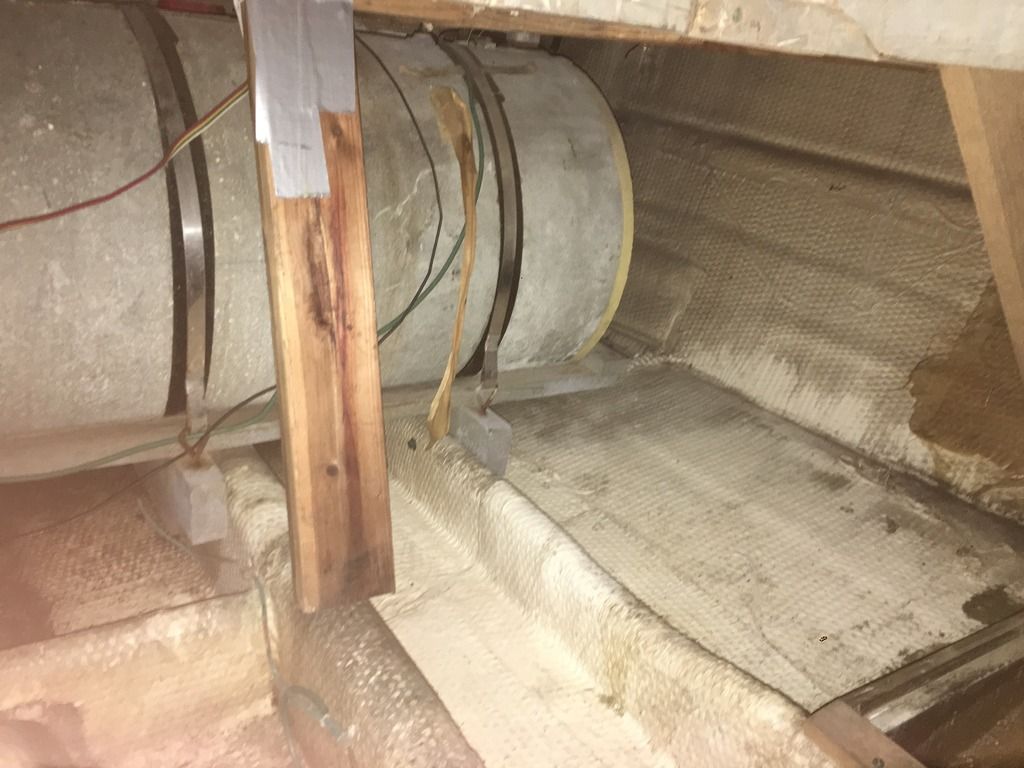
Old freshwater tank removed. Old 2nd gas tank removed. Old Plumbing from the depths of hell removed.
Before Starboard
After Starboard
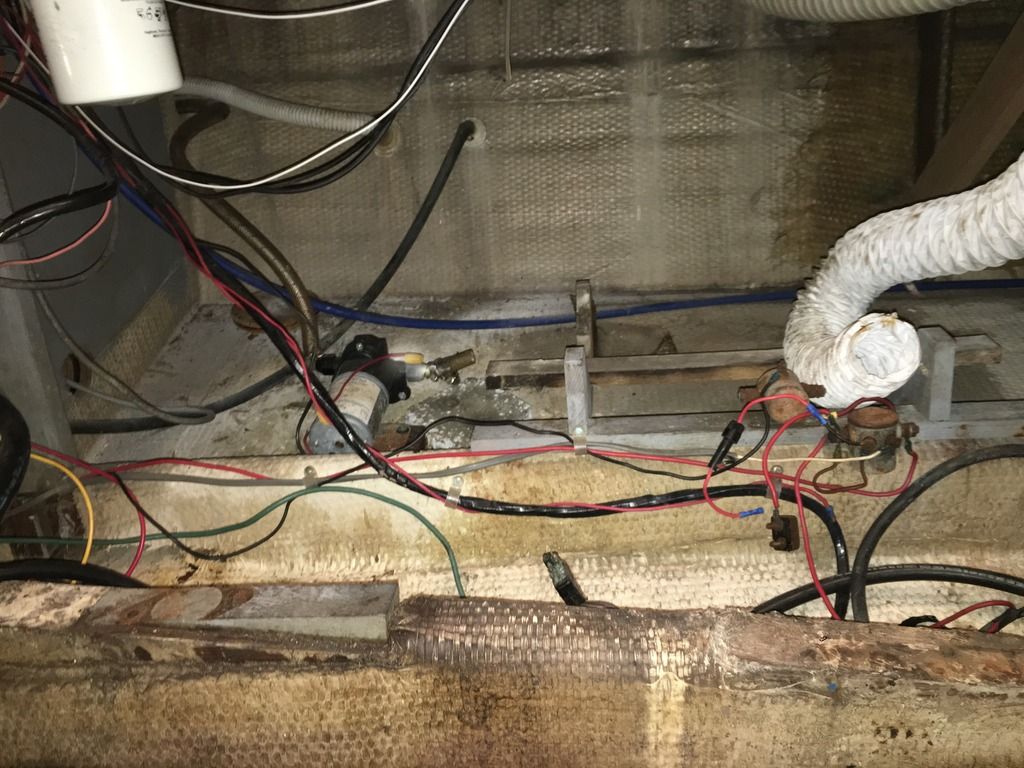
These random holes will drive me crazy knowing that they're there
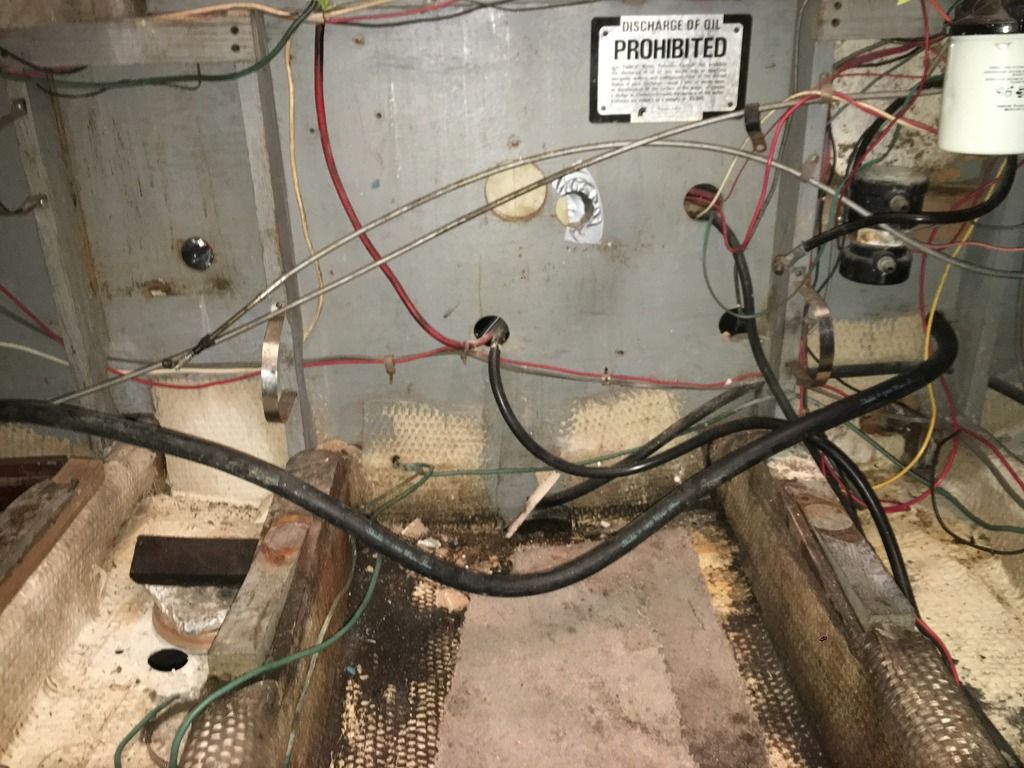
Where the 2nd gas tank was. The frame will fit my new freshwater tank. Portside

Gas tank. Wanted to remove this but found out there is no way to do this without taking up the floor.

I'm going to clean it up as best as possible. Yes, that is a duct tape piece of wood giving support to the cockpit floor. Nice one PO! Portside

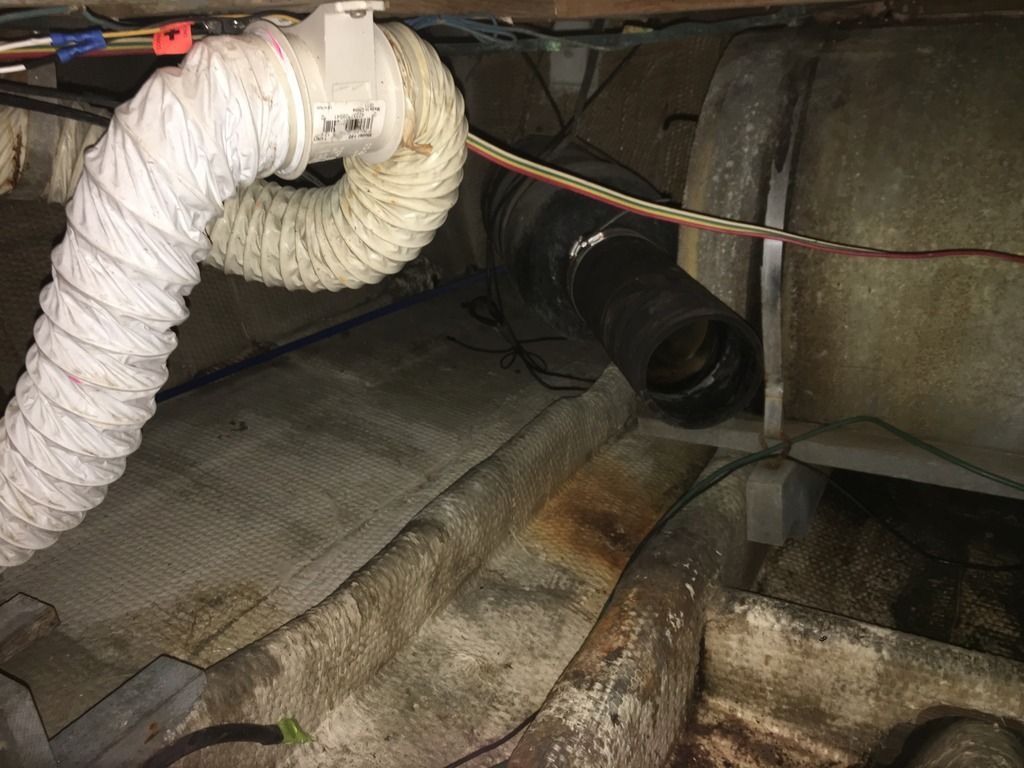
Exhaust and blower. Starboard
Video after engine was removed.


Re: New Member - Beginning of a Restoration Journal
Posted: Mon Feb 01, 2016 10:54 pm
by Barrie
If you really wanted to remove that fuel tank you could cut it up with a sawsall. Cut it in half or quarters should then fit out just about any door or window!
Re: New Member - Beginning of a Restoration Journal
Posted: Mon Feb 01, 2016 11:05 pm
by Captain Chill
Barrie wrote:If you really wanted to remove that fuel tank you could cut it up with a sawsall. Cut it in half or quarters should then fit out just about any door or window!
That'd be one way for sure. But not so sure how it would end up since it's about 80% full of fuel at the moment! haha I think there was a miscommunication. Let me explain.
I wanted to take the fuel tank out just to clean the inside and outside of it. I want to reuse the tank. I like that it is steel because it weighs more. The F26 handles bad enough in following seas and I can't imagine how much worse it would be with a much lighter HDPE tank. I think the weight of the steel tank helps in following seas.
Re: New Member - Beginning of a Restoration Journal
Posted: Mon Feb 01, 2016 11:21 pm
by Captain Chill
This is what I picked up from West Marine. Going to be a snug cozy fit in there.
28gal waste holding tank full system.
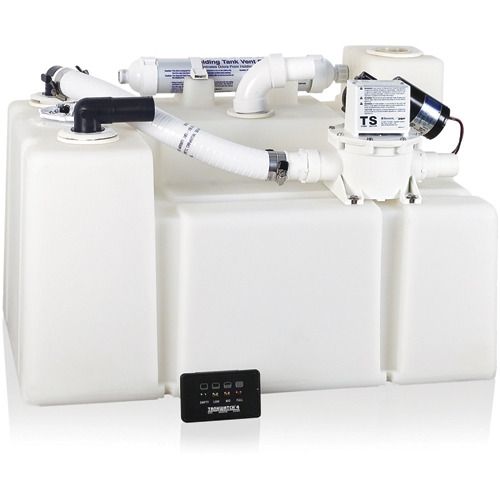 http://www.westmarine.com/buy/sealand-- ... m--7894033
12gal Hot water heater w/o heat exchanger
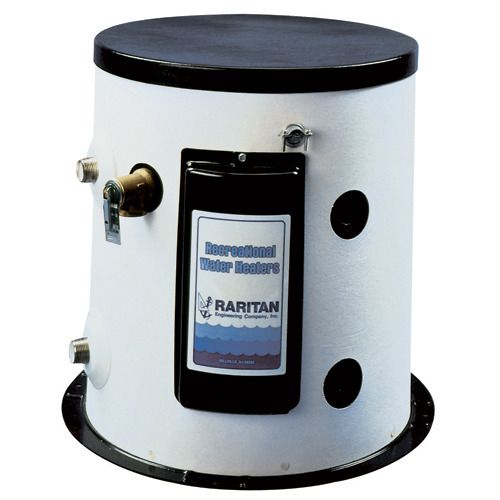 http://www.westmarine.com/buy/raritan-- ... 31_005_501
28gal Heavy duty freshwater tank
 http://www.westmarine.com/buy/todd--hea ... 34_003_004
Re: New Member - Beginning of a Restoration Journal
Posted: Tue Feb 02, 2016 7:38 am
by Barrie
Oh I see now

I just have tank cutting on my mind.... I have four tanks like yours and I'm about to cut holes in the tops to clean them in place. The cutting and re welding would be easier for me than removing them.
Looks like you have the plumbing and sewage all handled

looks like a top notch system
I'll keep watching

Re: New Member - Beginning of a Restoration Journal
Posted: Sat Feb 06, 2016 10:10 pm
by Captain Chill
Before
After