Page 4 of 14
Re: Project "Tri Fly"
Posted: Thu Dec 31, 2015 2:33 pm
by Bob Giaier
Barrie, i's amazing to see what you are doing. You have a lot more energy than most people especially me. I have nearly the same boat. Mine's 73 Tri cabin. I thought I should let you know of a few things I did since you have everything in the engine area exposed. My engine box was secured to the stringers with 1/4-20 bronze bolt/nuts. Mine actually broke away from the stringers. I pried them apart and poured in epoxy -and then installed some 3/8-16 stainless bolt/screws centered on the stringers. It solved the movement problem immediately.
I also found my transom was moving at the attachment to the stringers. I see yours has the same ribs in the transom right beside the round discs you put in for the swim platform backups. Again there's only a couple 1/4-20 bronze bolts holding the two together. I added a block against the stringer to make it even against the transom ribs and then I used 15 oz biaxle cloth with lots of epoxy on all 4 ribs to stringers. I also pried apart every stringer to bulk head attachment and poured epoxy in and threw out the galvanized lag bolts and installed 3/8-16 stainless with fender washers and nylock nuts. My boat is solid now, way stronger than when she was new. I recommend you do the same especially in that engine box and transom area. It' s pretty hard to get at later.
Again, I think you're amazing doing what your doing.
Re: Project "Tri Fly"
Posted: Sat Jan 02, 2016 12:19 am
by Barrie
Paul wrote:Hi Barrie,
Good to see that you're making progress. The transmissions and generator are looking good, especially since there back in the boat. I just want to remind you to be careful when you run the generator at first, I'm concerned about the Tremclad paint on the exhaust manifold. I've seen this before and I'm thinking that you may be in for a bit of a smoke show.
Thanks Paul, the best part about putting the boat back together is, I have more room in my small garage

I expect to be running the generator this weekend, and I will be watching it very closely and give it plenty of ventilation, I suspect you are correct and I went a little overboard with the paint on the manifold .
Re: Project "Tri Fly"
Posted: Sat Jan 02, 2016 12:23 am
by Barrie
jimbo36 wrote:Looks awesome Barrie. Rock-on. You inspire me. Settled in Belleville, keep in touch. Jim.

Thanks Jim, glad you're over the move.
And once again, thanks for your help with my project
Re: Project "Tri Fly"
Posted: Sat Jan 02, 2016 12:35 am
by Barrie
mike0469 wrote:I just bought a 76 tri-cabin...It is awesome following your project getting to know exactly how my boat is built! You are doing a beautiful job. My boat is not perfect, but is in very good shape to be all original and 40 yrs old. I love the original interior, but plan on starting to do under-deck upgrades and plumbing work in the next month or so. I noticed you did not replace your fuel tanks on this project. I don't I have any issues with mine, but they are galvanized tanks! Everything I have read, indicates the difficulty and expense of replacement. I totally agree ! How did you determine that the tanks are gonna be OK for a while? were you able to scope them out somehow? Just curious. I am just gonna be prepared to spent $3-4K when the time comes and tear up some stuff getting them out! Thanks again for all the photo's !!!!
Thanks Mike,
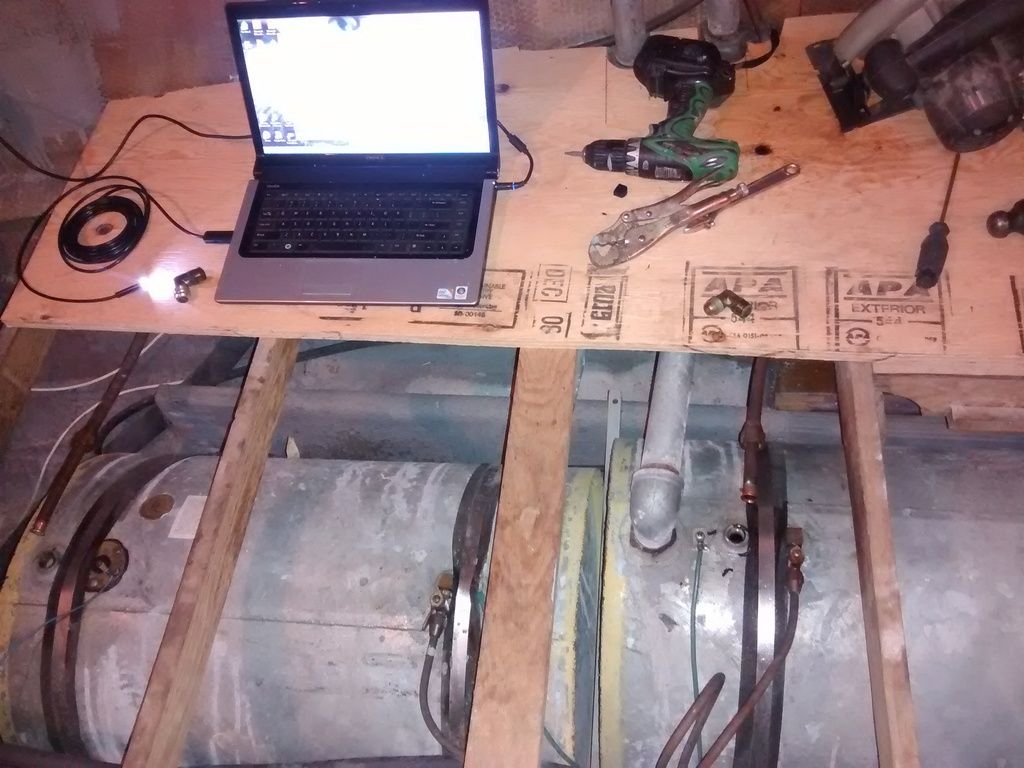
Ya mine are the galv as well, and look perfect on the outside. I did pick up an endoscope on amazon and checked the inside of each tank (4) after I vacuumed out the last of the fuel/water. The tanks were almost completely free of rust (a little on the baffles, fuel pick up tube and the fuel level float and arm) however the sides are completely covered in a salt like residue. I'm hoping to clean them in place!!?
I have pictures of the inside of the tanks, I just have to move them from my laptop to my PC so I can post them.
Re: Project "Tri Fly"
Posted: Sat Jan 02, 2016 12:59 am
by Barrie
Bob Giaier wrote:Barrie, i's amazing to see what you are doing. You have a lot more energy than most people especially me. I have nearly the same boat. Mine's 73 Tri cabin. I thought I should let you know of a few things I did since you have everything in the engine area exposed. My engine box was secured to the stringers with 1/4-20 bronze bolt/nuts. Mine actually broke away from the stringers. I pried them apart and poured in epoxy -and then installed some 3/8-16 stainless bolt/screws centered on the stringers. It solved the movement problem immediately.
I also found my transom was moving at the attachment to the stringers. I see yours has the same ribs in the transom right beside the round discs you put in for the swim platform backups. Again there's only a couple 1/4-20 bronze bolts holding the two together. I added a block against the stringer to make it even against the transom ribs and then I used 15 oz biaxle cloth with lots of epoxy on all 4 ribs to stringers. I also pried apart every stringer to bulk head attachment and poured epoxy in and threw out the galvanized lag bolts and installed 3/8-16 stainless with fender washers and nylock nuts. My boat is solid now, way stronger than when she was new. I recommend you do the same especially in that engine box and transom area. It' s pretty hard to get at later.
Again, I think you're amazing doing what your doing.
Ha Ha! thanks Bob, when I was working on the transom swim platform mount my attention was drawn to the stringer to transom connection area and thought It was a less substantial then I imagined, but I'm not an engineer.
I had planned on laminating a couple hockey stick shape pieces of plywood from the 4 stringers part way up the ribs.
I have found Trojan's use of lag bolts a little disturbing, they're every where. I guess they have there use, but bolts and nylocks like you recommend would be an upgrade for the drive gear.
Re: Project "Tri Fly"
Posted: Sat Jan 02, 2016 10:00 pm
by Bob Giaier
I think what I added at the transom were hockey stick shaped pieces also. I had one more issue with mine that you should check considering the amount of work you are doing. Although my stringers were and still are solid, there is a spot or area on the outer stringers that you should look at. It's right at the V drive. Mine had an area were there was no fiber glass wrapping the stringer just out board of the V drive where there was one or 2 bronze bolts thru a small section of stringer that was only a few inches tall at the forward end of the engine box. Check to make sure your stringer is not fatigued (cracked) at those bolts. Mine was, at both port and starboard and I had to repair both stringers. Again, if you have this issue, the repair is a lot easier with everything open as your is now.
Re: Project "Tri Fly"
Posted: Sun Jan 03, 2016 4:46 pm
by Misty
This is an awesome thread. Mostly because its about one of the coolest models to ever roll off the production line but because Barrie gives a darn and posts his progress for us to observe and learn from. My fuel tanks were ALSO scoped and discovered to be fine. I was shocked. Eventually I discovered the manufacturers plates (under sink?) and was pleased to fill em up. Thats also great you have four to choose from despite the room you sacrifice. I think I mentioned the boats in Seattle but I have a cottage on lake erie and will save all my spare parts for a ride someday! One counterpoint I'd present is that engineers will caution you against going nuts with the making things strong that should be flexible. I think the stringers are a good thing to add wood flour/epoxy to (which actually can flex) but the transom has no requirement to be stiff. Thank God Canadians love hockey sticks or Pittsburgh would have never won a pennant, but caution adding them to the stern transferring stress to engine beds that are very very (almost as old as I am ) old. Go Barrie go...!
Re: Project "Tri Fly"
Posted: Sun Jan 03, 2016 5:37 pm
by Bob Giaier
I'm not an expert by any means, but my transom was moving a lot at that joint I refer to in even the mildest seas. Those 1/4-20 bolts don't do much. There was another guy I spoke to who had a Tri cabin in Alpena Michigan, he had this same issue. He actually came to see mine to see how I made the repair. I met him thru this forum, which by the way has been one of the best ways to get information and input on my Trojan. I guess you can always wait and see when you have a sea trial.....
Re: Project "Tri Fly"
Posted: Mon Jan 04, 2016 10:31 am
by Barrie
Thanks for the encouragement and the recommendations, I really do appreciate them.
I do have a couple things I do have to look into before I get too far along (fuel tank cleaning, stuffing boxes, sea cocks, transom/stringers and engine box integrity). I agree it’s the right time to sort these items out.
Some info to add to previous posts.
My fiberglass and resin I sourced through the company I work for. It’s from Associated fiberglass in Etobicoke Ontario.
To thicken the polyester resin I am using polyester/epoxy powder coat that also comes from the company that I work for for free. We generate about 20lbs of waste a day.
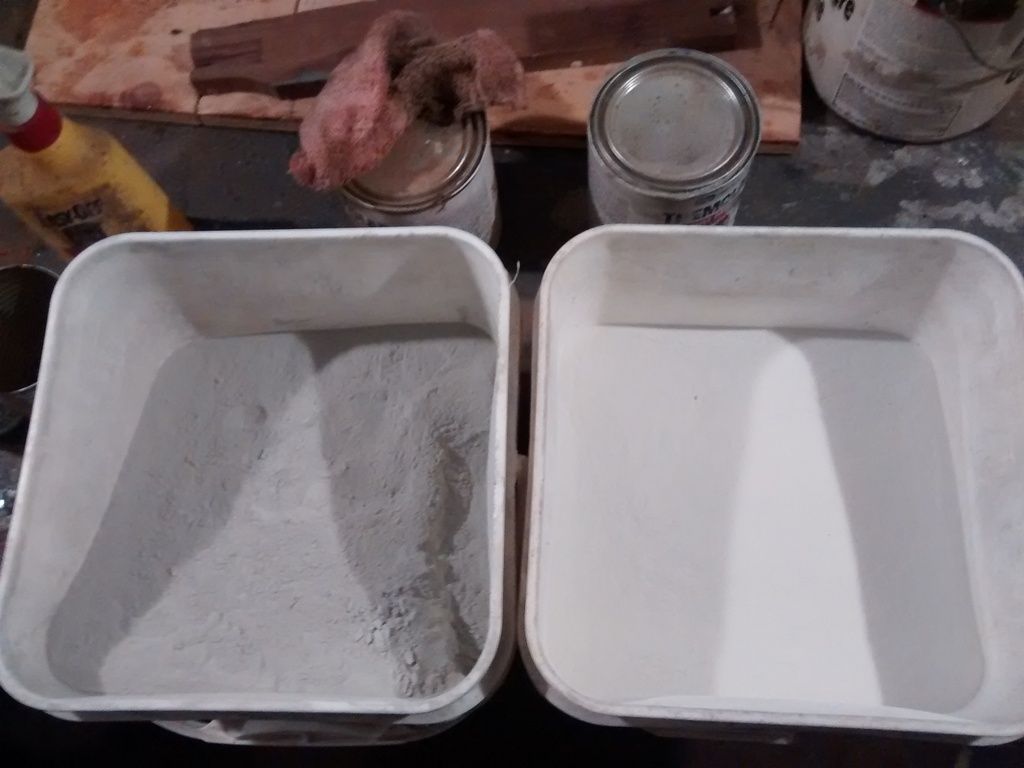
This combination makes incredibly strong glue and leaves plywood in shreds when you try to separate it
To check my fuel tanks I purchased an endoscope from amazon (China) for $28 delivered. It has 30’ of cable and plugs into the usb on my laptop.
Barrie
Re: Project "Tri Fly"
Posted: Wed Jan 06, 2016 10:59 pm
by Bear
Looks great I'm ashamed of myself being stressed about how many little projects I can't get done keep up the nice work good luck
Re: Project "Tri Fly"
Posted: Fri Jan 08, 2016 12:23 pm
by Barrie
Bear wrote:Looks great I'm ashamed of myself being stressed about how many little projects I can't get done keep up the nice work good luck
Thanks Bear, I'm very fortunate, my kids are grown and my wife understanding, which gives me the time and support for projects like this
Re: Project "Tri Fly"
Posted: Sun Jan 17, 2016 12:13 pm
by Longshanks
Hi Barrie, wow you are really neck deep into that project, very impressive and inspiring. I just purchased a 1976 F36 tri-cabin that needs TLC but i sure hope i dont run into surprises and have to gut down to that level. Im in Ottawa but my boat is at a boatyard up at Portland on the Big Rideau lake, you have me thinking I may document my project as well.. My first project is to tackle rot in the wooden rub rails. Did yours have any rot there? And was your back deck teak strips over plywood?
... Perry
Re: Project "Tri Fly"
Posted: Sun Jan 17, 2016 11:21 pm
by Barrie
My rub rails were good with the exception of a couple feet forward on the starboard side (busted and split). I had a friend I work with duplicate them with oak then I stained them to match the Teak?? I think they're teak.
I would gladly replace them with plastic or composite material.
Yes, the aft deck was teak over ply wood, that was a total right off.
I remade a ledge and put down 3/4" plywood, coated it all with resin then the top got 2 layers of fiberglass mat and one layer of roving
I plain to cover it with poly vinyl, fake teak on a roll, like all the pontoon boats use for outside deck floors.
Good luck with the project
Re: Project "Tri Fly"
Posted: Tue Feb 02, 2016 12:27 pm
by Barrie
Re: Project "Tri Fly"
Posted: Tue Feb 02, 2016 4:48 pm
by Donhollys
Wow Barrie!
Very enthusiastic project. It appears that you're not holding back. Nice job!


