Page 5 of 41
Posted: Thu Mar 01, 2012 10:34 pm
by yorklyn
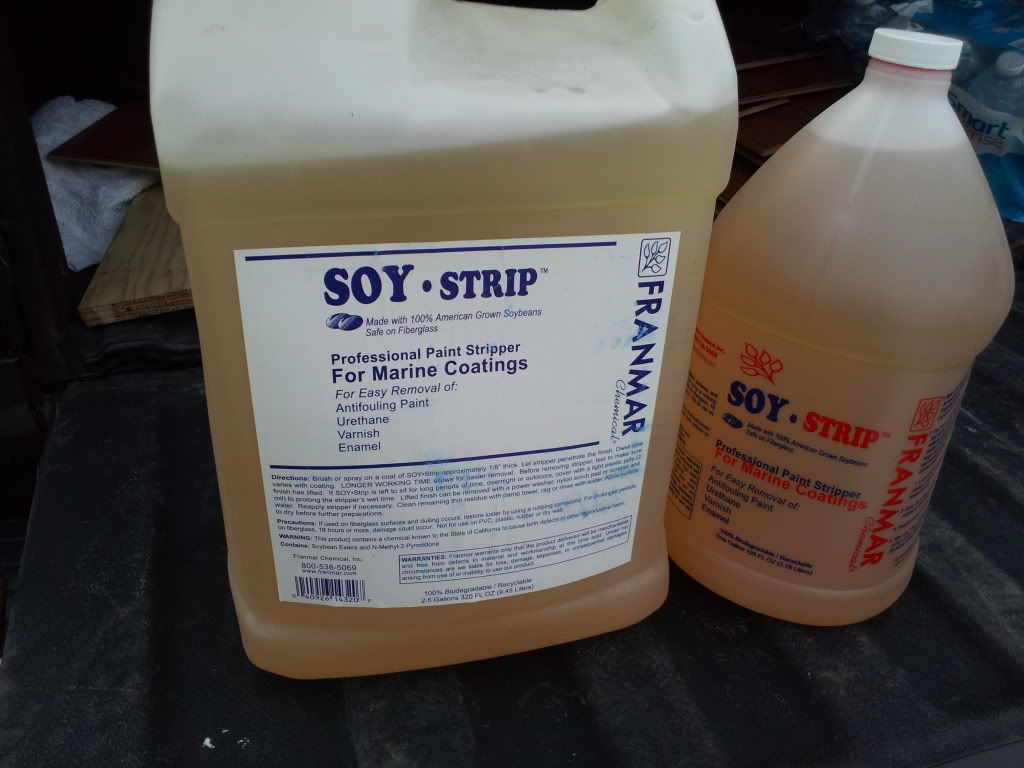
Oh by the way I'll be doing a review on Franmar Soy Strip bottom paint remover as soon as the 3.5 gallons I ordered yesterday shows up. Had good reviews so we will see. Need to buy lots of beer as payment for labor too!
Posted: Thu Mar 01, 2012 10:36 pm
by prowlersfish
Let us know how it goes .
Posted: Thu Mar 01, 2012 10:44 pm
by yorklyn
I'm not looking forward to doing it, but i'm looking forward to it being done!
Posted: Wed Mar 07, 2012 7:42 pm
by yorklyn
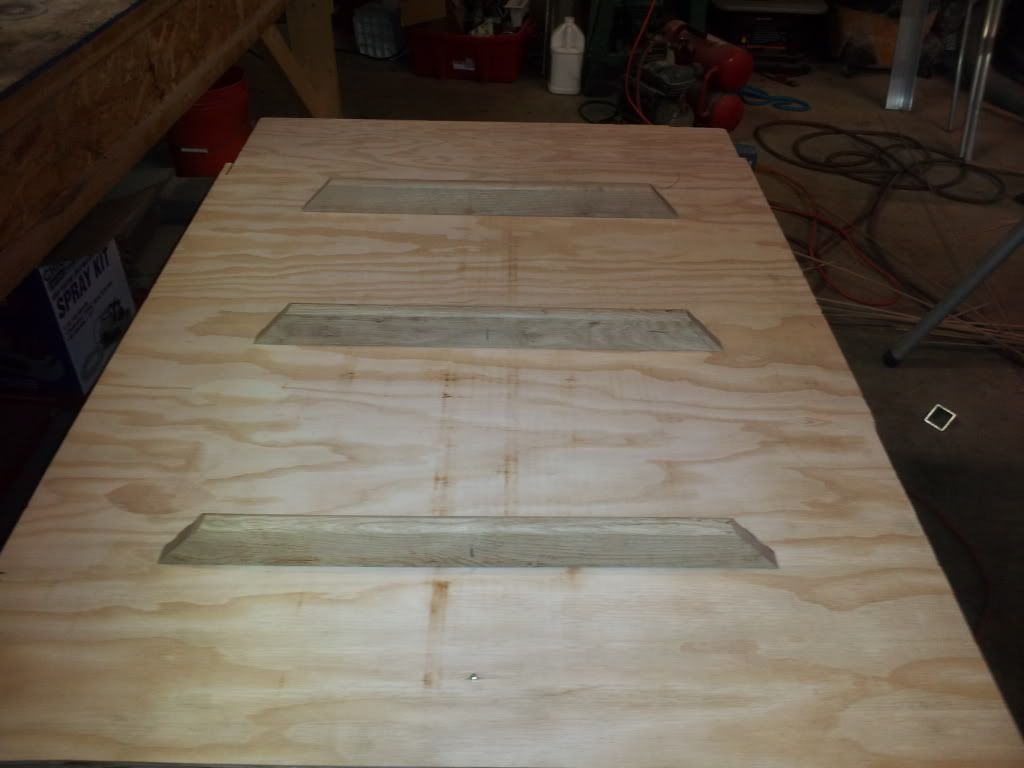
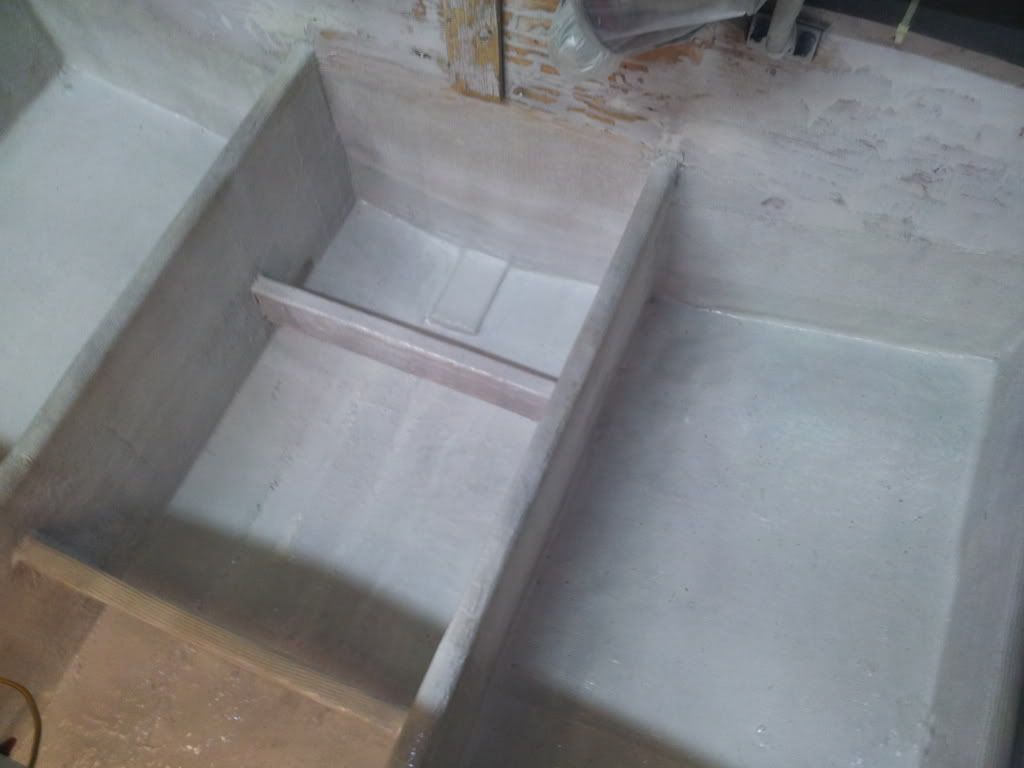
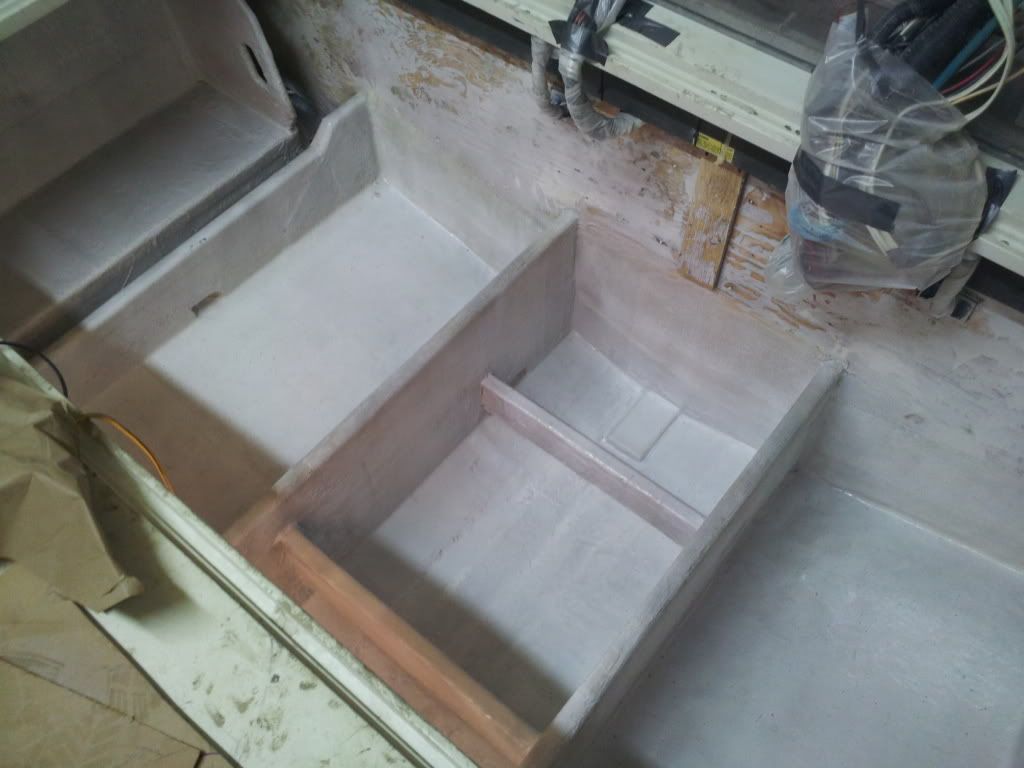
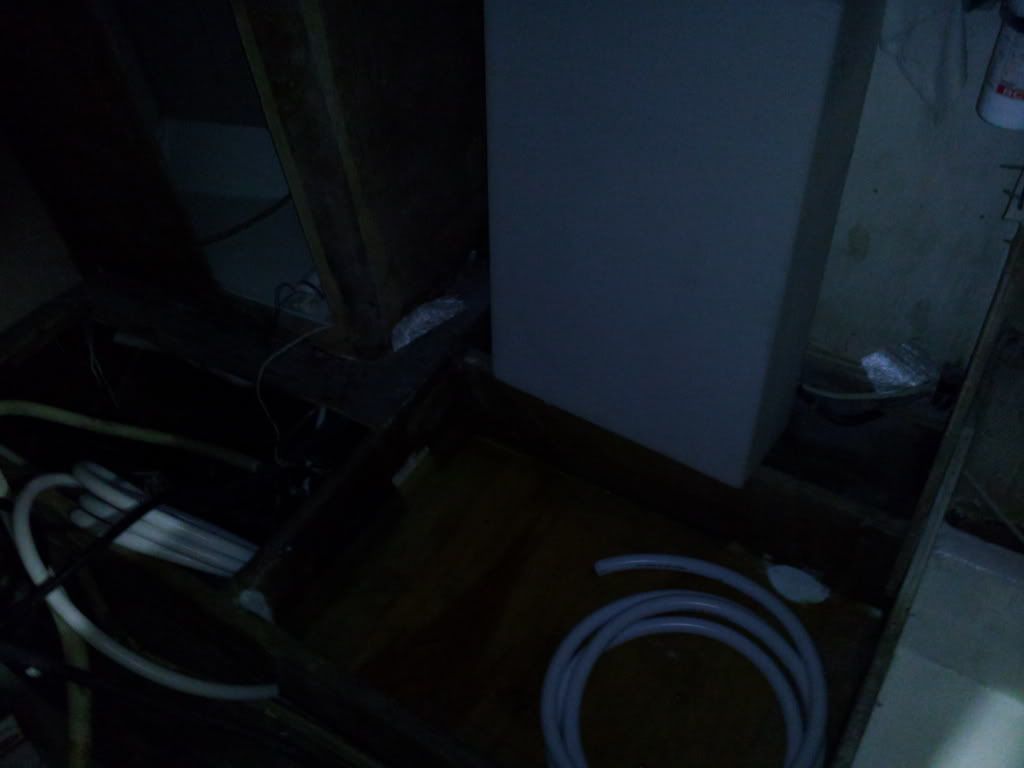
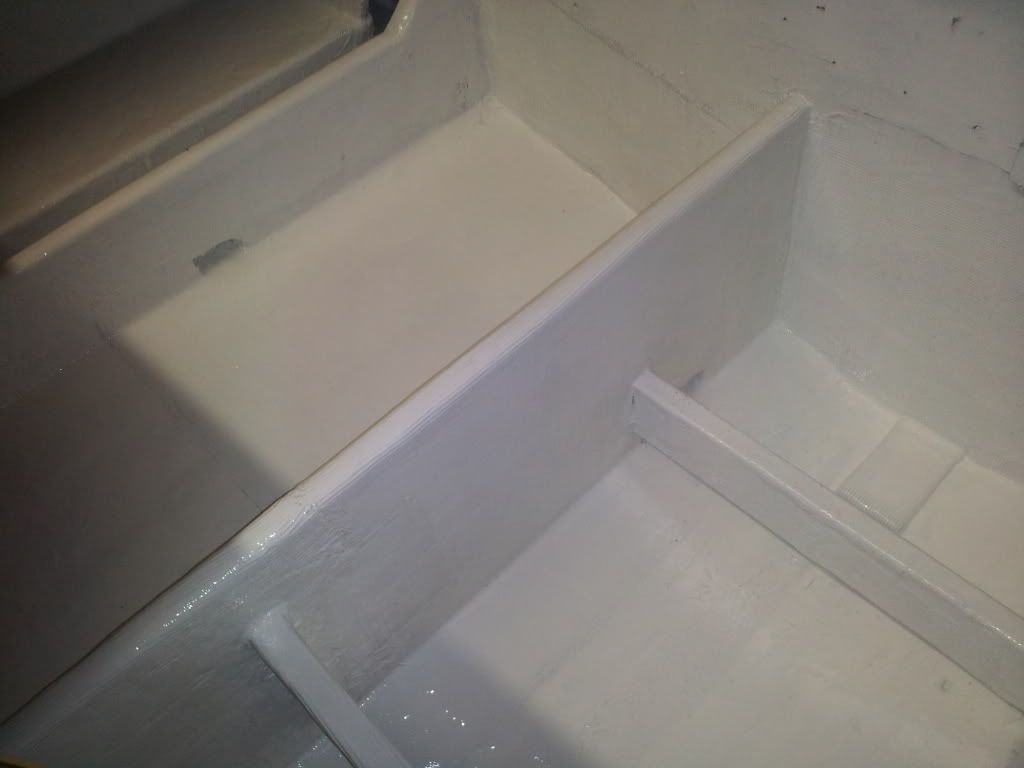
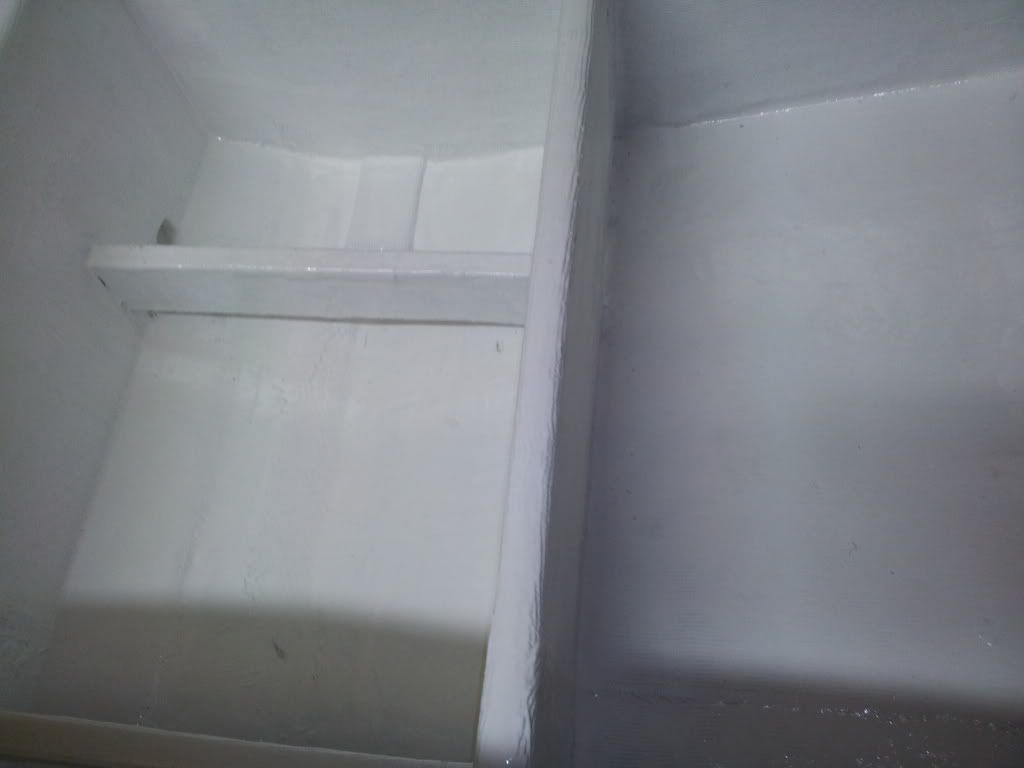
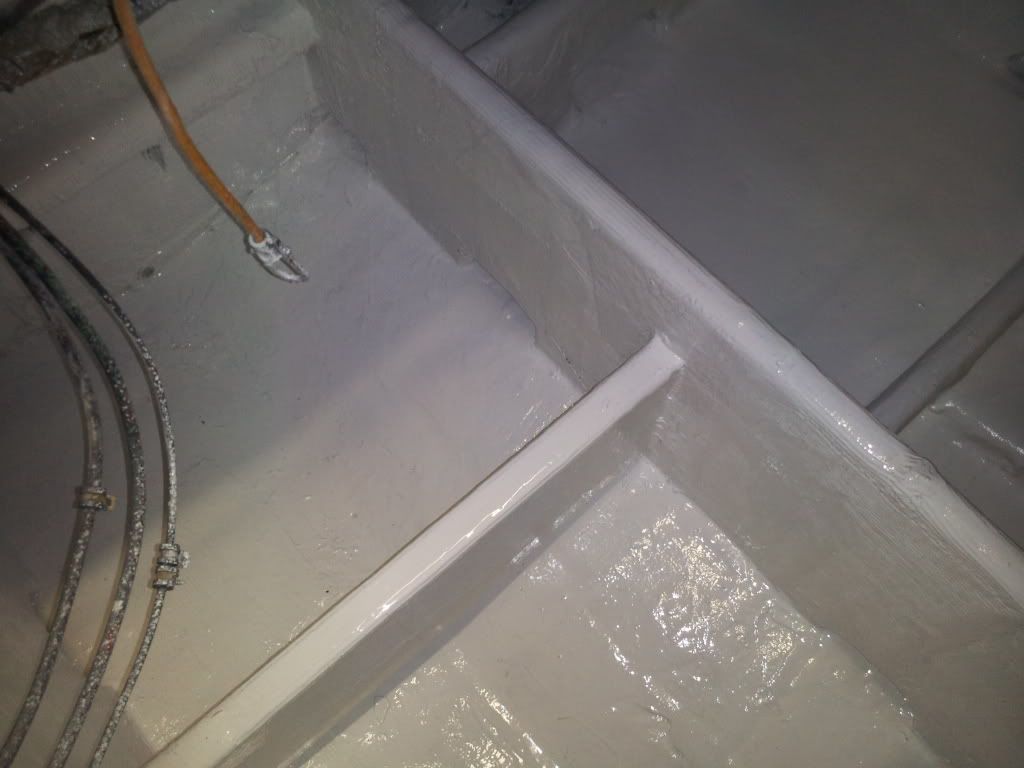
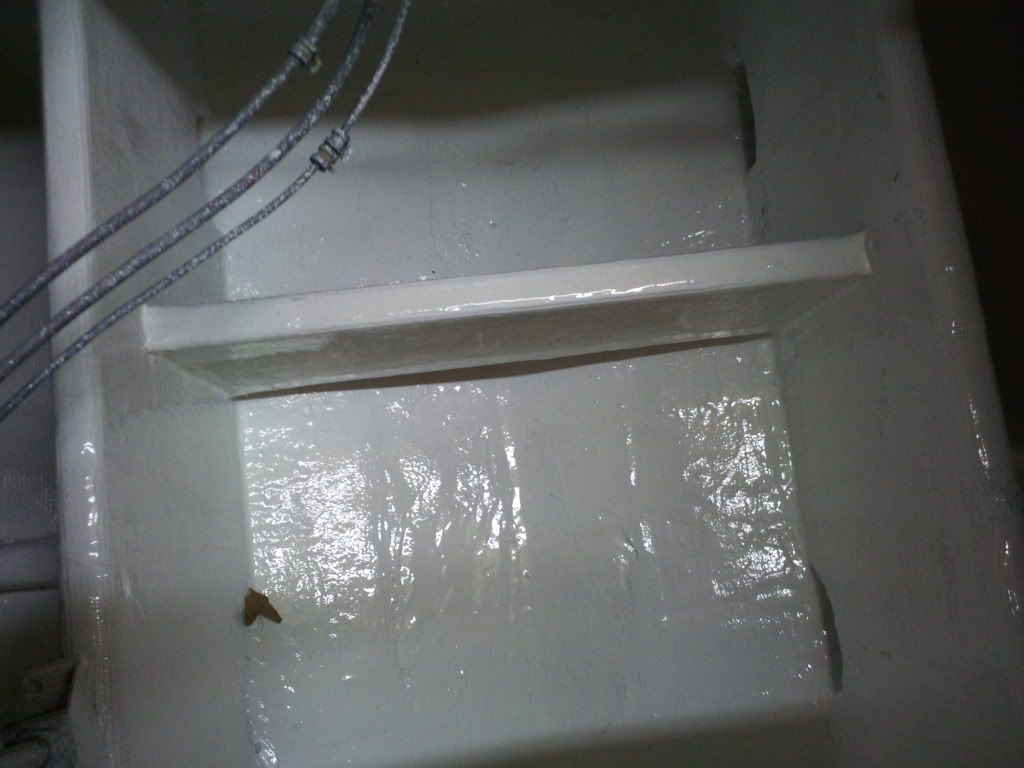
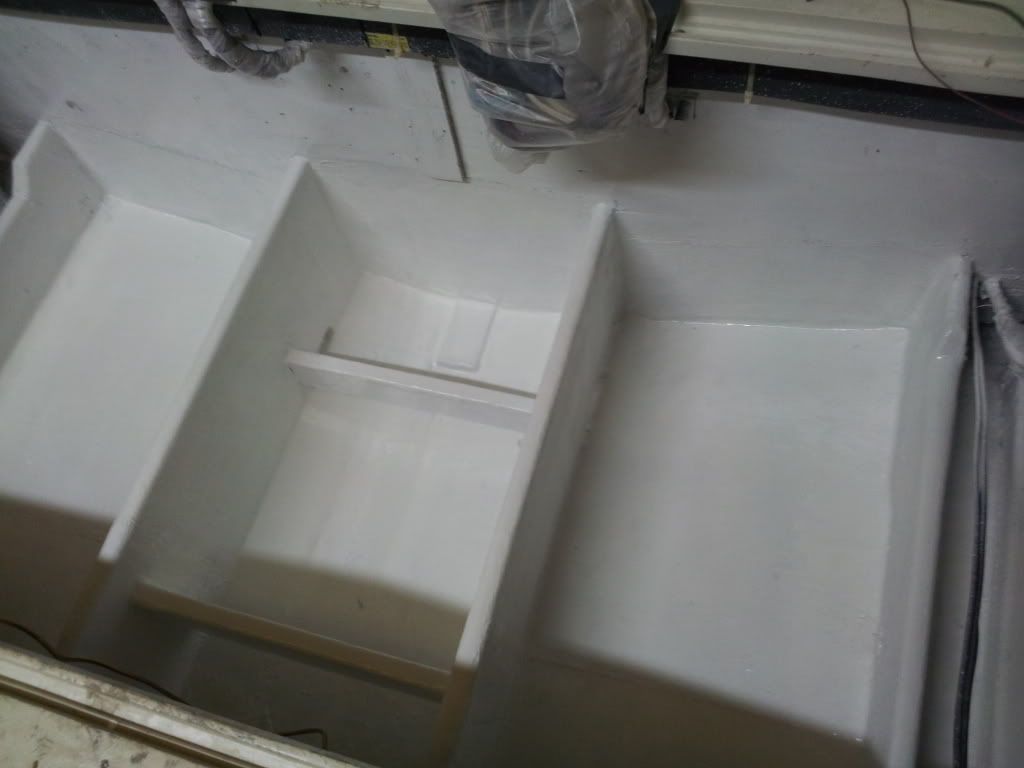
Got my white oak boards/flooring to support the platform for the water tank. had too much flex in the plywood because of the span (32 inches) so I took a few white oak boards and glassed them to the underside of the water tank to add reinforcement. They still sit about 4 inches up from the keel and dont touch anything. coated everything with epoxy. I couldnt wait any longer and felt the need to paint something white. I rolled the floor and sides of the stringers of the aft cabin as well as the bilge floor under where the water tank will go. (i didnt coat the sides of the stringers yet because I plan on glassing the platform in place). put on two coats, I think I'm going to spray three thinner coats in the bilge. At least the polyurea coating dries in 1 hr which makes it easy to do multiple coats.

[/img]

[/img]

[/img]
Posted: Wed Mar 07, 2012 7:43 pm
by yorklyn
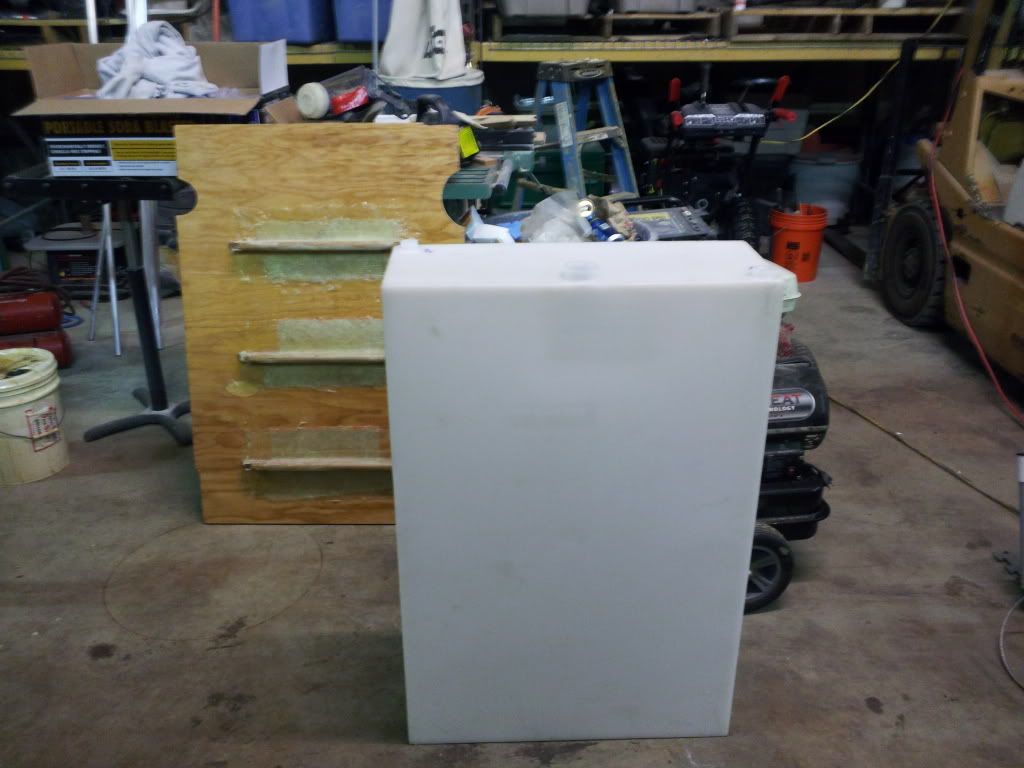
The Water take showed up today!! getting closer to having a cabin floor again!!!!!
Posted: Sun Mar 11, 2012 5:03 pm
by yorklyn
New 42 gallon tank
[img
][/img]
Posted: Sun Mar 11, 2012 5:07 pm
by yorklyn
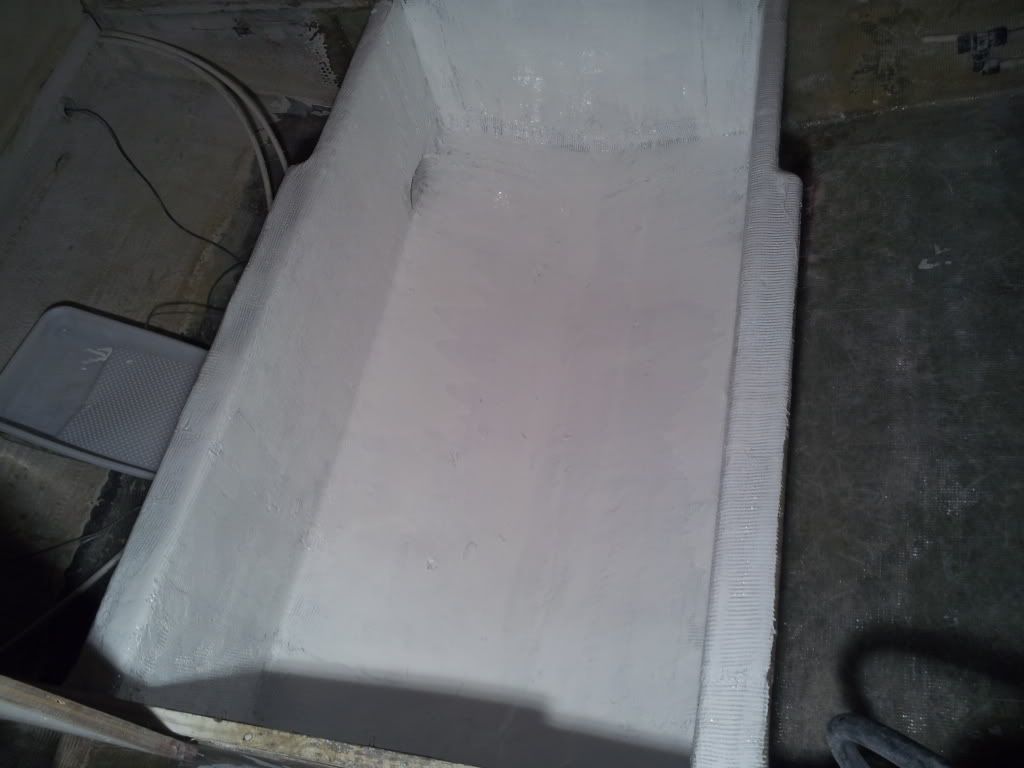
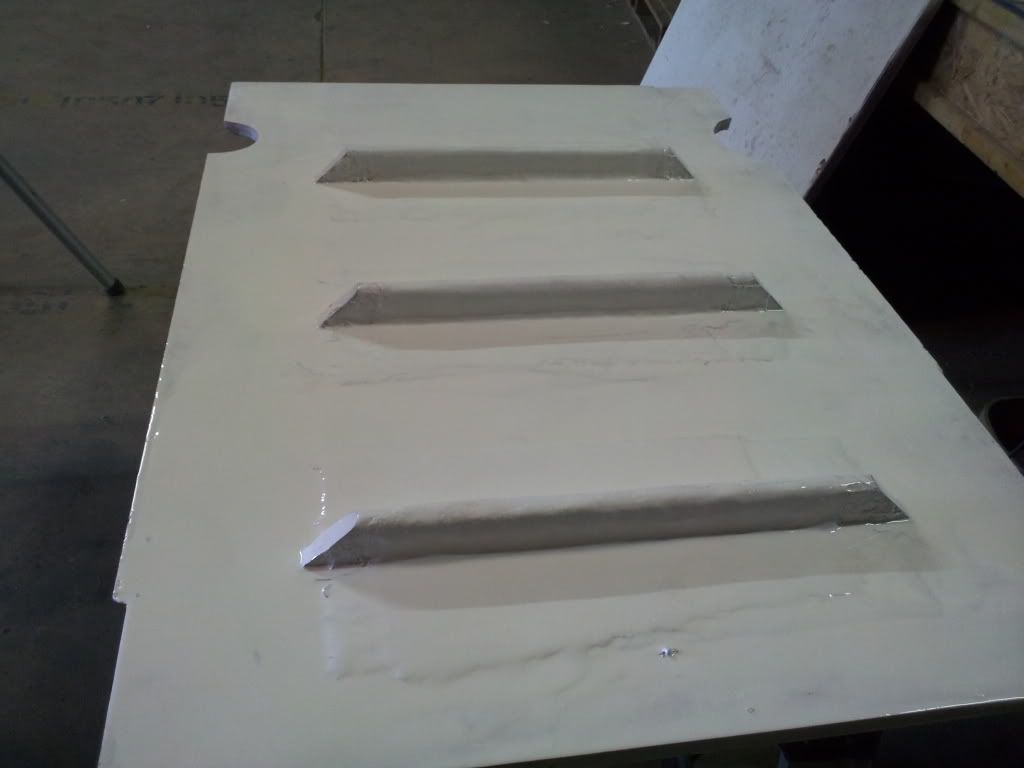
Coated the underside of the watertank platform with polyaspartic polyurea to protect it.
[img][img]
http://i247.photobucket.com/albums/gg14 ... 153450.jpg[/img][/img]
Posted: Sun Mar 11, 2012 5:23 pm
by alexander38
yorklyn wrote:Oh by the way I'll be doing a review on Franmar Soy Strip bottom paint remover as soon as the 3.5 gallons I ordered yesterday shows up. Had good reviews so we will see. Need to buy lots of beer as payment for labor too!
I just posted the link to this in another post..how funny...let us know how it works,some of us have bottom jobs coming up..

Posted: Sun Mar 11, 2012 5:23 pm
by yorklyn
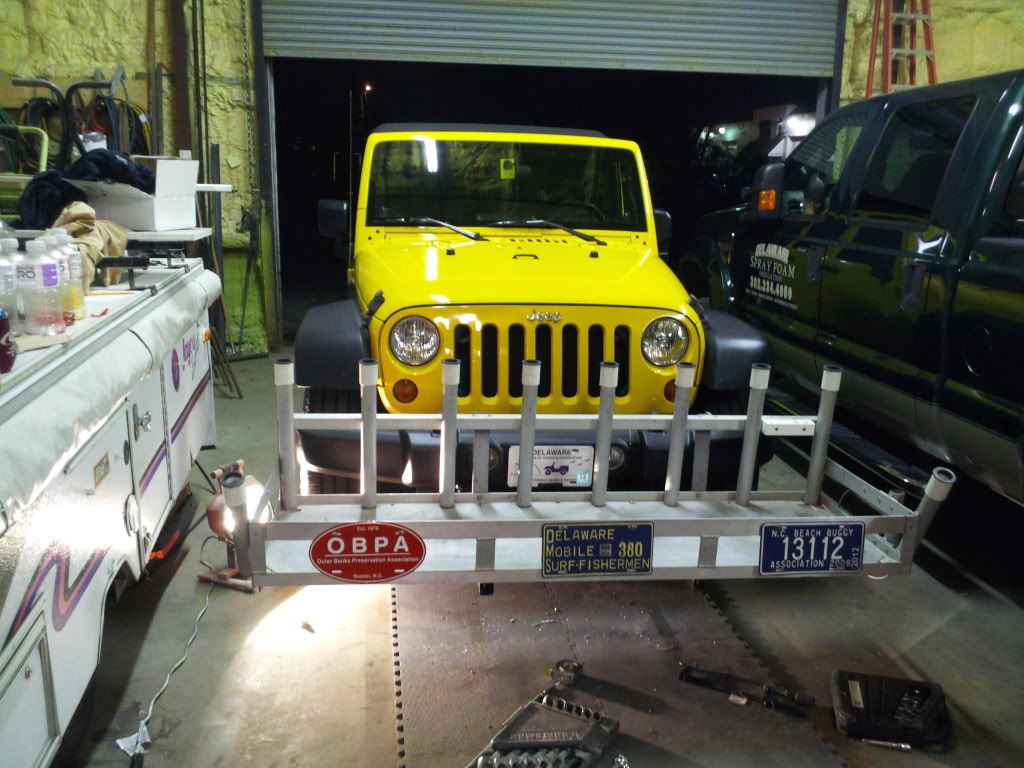
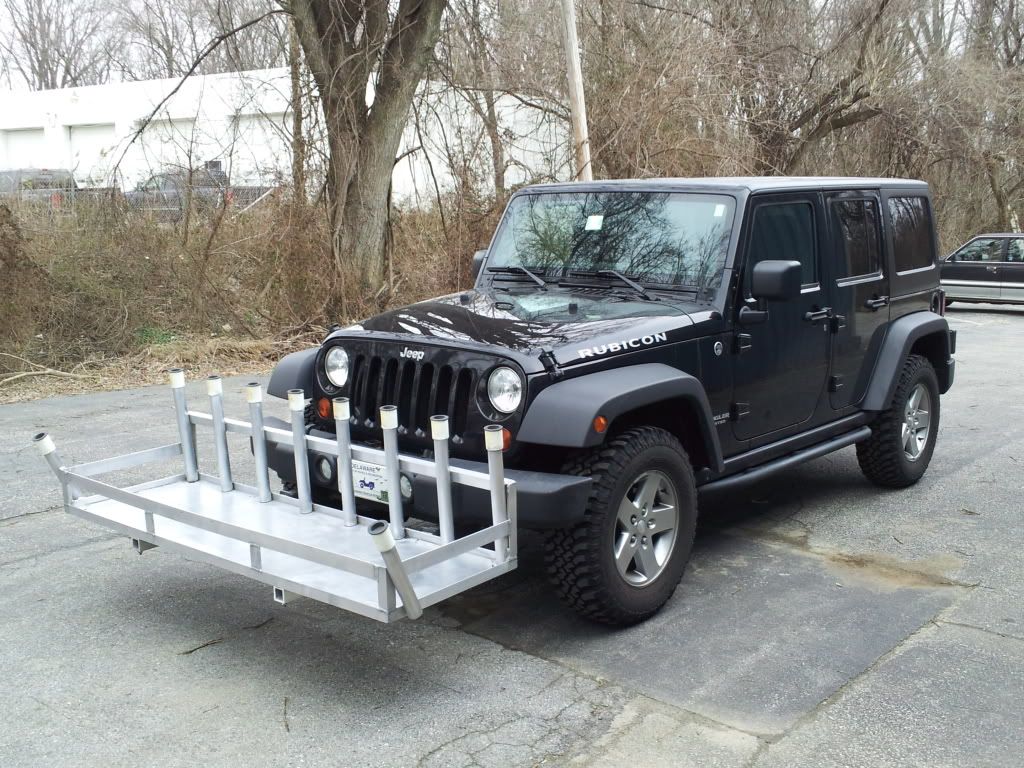
Had to take a day off to help my buddy weld up a front mount for his surf rack. Considering he's been helping me with the boat every chance he gets it was the least I could do!
[img
]
I also did the same thing with the wifes Jeep
[/img
]
Needed a bigger rack since the "Hot dog Cart" (as my wife affectionatly calls is) that I made was not big enough to haul all of our crap out on the beach for a day of fishing!

[/img]
This is what you have to do when you have your Trojan ripped apart and your family gets bored in the summer!
Posted: Sun Mar 11, 2012 5:48 pm
by yorklyn
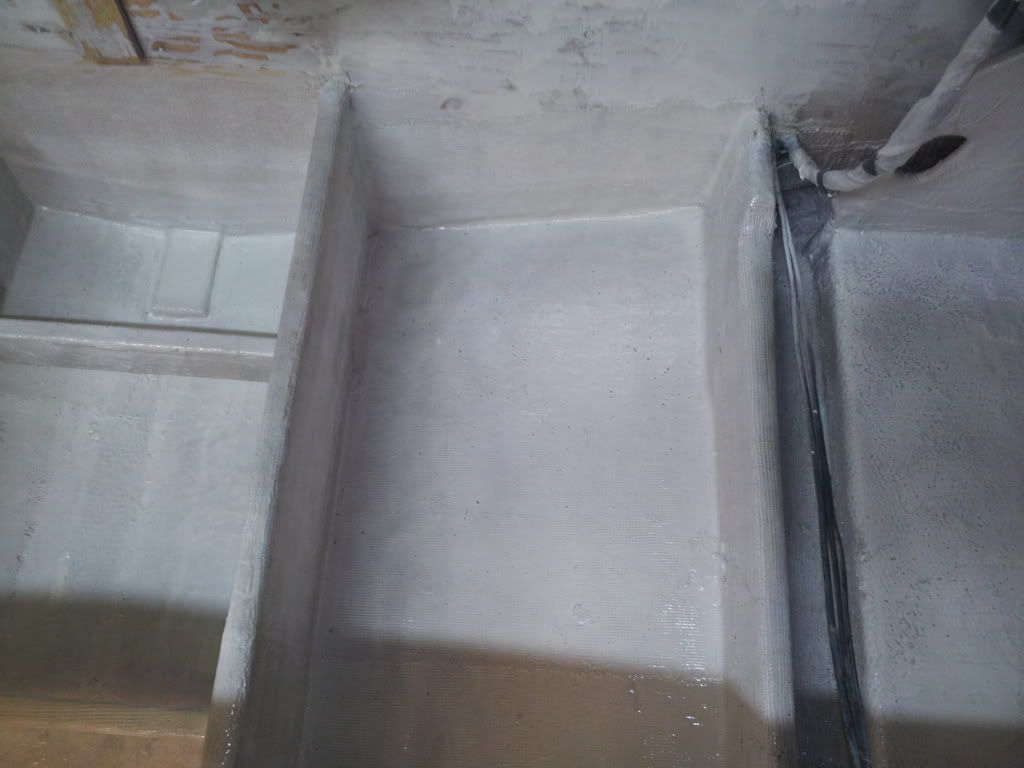
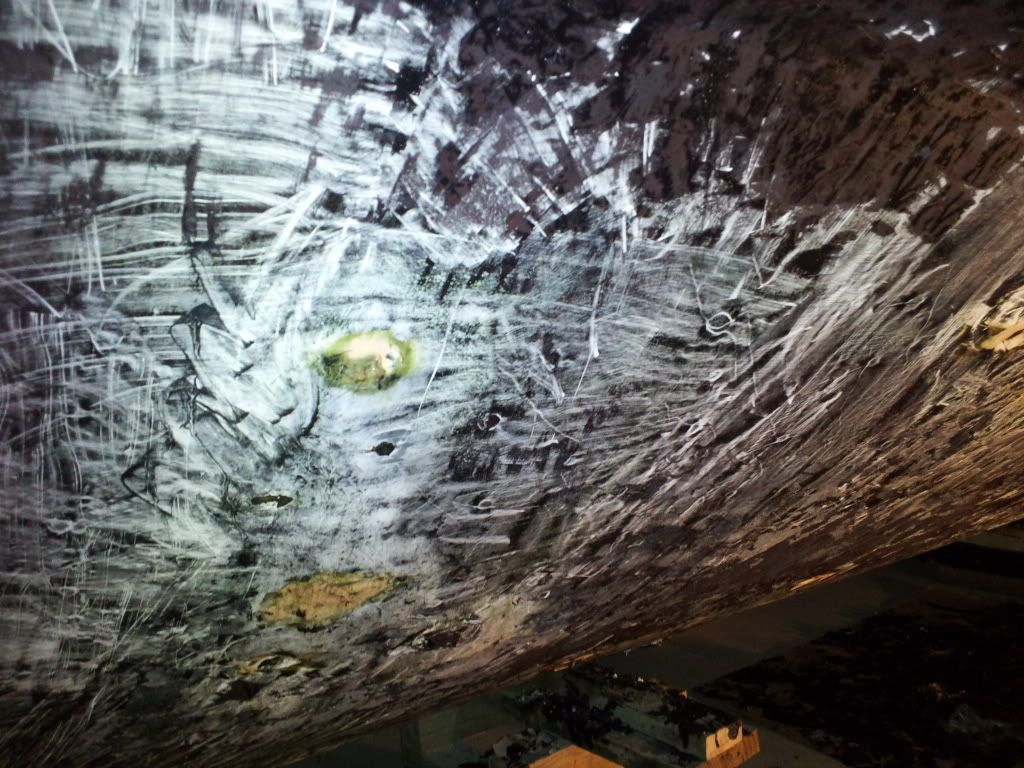
I'm a little tired today. Started preping the bilge for paint yesterday at 8am. Got home this morning at 3:30 am! Lucky for me my buddy (with the yellow jeep) hung in there with me the entire time!!! We sprayed the first coat of polyurea with a small paint sprayer. This went less than perfect! You have about 10 minutes after mixing before the coating starts to gel. We had to make small batches andflush the spray gun with acetone after every batch. I could not get enough material output from the gun due to the product being so thick even after thining it to the max ratio recommended. The only good side of this is the material sets up enough to walk on in about 1 1/2 hr. We decided to roll the second coat. This product is typically used on floors where it can self-level to a "glass" finish. FYI- the bottom of my boat is not flat and neither are the stringers! We mixed about 36 ounces of material at a time and worked together being careful not to put it on too thick to limit the runs. Unfortunately I am going to have to do a third coat to get the look I want. Of course since we are past the recoat window for the coating I need to scuff the entire bilge and wipe it down with acetone before I recoat.
[img
]
[/img]
[/img]
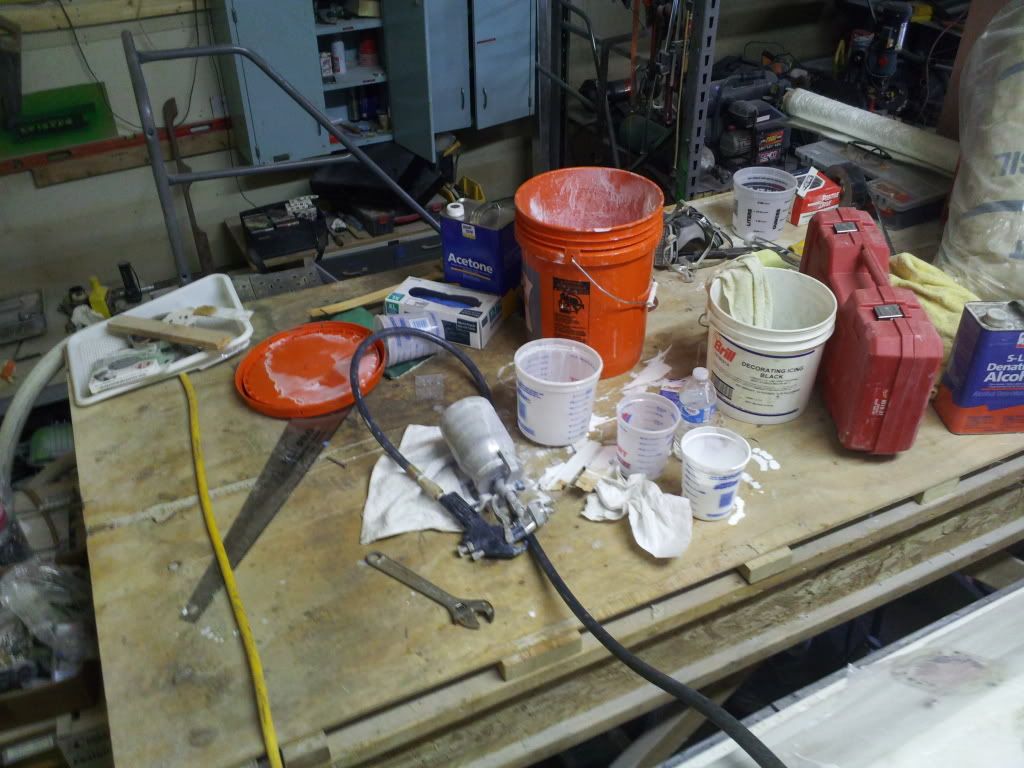
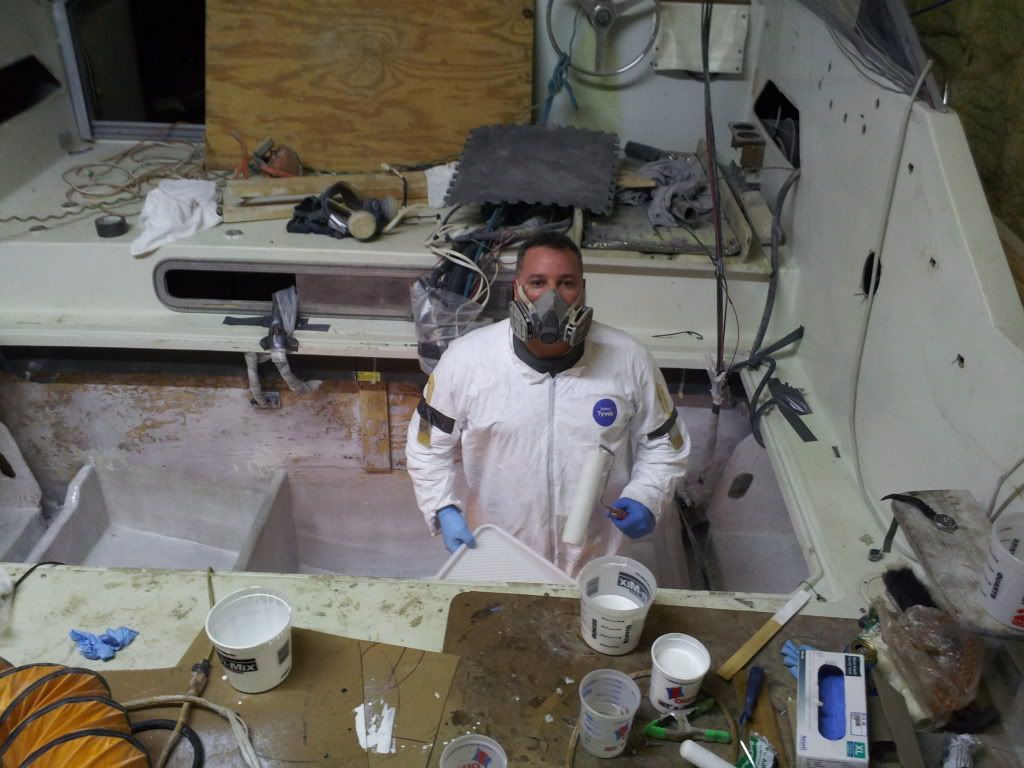
Notice in the last picture the two paintbrushes taped to my buddies arms! He wanted to be prepared for anything! Hows that for a friend! LOL
Posted: Sun Mar 11, 2012 5:52 pm
by yorklyn
After the bilge and water tank we are going underneath. Not looking forward to this step!
Posted: Sun Mar 11, 2012 9:22 pm
by RWS
Hey Todd,
Your project has really come a long, long way.
While it is a real shame that you had to deal with this, your results will be OUTSTANDING !
It's really nice to see some of these 10 Meters brought back to thier former glory and then some.
If she was a production boat like a Sea Ray or Wellcraft, the effort might be less than worthwhile.
The International Series may be somewhat misunderstood by the average Joe The Boater, but those of us who know them, love them for what tthey are and what they are capable of doing.
GREAT STUFF !
RWS
Posted: Wed Mar 21, 2012 9:43 pm
by yorklyn
Posted: Wed Mar 21, 2012 9:46 pm
by yorklyn
Posted: Wed Mar 21, 2012 9:48 pm
by yorklyn
Went to put the watertank in but west marine sold me the wrong size fill and vent hoses!

