Page 1 of 1
11M Interior Overhaul - Part II
Posted: Thu Jul 25, 2013 3:06 pm
by BlueBelle
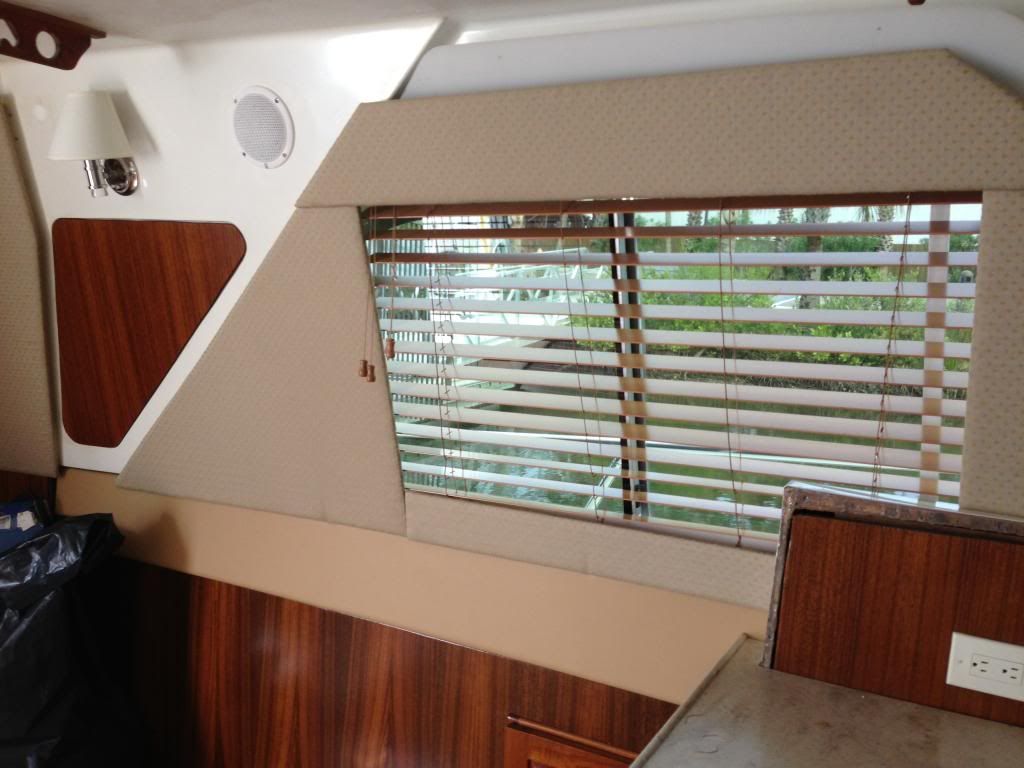
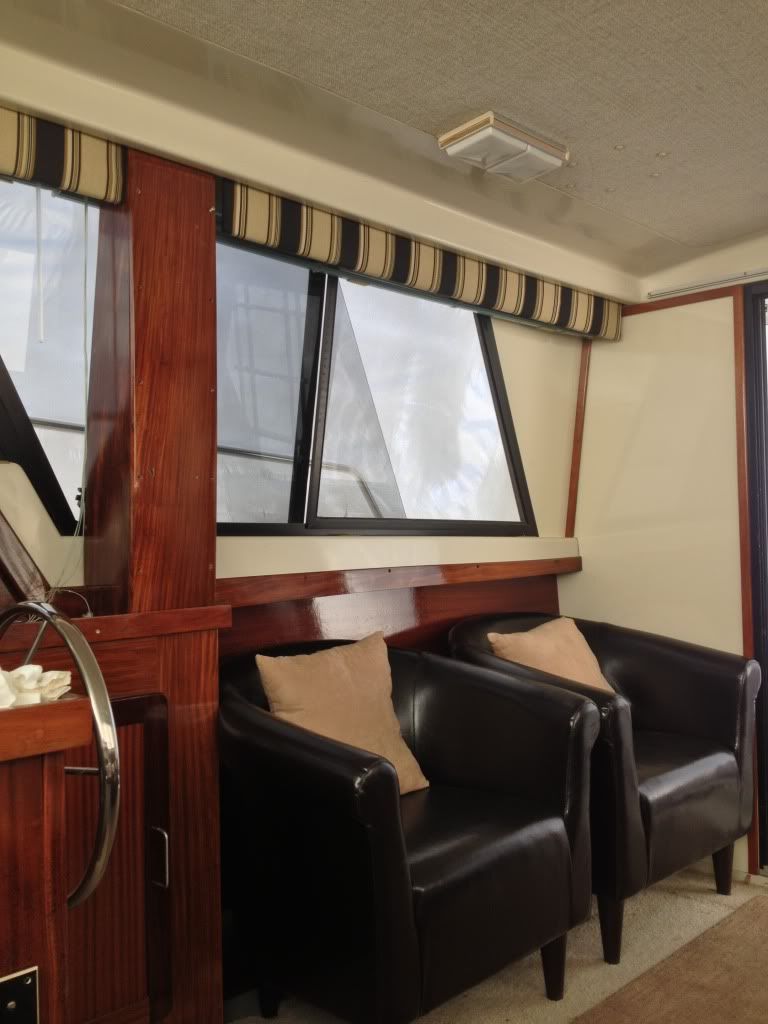
A little more progress on the salon. I still need to complete the starboard side window treatments and install indirect lighting. I've already prewired. I will install IMTRA high output interior flexible LED strip tape behind the the top edge of the window valences to illuminate the ceiling.
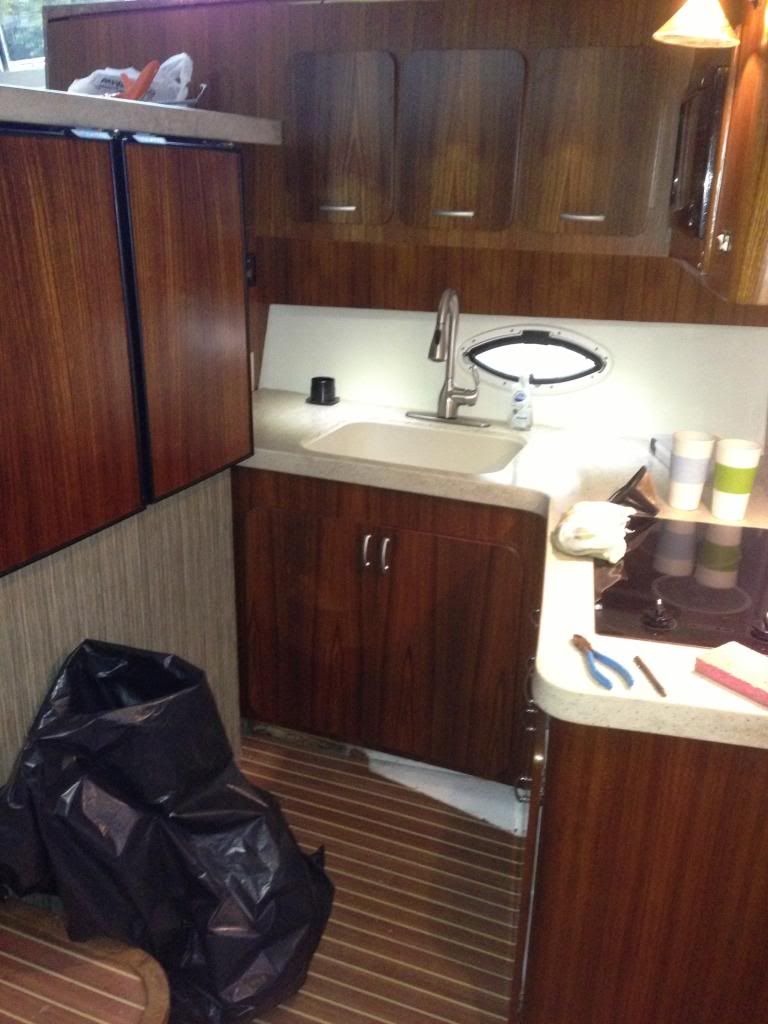
We did a little work on the galley as well. As previously stated first line of business was watertight inegrity. Bow rail and deck cleats were removed and rebedded. I also had to chase some minor windshield frame leaks. I also replaced side window channels. The galley portlight also leaked. I ended up replacing all of the poorly-designed leaky Trojan portlights, and repaired minor core damage from galley portlight leaks.
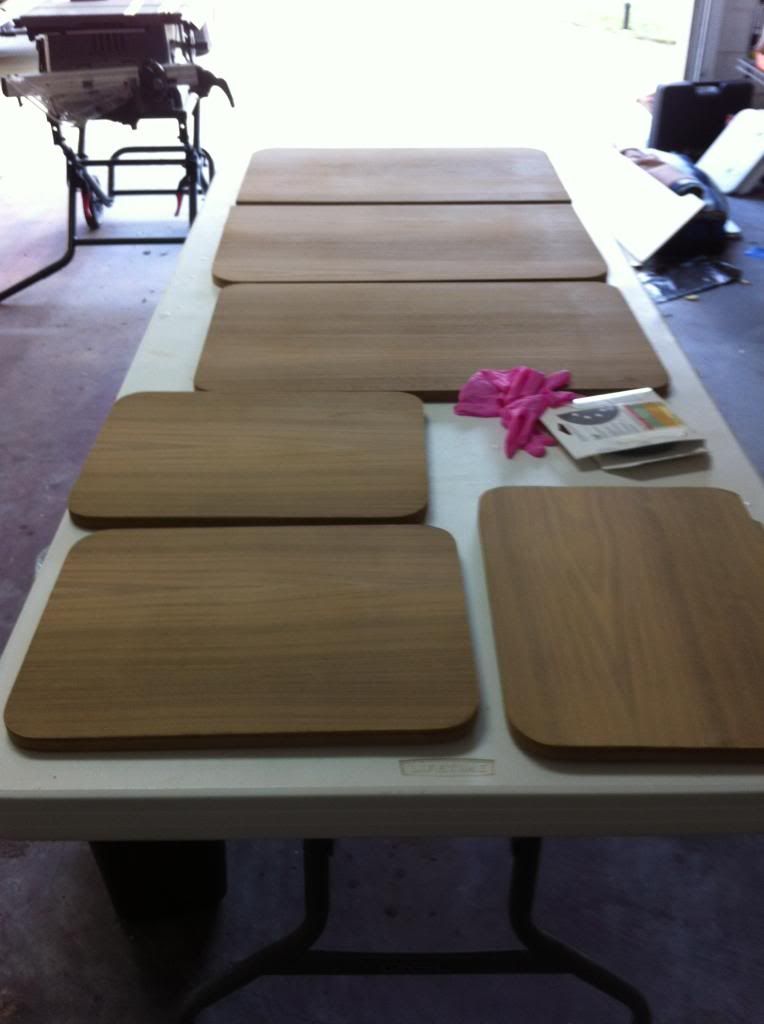
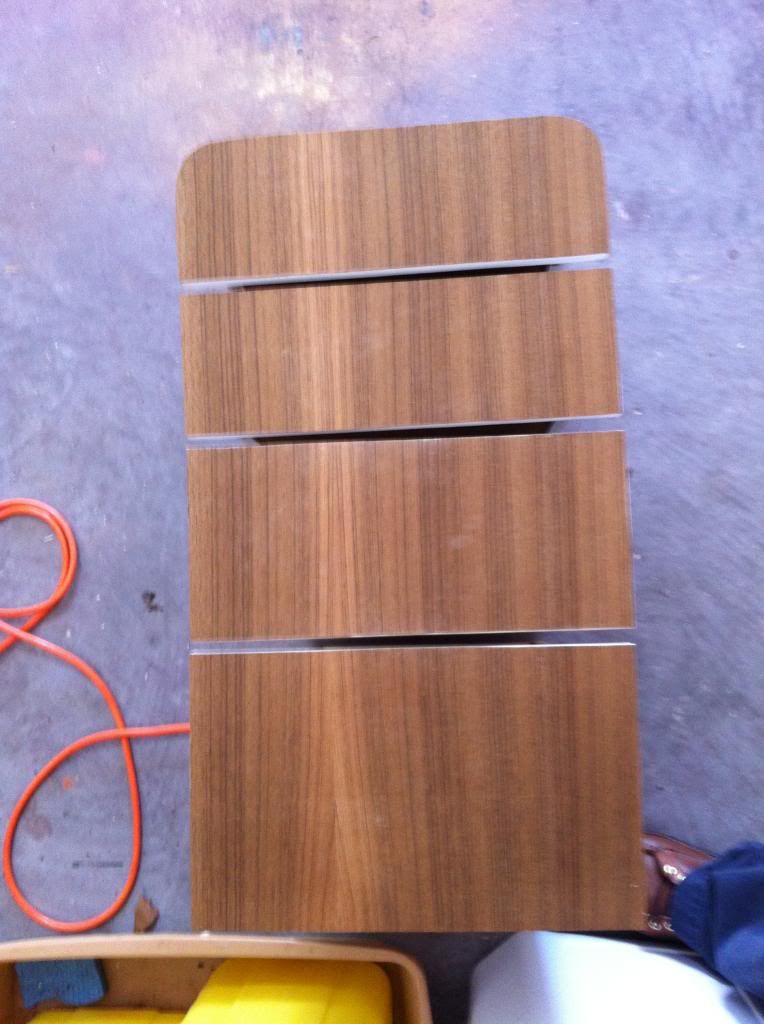
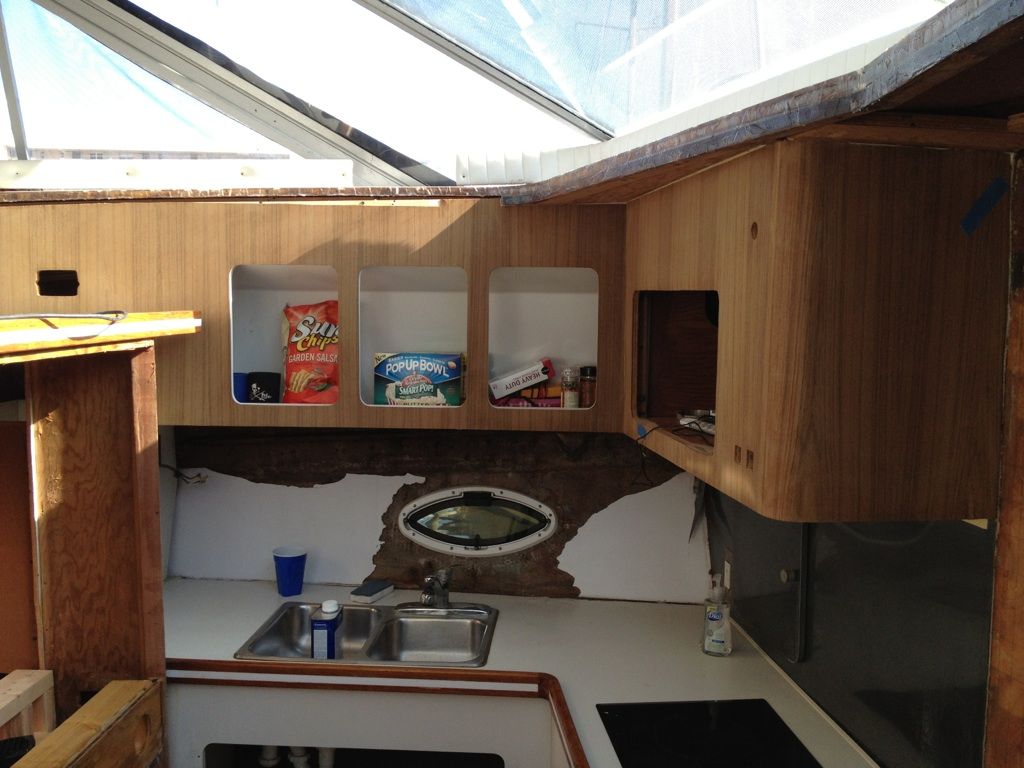
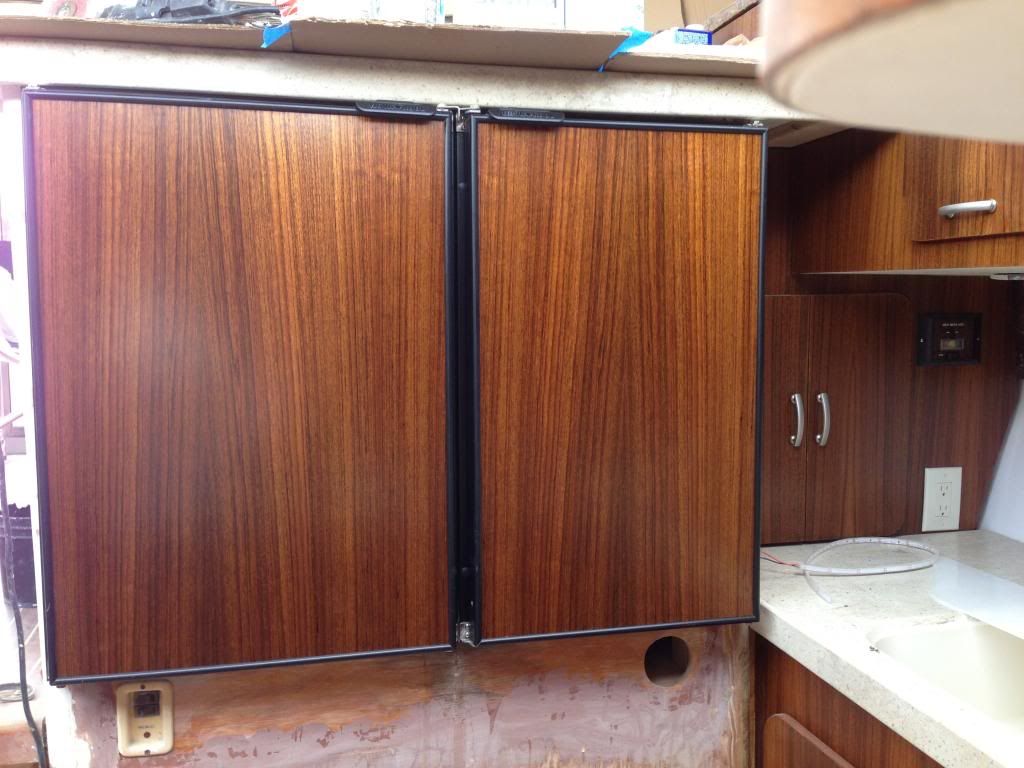
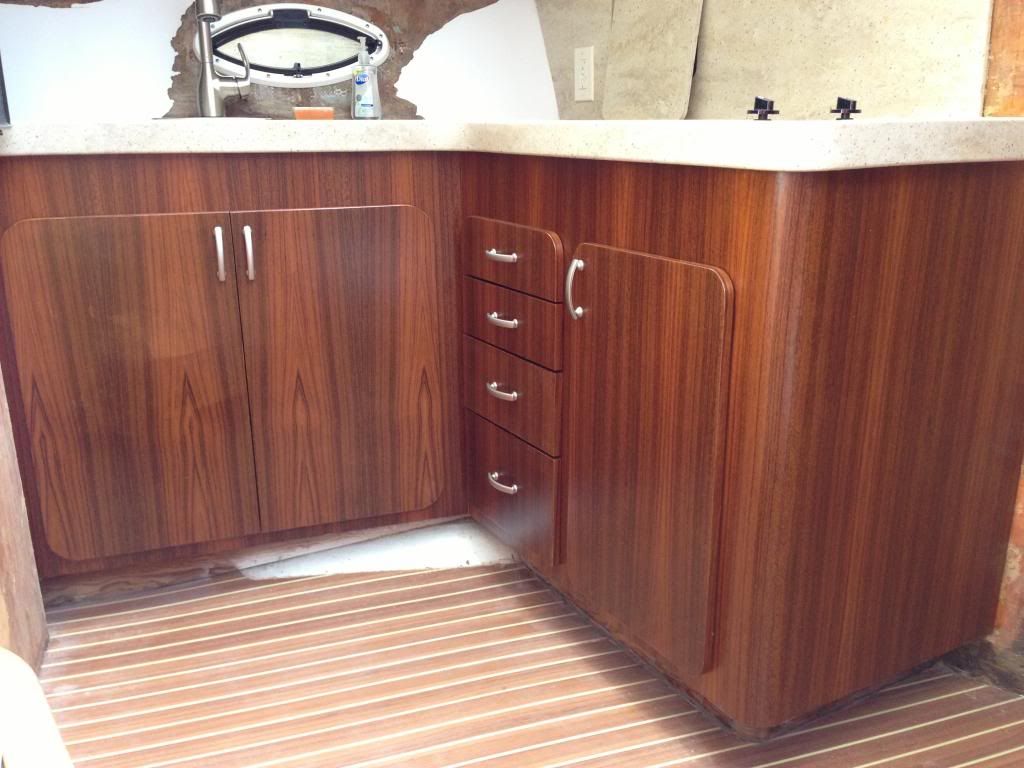
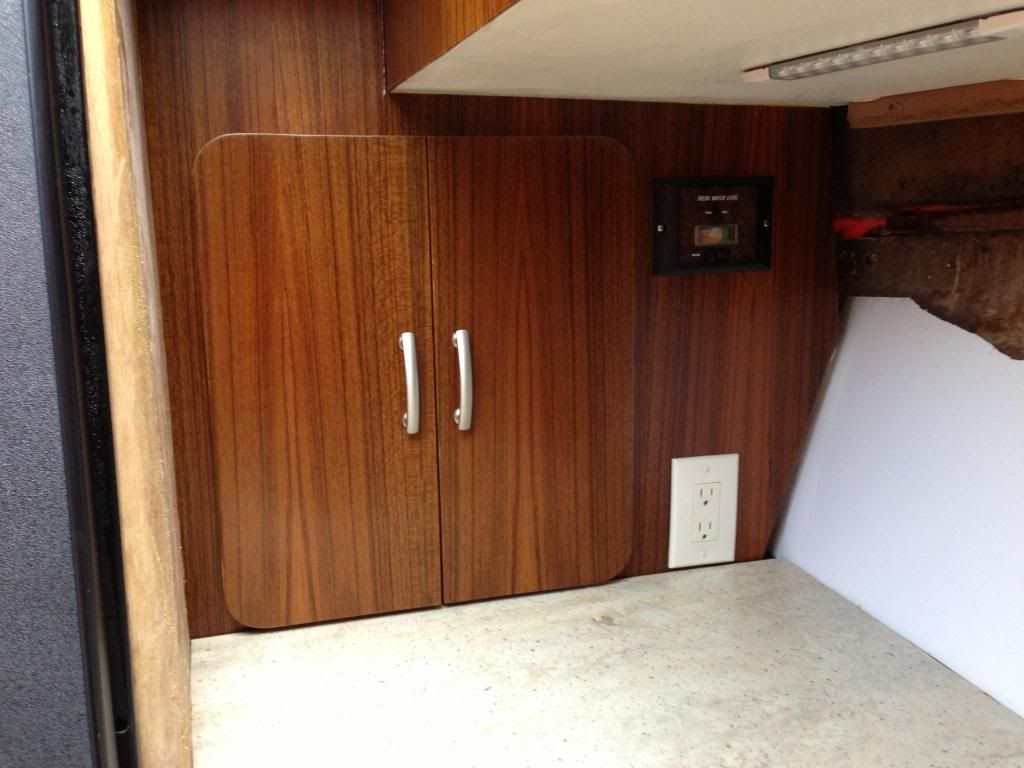
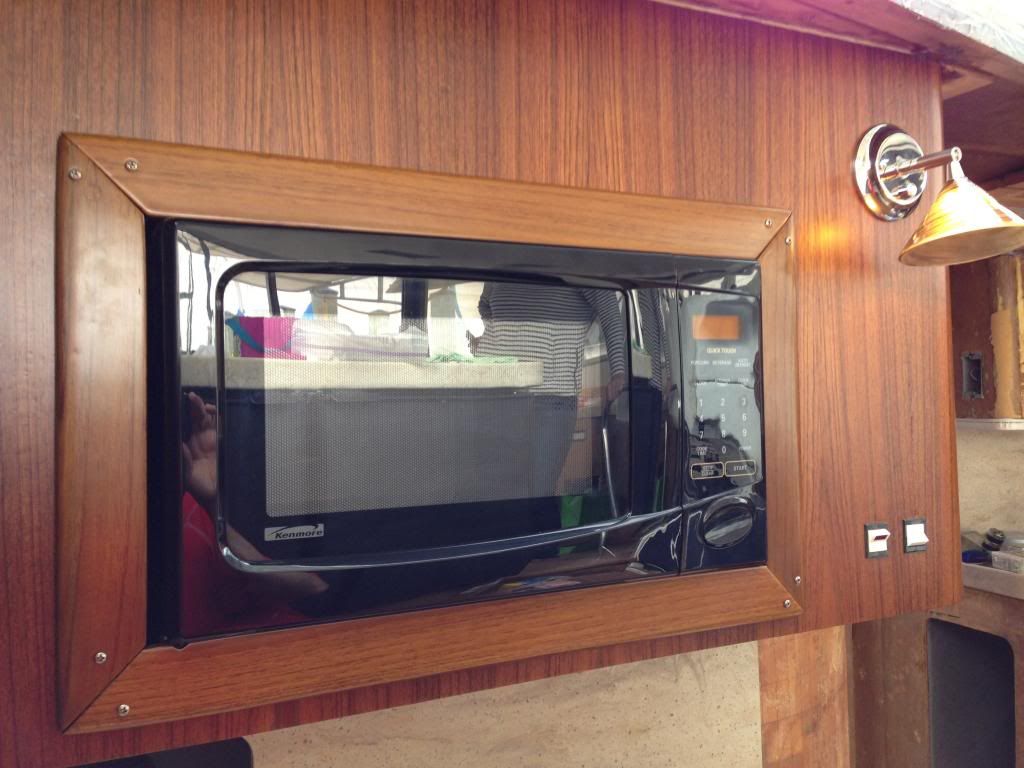
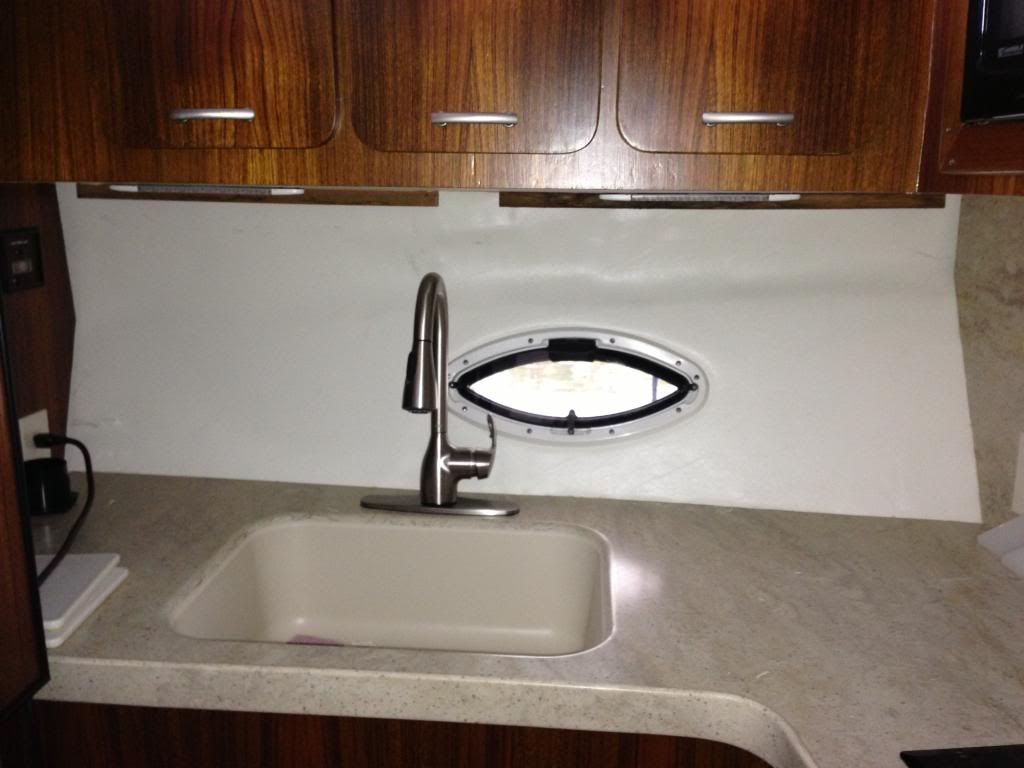
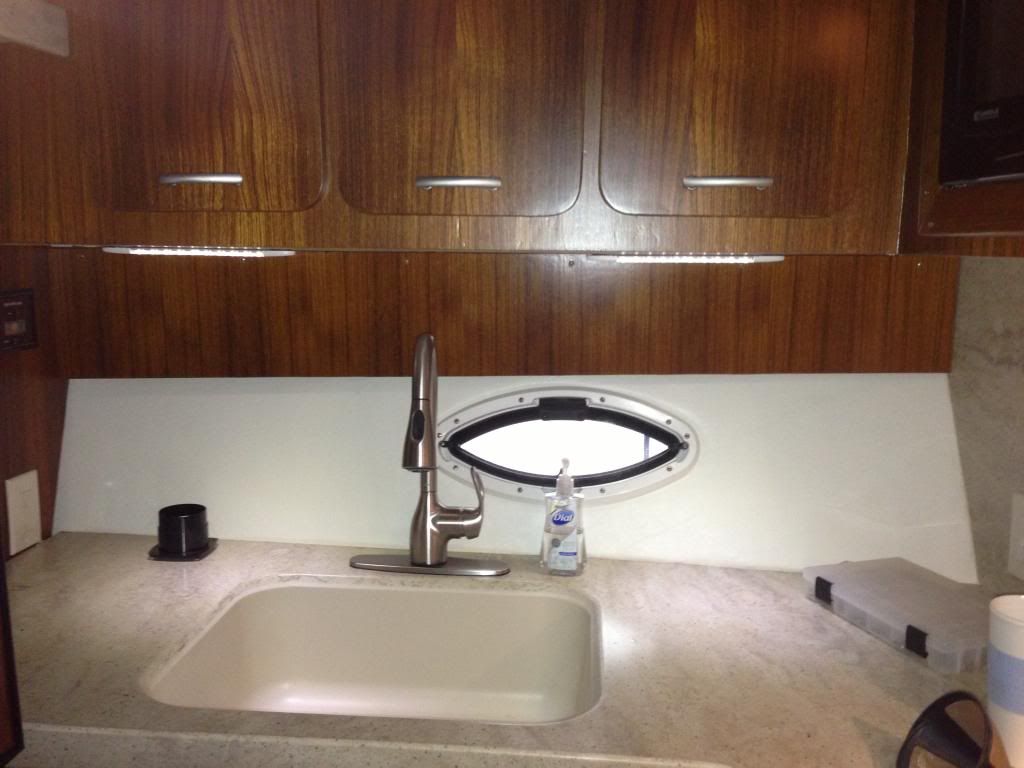
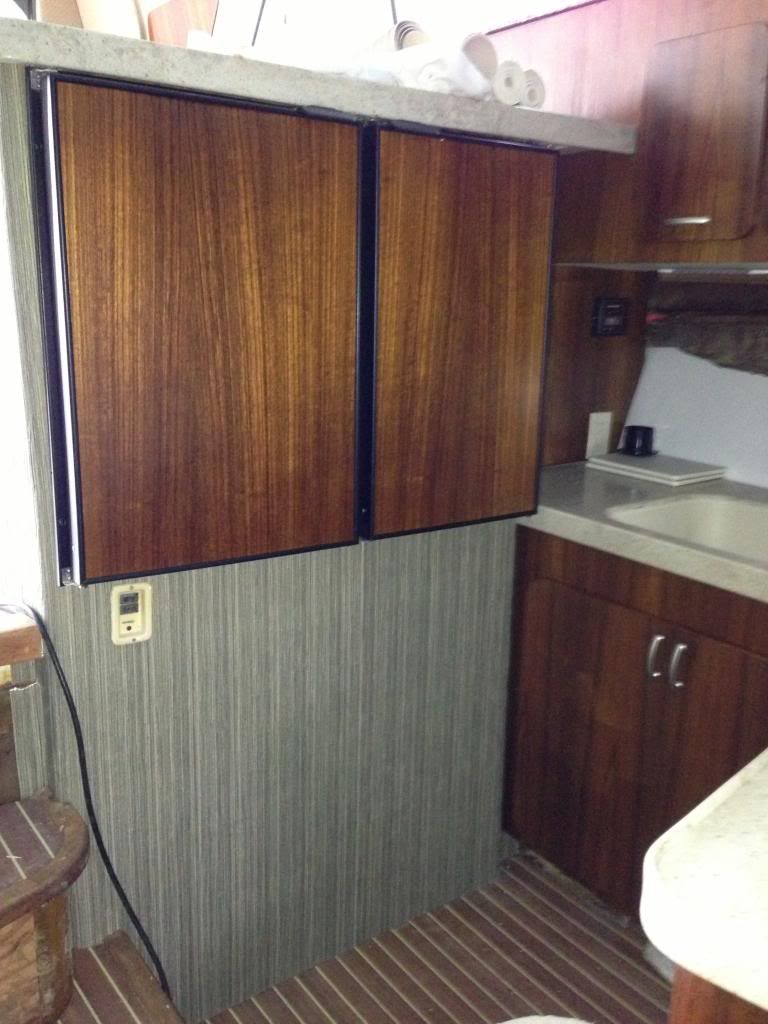
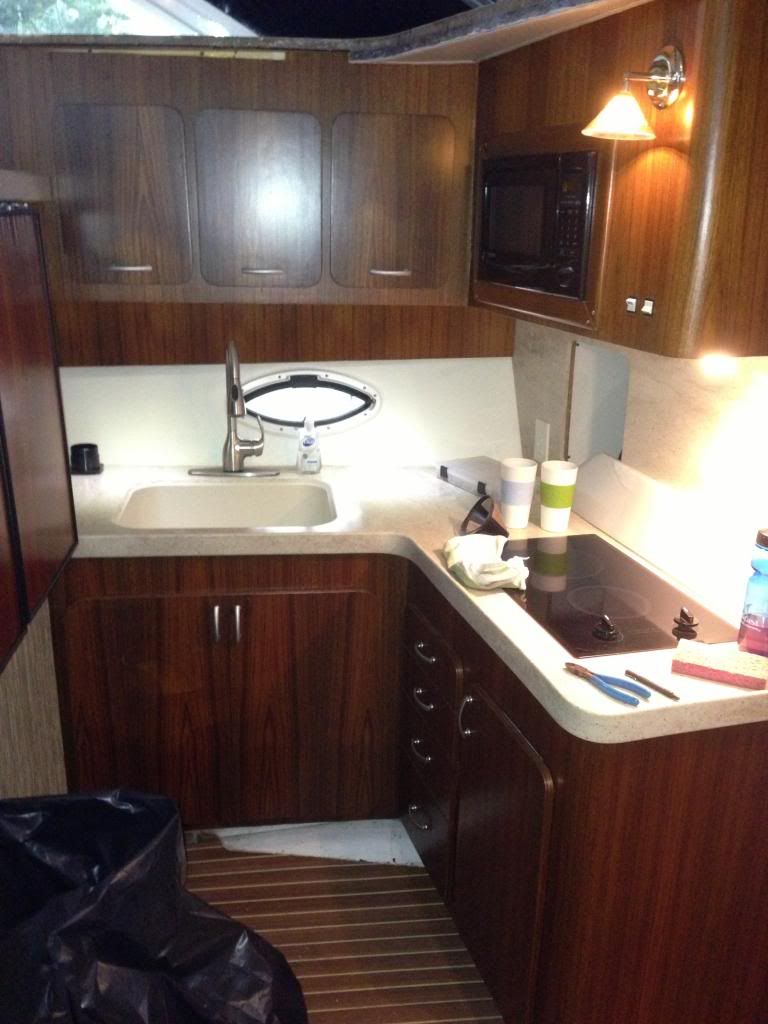
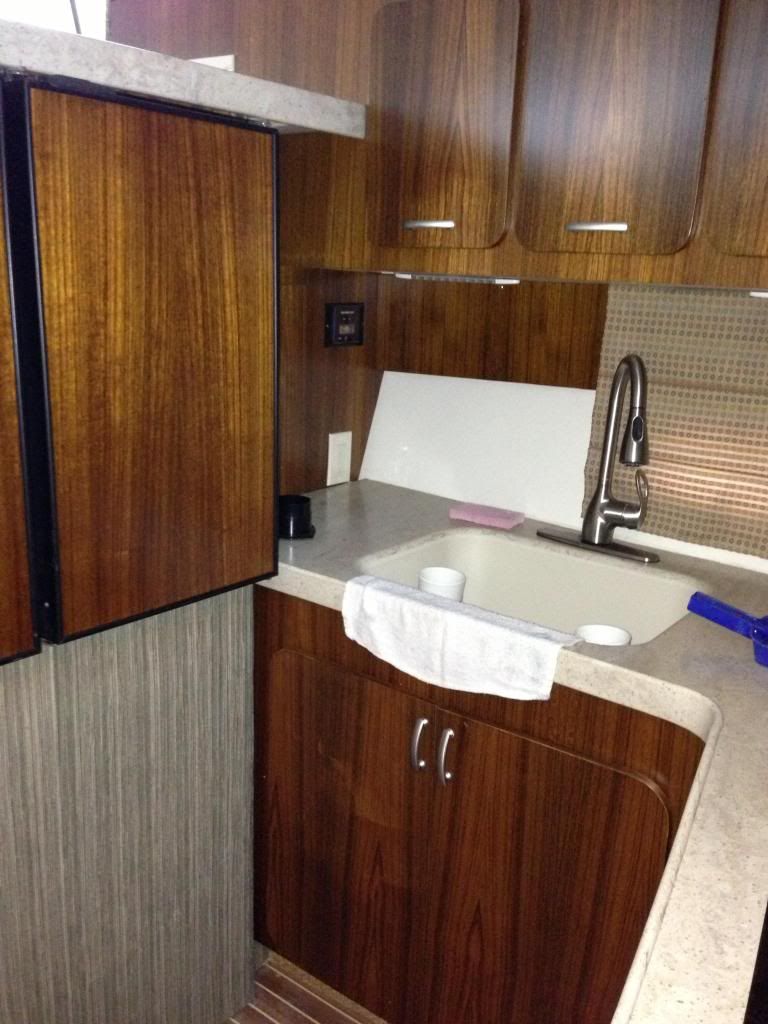
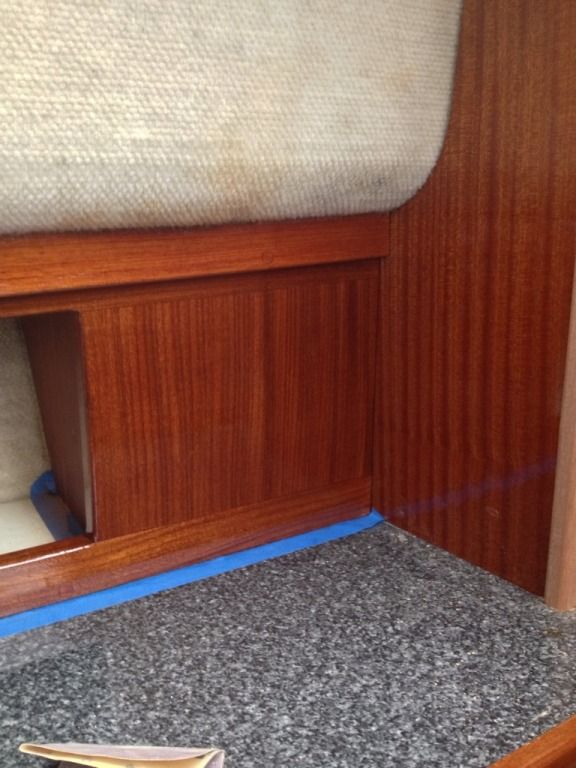
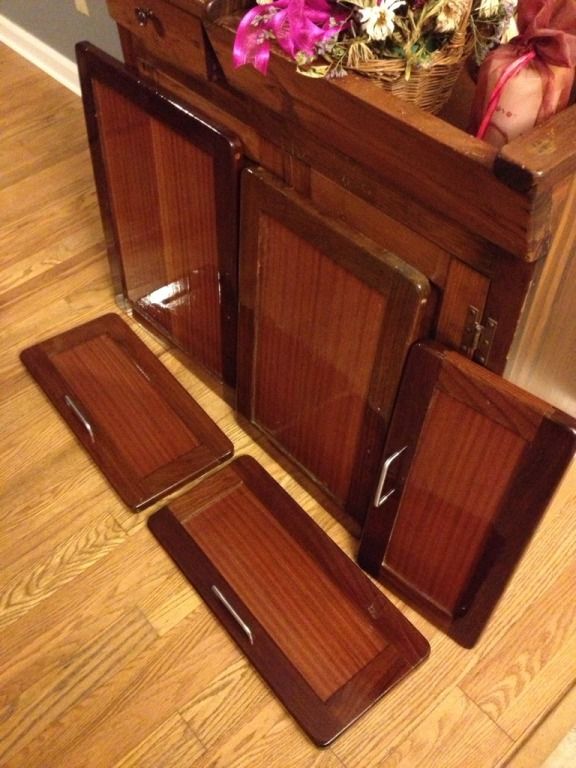
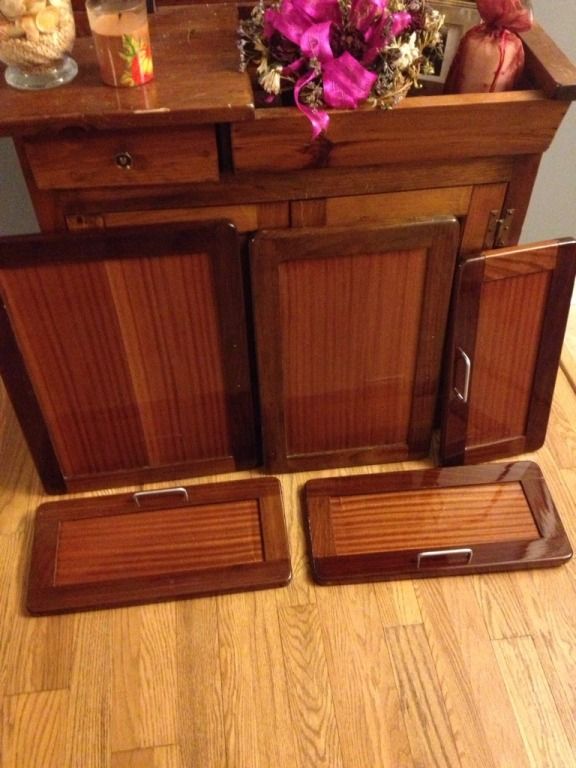
Once dry, we replaced the countertop with corian, took every door and drawer to the house, replaced the cooktop and refrig. The new refrigerator was slightly larger the original so I had to enlarge the opening and build a frame inside the opening to support the new refrig, still allowing access to the port engine coolant tank. The doors and drawers were cleaned, sanded and covered in teak veneer. The galley cabinet faces were also covered in teak. The project is nearly complete. I still need to install a corian door in the back wall and install teak trim around the top of the cabinets all the way across the dash.
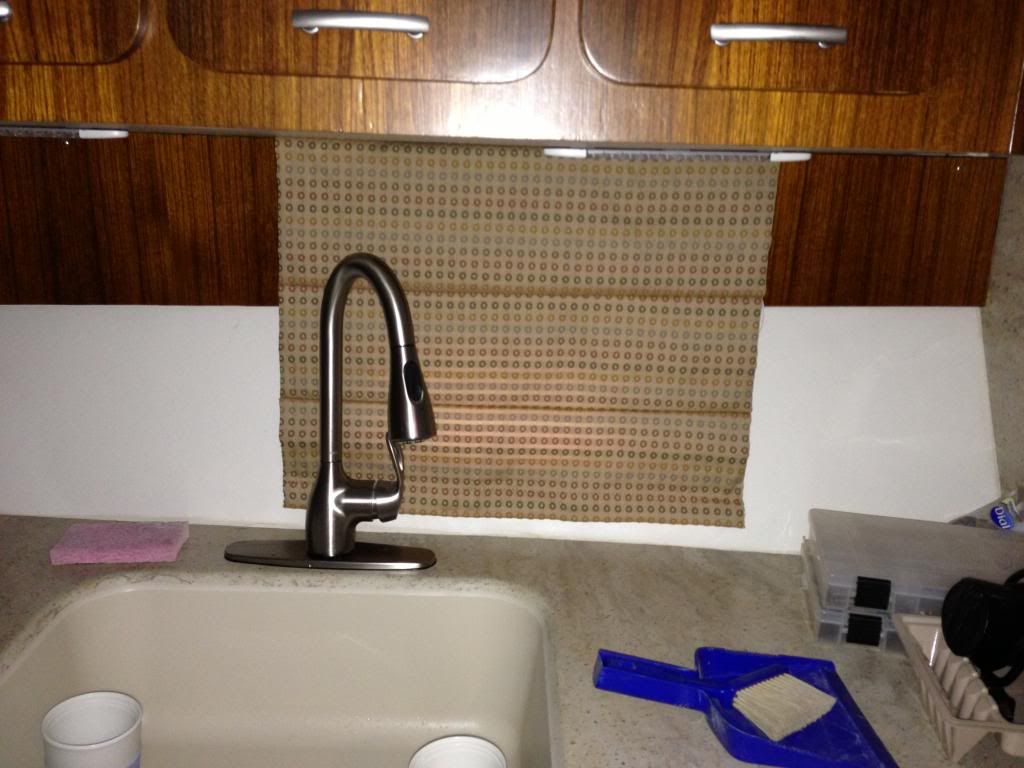
Here are a few progress pics:
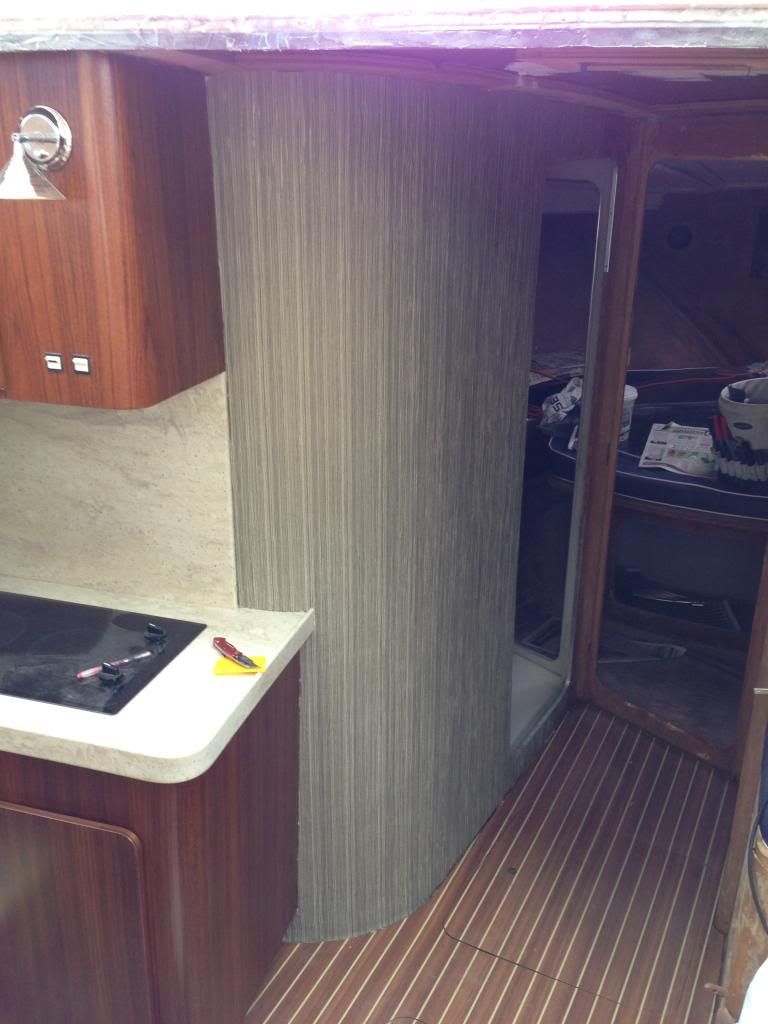
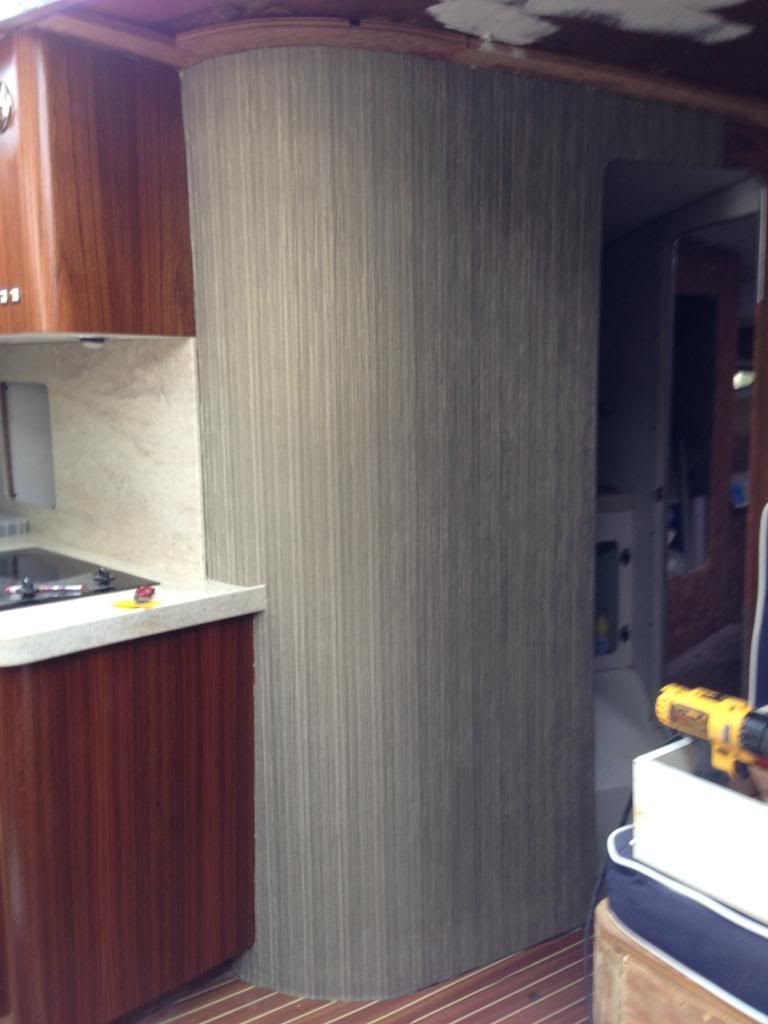
Here the wall foam backed vinyl is up, but the valence board hasn't been installed yet. I made the valence board out of 1/4 inch marine plywood, which accepts teak veneer well. I highly suggest applying a few coats of epoxy of vinyl resin to the entire surface to seal the plywood.
Here is the valence board:
And the refrigerator
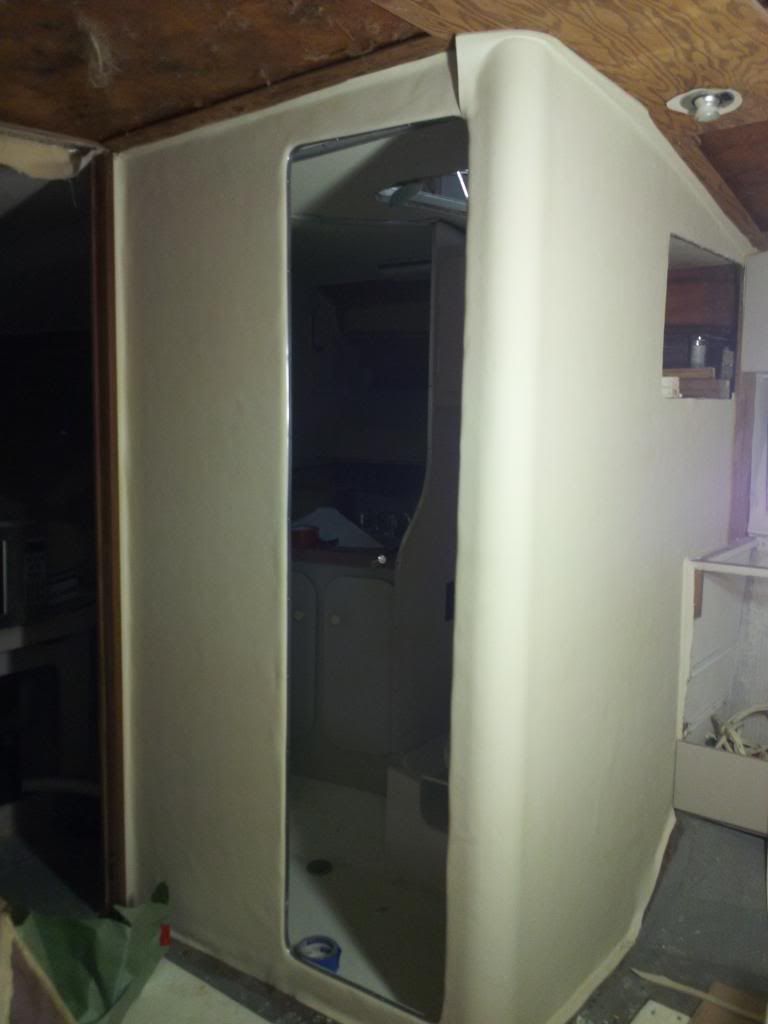
Finally, we applied vinyl wall covering to the passageway wall. Notice the headliner is gone. Also, notice how rough the stateroom looks in these pics. We'll fix that up in another post!
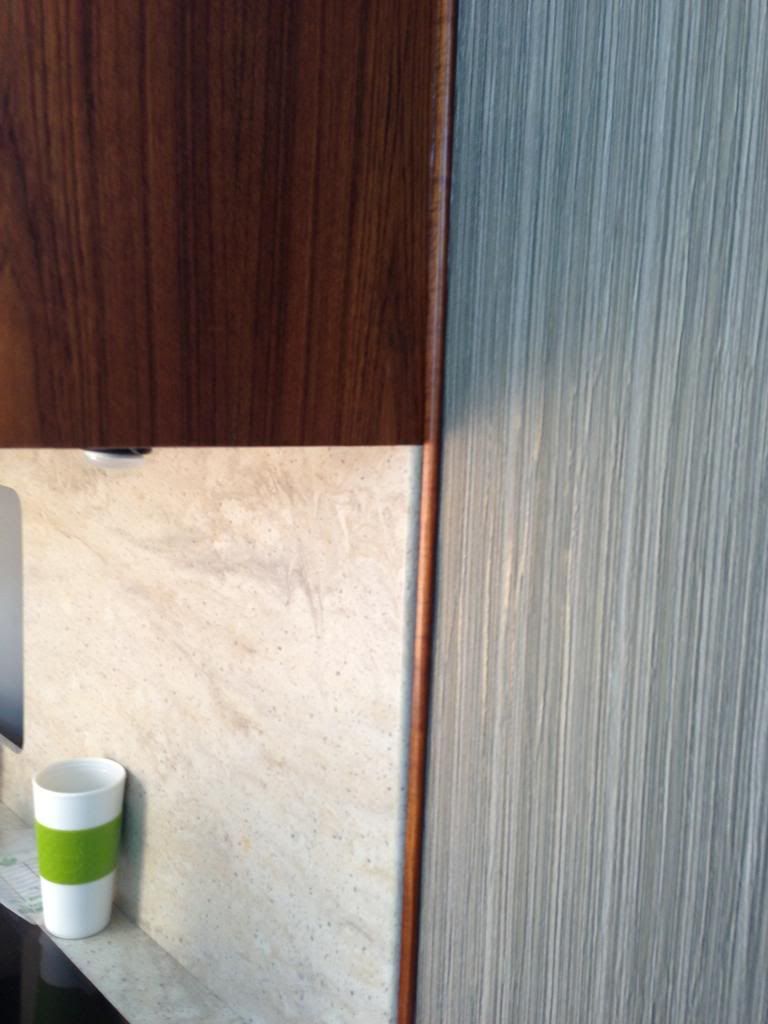
I wasn't happy with the vinyl to corian joint, so I installed a piece of 1/4 round which I ripped from a teak batten I found in the garage. Looks okay.
Final touch by the admiral was a small roman shade over the port light...installed last night.
More later....
Re: 11M Interior Overhaul - Part II
Posted: Thu Jul 25, 2013 3:37 pm
by gettaway
Bluebelle
Your boat looks awesome ! very nice work
Re: 11M Interior Overhaul - Part II
Posted: Thu Jul 25, 2013 8:37 pm
by 297Elegante
Beautiful work!! Very classy.
Re: 11M Interior Overhaul - Part II
Posted: Sat Jul 27, 2013 8:50 am
by Scorpion07
First class work - very nice!!!
I've been looking forward to your progress.
Keep em comin.
Re: 11M Interior Overhaul - Part II
Posted: Sat Jul 27, 2013 8:56 am
by larryeddington
Wonderful job, did you use plasteak on the floor?
Re: 11M Interior Overhaul - Part II
Posted: Sat Jul 27, 2013 10:51 am
by P-Dogg
Nice work! It warms my heart to see someone taking such good care of their boat. I guess that in FL the Admiral is in long sleeves to shield against UV, not cold? I was thinking about ditching the factory fluorescent lighting and going with LED strip lights. Please report back how they work out for you once you fire them up.
Re: 11M Interior Overhaul - Part II
Posted: Sun Jul 28, 2013 9:32 pm
by yorklyn
Bluebelle, everything looks great. she looks like a new boat! I am getting really close to putting back the interior in my 10 meter. Do you mind me asking what thickness veneer did you use and where did you get it? How did you go about applying it over the old formica cabinets as far as prep? I really wanted to update the look of my galley and had hoped to do something very similar to what you have done. I have not had much luck finding good teak veneer. I would really appreciate any info or tips that you could give me.
Thanks
Todd
Re: 11M Interior Overhaul - Part II
Posted: Mon Jul 29, 2013 1:02 pm
by BlueBelle
The flooring is not Plasteak. It is MarineLam.
Re: 11M Interior Overhaul - Part II
Posted: Mon Jul 29, 2013 1:25 pm
by BlueBelle
All teak veneer shown is 10mil paper backed veneer. I have some wood backed veneer to be applied to the doors for the stateroom and head, and the only reason I'm using the wood backed veneer is because I inadvertently ordered it and cannot return it. Wood backed veneer is tougher to work with, but more durable. It also requires a router to trim all edges, whereas paper backed veneer trims easily with a SHARP razor knife.
For installation on galley cabinets I have a few suggestions. First, watch youtube videos on kitchen cabinet refacing. Here you will get an idea of how to install...and deal with vertical seams. Do not install veneer (with a vertical grain) such that you need to make horizontal seams...you will not like the results. Vertical seams along the grain are entirely transparent if done carefully. Next, decide what type of teak you want...quarter sawn, etc. I purchased all of my teak from Seafarer Marine in Ft. Lauderdale. Online sources are available. Get enough teak veneer from the same lot for your project. Also order spray-grade contact cement. You will use a lot. I've been through 4 gallons so far.
Prepping cabinet faces and doors is not difficult. First, inspect very square inch and every seam to make sure the existing laminate is soundly secured. Repair as necessary. Then clean every surface with acetone. Rough sand the existing cabinets/doors with 80-120 grit sandpaper to rough-up the surface. Clean again with acetone. Start with a door on a workbench before attempting an installed cabinet face. Trim your teal veneer so that it overlaps every side of the door by an inch or so. Then brush any dust off of the back (paper side) of the veneer. Contact cement is applied to every square inch of the paper side of the veneer and the cabinet/door. I use disposable foam brushes. Apply thick, but consistent. Let dry for a few minutes...and apply...carefully. Remember, you only have one chance with contact cement...once it touches anywhere you are committed. I made two spreader boards with semi-sharp but rounded edges to apply pressure to the veneer and get out any air. Again, try youtube for videos on apply veneer or laminates. For edegs of doors you have two options...pre-cut egde stripping or cut your own strips from your teak veneer. I used pre-cut edge strips applies with a hot craft iron...it works great.
If you have any questions let me know.
Re: 11M Interior Overhaul - Part II
Posted: Mon Jul 29, 2013 1:48 pm
by 297Elegante
Great write up!
I have used PSA backed veneer (adhesive already on the paper backing) and now raw veneer. The paper back stuff is a million times easier to work with!
Keep in mind, this veneer is real teak and will take stain and finish as such! It is far from just some cheapo veneer stuck on. I have been going with ribbon striped (quarter sewn) sapele in my boat and love the look!
Re: 11M Interior Overhaul - Part II
Posted: Mon Jul 29, 2013 2:25 pm
by BlueBelle
Let's see some pics of the sapele. I'll bet it looks sharp. I didn't discuss finishing because everyone has their preferences. As for me, I sanded and applied 5-6 coats of gloss varnish for uv protection and finished with a coat of Epiphanes Rubbed Effect Varnish. We didn't want the glare that gloss creates.
Re: 11M Interior Overhaul - Part II
Posted: Mon Jul 29, 2013 4:20 pm
by 297Elegante
She's not a Trojan but I've been working on it for a season and a half.
Original teak on the left, sapele on the right.
Teak stile/rail doors with sapele centers.
Can see the intent of doing the work in this photo.
Re: 11M Interior Overhaul - Part II
Posted: Mon Jul 29, 2013 7:05 pm
by BlueBelle
That looks great. Nice work!
Re: 11M Interior Overhaul - Part II
Posted: Tue Jul 30, 2013 6:34 pm
by yorklyn
Thanks for the info, I really appreciate it! I am going to make new doors for all of my cabinets since my doors were originally covered in fabric then recovered in vinyl. I just started on some of the vinyl wallcovering , turned out pretty good so far. I like your wallpaper. I was going to try to cover one of my walls with wallpaper but I'm afraid the fiberglass tabbing that attaches the wall to the hull will show through the paper. Your work has really inspired me! I have been searching boat shows and the web trying find a direction to go with no luck, your pictures are just what I've been looking for Thanks!
Re: 11M Interior Overhaul - Part II
Posted: Sat Aug 03, 2013 7:50 am
by RWS
I love what you have done with your 11.
I am getting ready to do my own interior and have significant curved wall surfaces that are currently covered in fabric.
I have seen (I think on this forum) one other 10 Meter Express done similarly but I have no real idea what I may be in for in terms of time, costs and problems.
Your insight is appreciated.
RWS


