Page 2 of 18

Posted: Mon Jul 18, 2011 8:11 am
by crazyyankee
Looks like you got the sister boat to mine. Same color stripes, which I had never seen before. Congrats on the new to you ride. You'll love her.

Posted: Mon Jul 18, 2011 8:24 am
by RWS
Here are three shots of my engine room with the 454's removed, just prior to installation of the new engines.

You can see the exhaust opening into the Shoell side exhaust mufflers. These are basically large chambers built into the hull liner.

Perhaps there was a seawater intrusion issue that could not be found and the owner or ignorant yard guy plugged all of the openings.

I found a large sampling of rust flakes to vacuum out in the bottom of mine from 20 years of risers and elbows being in salt water.

I believe you will find that the openings in the engine room are above the water line (you better confirm this)

Hope these photos help.

RWS

Image

Image

Image

Posted: Mon Jul 18, 2011 8:34 am
by crazyyankee
Holy shnikes! Thats freakin clean. Makes me feel ashamed.....and i will be headed down to scrub mine this week.

Posted: Mon Jul 18, 2011 8:38 am
by pk
RWS: What kind of paint do you use down there? 2-component epoxy or...?

Posted: Mon Jul 18, 2011 10:55 am
by RWS
I used BILGEKOTE made by Interlux
=========================================
Bilgekote is a fast drying, durable coating formulated for application to bilge areas. Helps prevent absorption of oil, gasoline or sludge into wood and fiberglass.

Bilgekote protects bilges, lockers and bulkheads against moisture penetration and wear and tear. Bilgekote will resist oil and fuel spillage and cleans easily.

Main features are:

High opacity for excellent covering power
Hard wearing
Available in gray and white, in quarts and gallons

=======================================

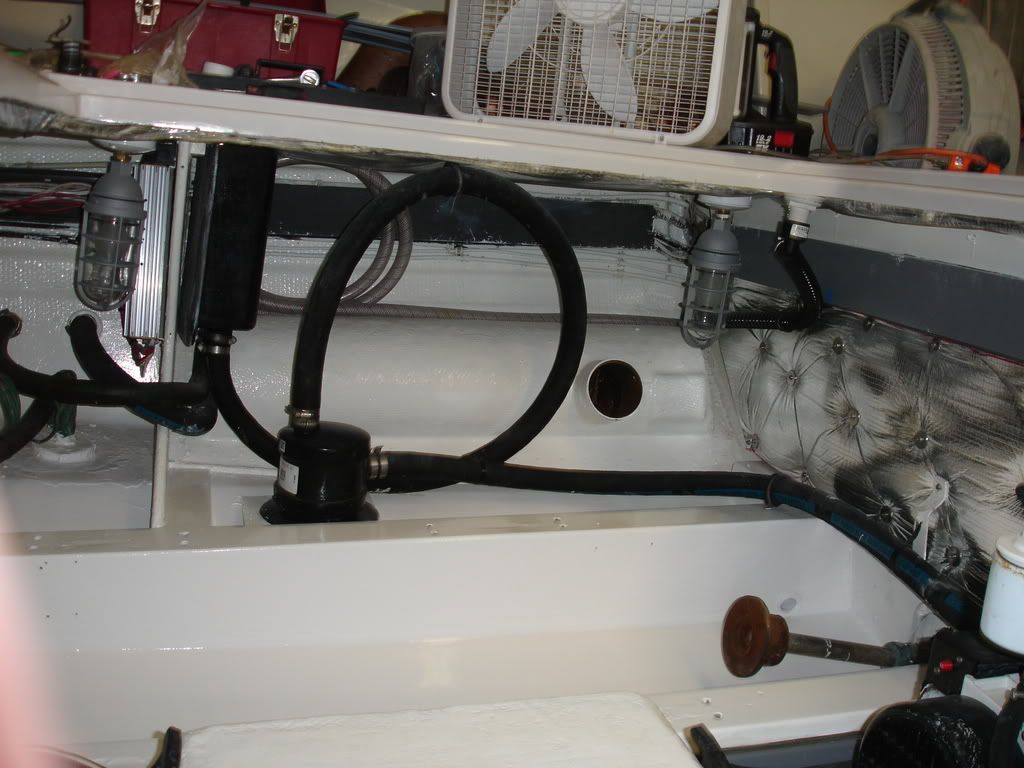
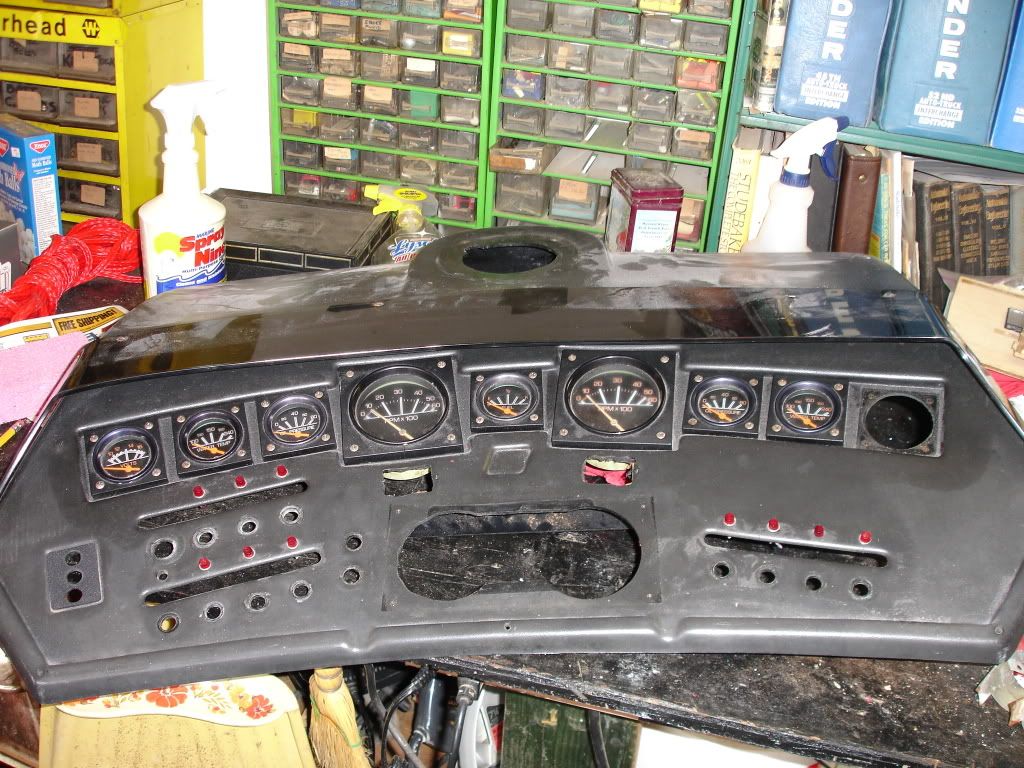
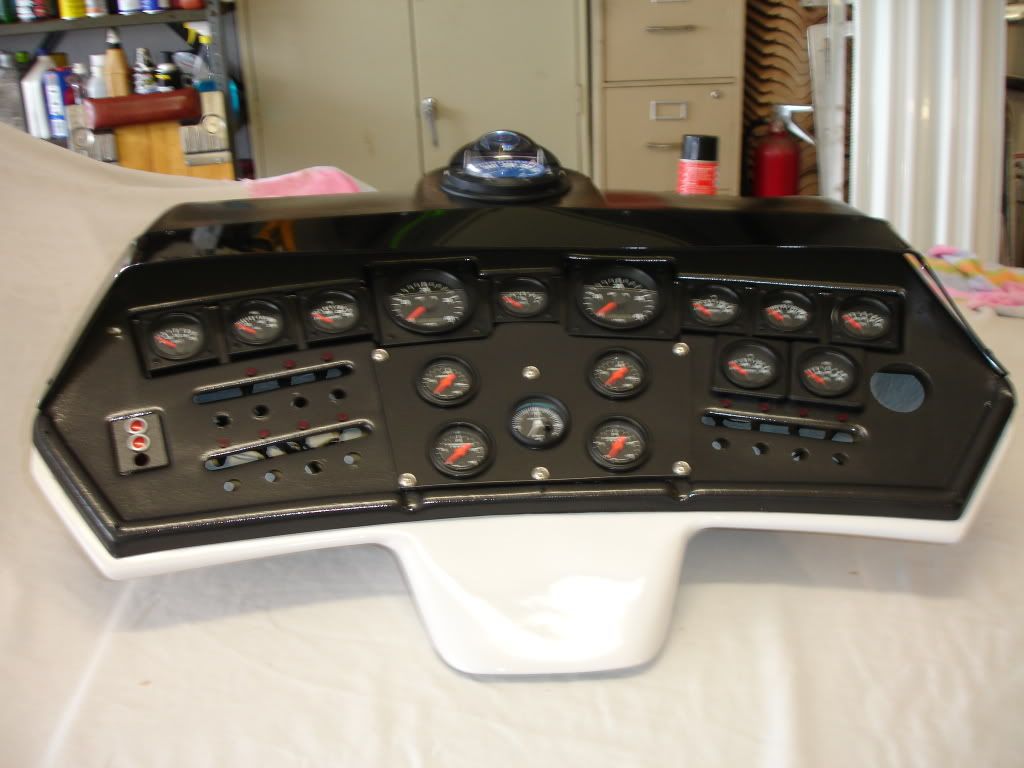
While it looks nice here, you should have seen it when we started.


Image


Image


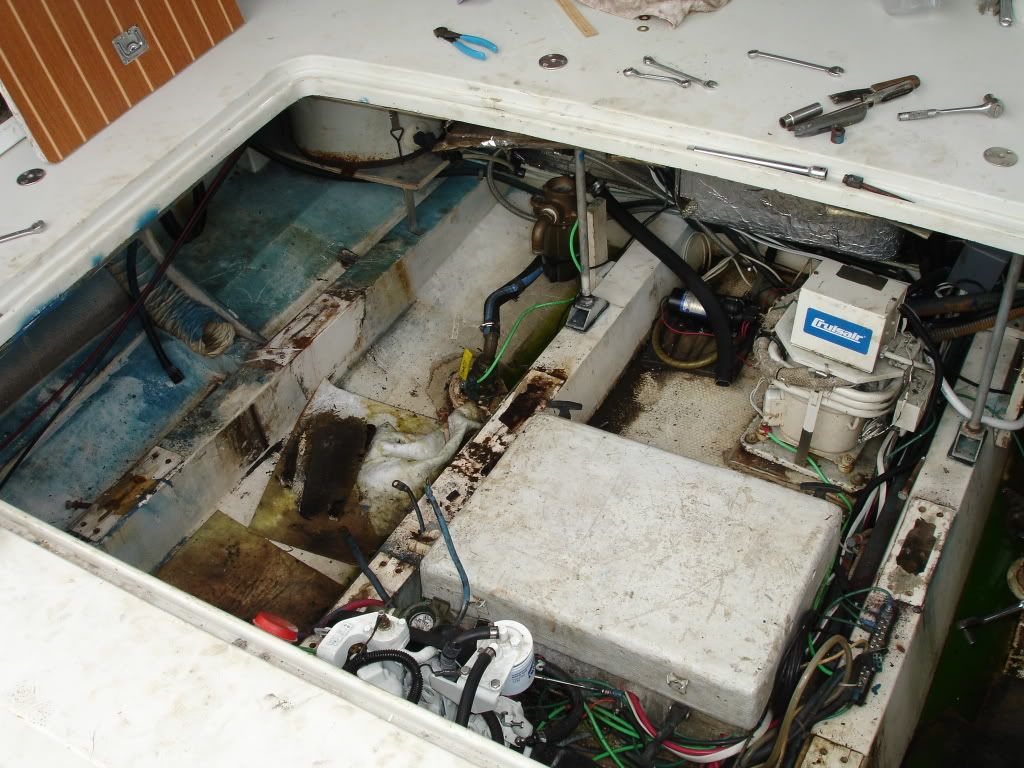
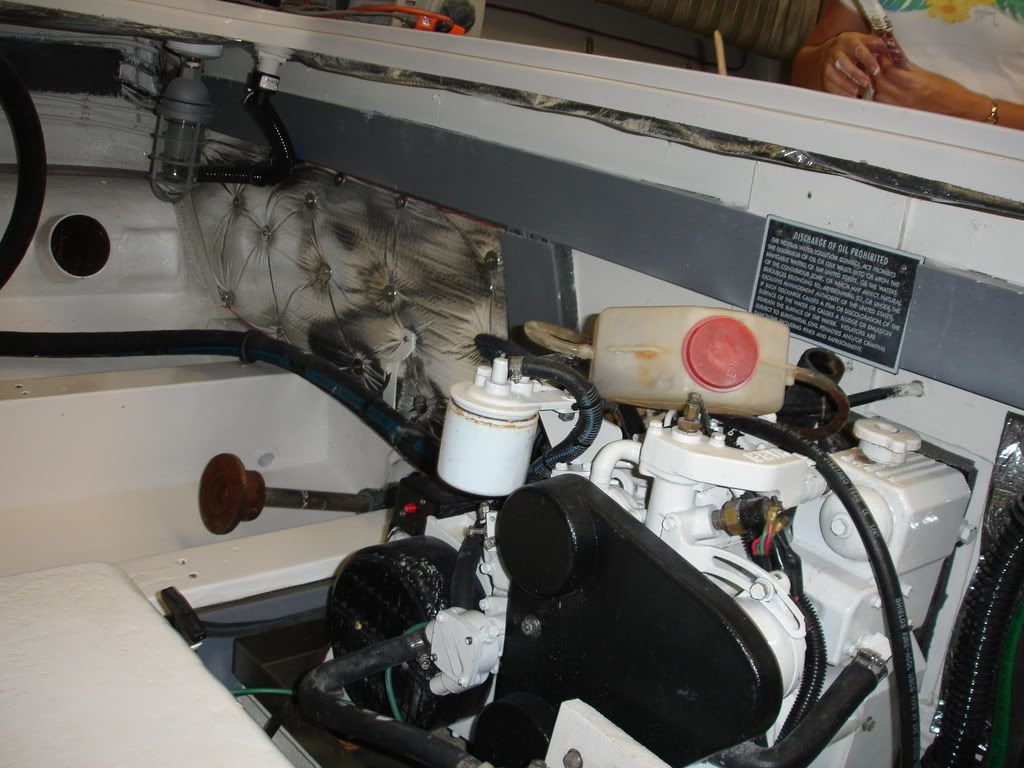
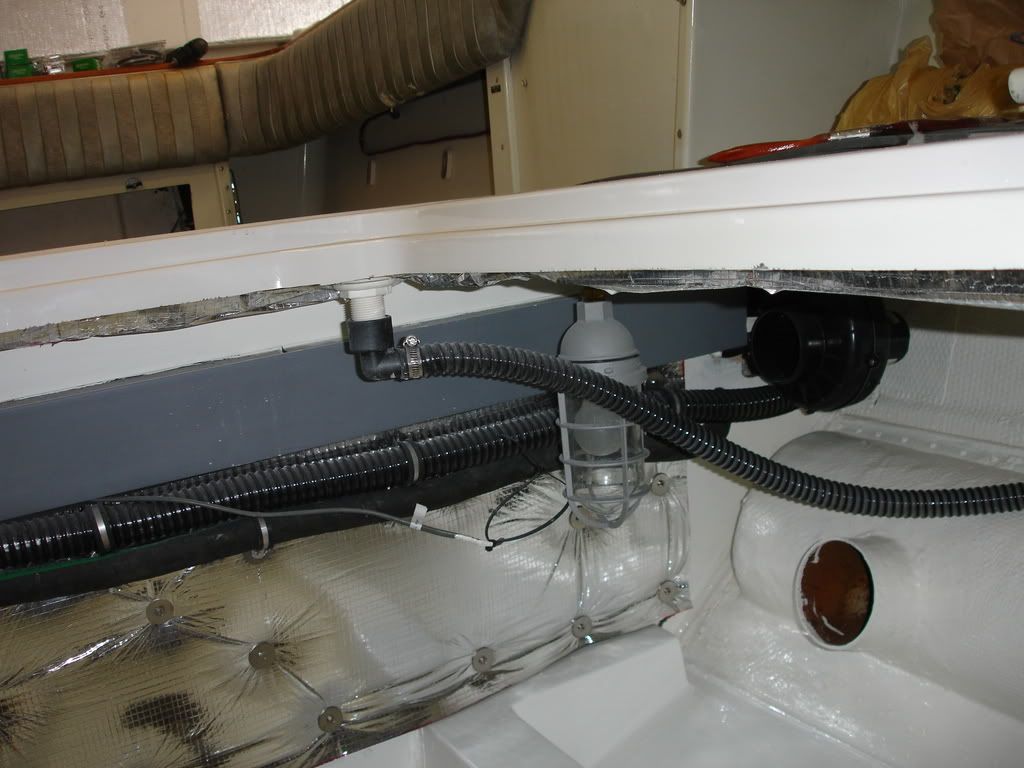
By the way, looking at these pictures now makes me realize just how valuable the relocating of the AC compressor & heat exchanger , fresh water pump and plumbing and the sanitation system pumps and plumbing was.

I now have so much more room to get around the engines, I mean all the way around. Of course the Yanmars are longer & taller but not as wide as the 454's.

This project may not make too much financial sense today, however givern what we have in her as compared to what it would cost to replace her with one of equal reliability - new or close to new with diesels, well then it might make a little more sense today.

Just a little.

Can't really put a price on safety or on this degree of reliability, or the fact that all systems work perfectly, but I'm just like BobCT, I could not afford to do any of this if I had to pay someone else to do it.

With exception to the A/C unit, the new canvas and the new shafts/struts/motor mounts/shaft seals and setting the Yanmar engines in there, everything else done to this boat was by me personally.

I really do know every square inch of this boat, from rebuilding the head to installing the windlass to replacing the backing plates in the swim platform.

With the help of some good friends in 2003, I even removed the entire bow rail, stanchions and all and rebedded the bases with new fasteners. Total cost was limited to 2 full days of labor, 5200 tubes and new fasteners along with beer and some awesome huge fresh shrimp that we cooked up cajun style.

Imagine what THAT would have cost at a boatyard !

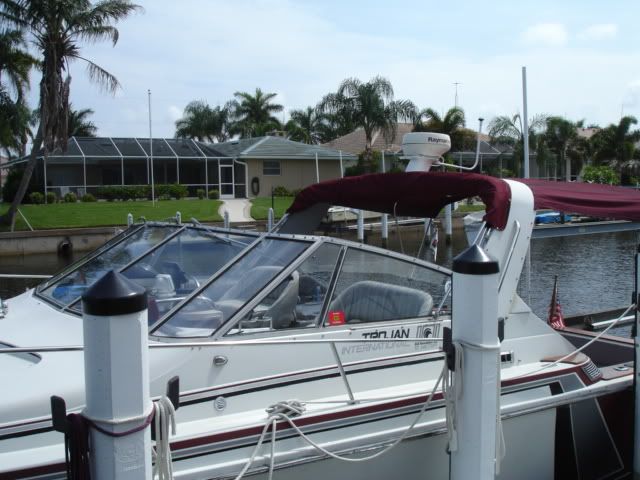
These Internationals can be AWESOME boats, they have engineering, design and style that keeps them contemporary even 30 years later.

You can make it anything you want if you can cover the costs of materials, a bit of rudimentary skill, determination and most of all - time.

RWS

RWS

Posted: Mon Jul 18, 2011 12:57 pm
by Natchamp
Nice work RWS, keeps me motivated. Do you have any exterior pics of your Trojan? I'm interested in what you did with your top but its hard to see it via your avitar.


Mark

Posted: Mon Jul 18, 2011 12:59 pm
by aaronbocknek
Natchamp wrote:Nice work RWS, keeps me motivated. Do you have any exterior pics of your Trojan? I'm interested in what you did with your top but its hard to see it via your avitar.


Mark
hey mark, where in so cal are you located and did the home owners association have a hissy fit when the boat arrived?

aaron in baltimore

Posted: Mon Jul 18, 2011 3:02 pm
by Natchamp
Aaron,

No HOA, no hissy fits !

Posted: Mon Jul 18, 2011 3:11 pm
by RWS
Natchamp wrote:Nice work RWS, keeps me motivated. Do you have any exterior pics of your Trojan? I'm interested in what you did with your top but its hard to see it via your avitar.


Mark
Image

Image

Image

Image

Image

Image

Image

Image

Image

Posted: Mon Jul 18, 2011 3:15 pm
by Natchamp
Cool, thanks RWS. I didn't realize your boat is the exact same model as mine, as far as I can tell. cheers.

Posted: Mon Jul 18, 2011 3:18 pm
by pk
Awsome!!! Hope mine will be just that fine......!

Posted: Thu Jul 21, 2011 9:02 am
by Natchamp
Update:

I started the motors for the first time! This was a milestone for the project as I bought the boat without knowing what kind of shape the motors were in (yes I knew the risks!). Even though I would love to go diesel, I'm happy to say the gasers run good!

Now I can really start the project knowing what direction I'm headed. Next is removing all the engine bolt-ons like cooling hoses, heat exchangers, etc. That will give me more room to work in the engine bay to clean, clean and clean.

For you visual people like me, here's a youtube vid.

Youtube: Crusader Starting

Posted: Thu Jul 21, 2011 10:48 am
by Natchamp
So I've been playing with photosop a little bit trying to figure out what type of color scheme I would like. I'm not that good with photoshop but these pics are actually of my boat in my driveway!

Please feel free to give me some feedback on what color scheme you like best! If you have any other ideas for stripe layout or colors, shout them out.

Image
Image
Image
Image
Image

Posted: Thu Jul 21, 2011 12:03 pm
by pk
Ithink the dark blue is the best!!

Posted: Thu Jul 21, 2011 1:14 pm
by RWS
first thing on the color choice - determine the exact color of YOUR fiberglass.

While most of the Internationals were not a bright white, but a very light shade of grey, there were some whose gel coat had a bit of a beige tint.

When we did the refit we almost changed the factory maroon over to a nice canary/chiffon/soft yellow.

While this would have been outstanding against a pure white, the factory maroon won out once we added in the gel coat color and the consideration of any existing canvas and the burgandy cabin which we have yet to upgrade.

I would suggest taking an Interlux color chart to your gelocat for a comparision.

RWS