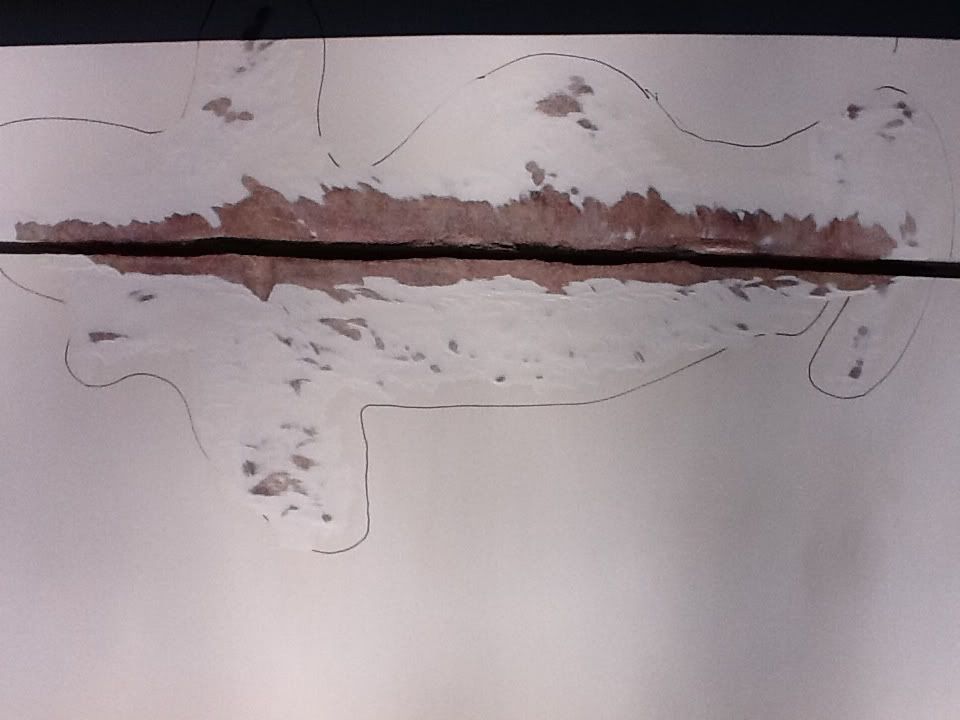
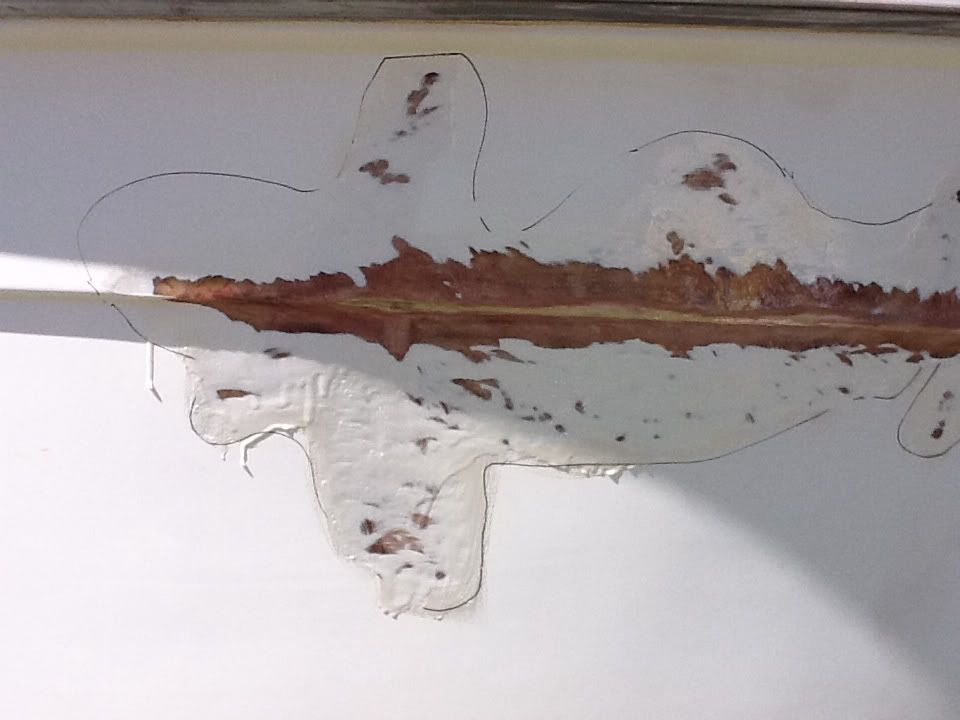
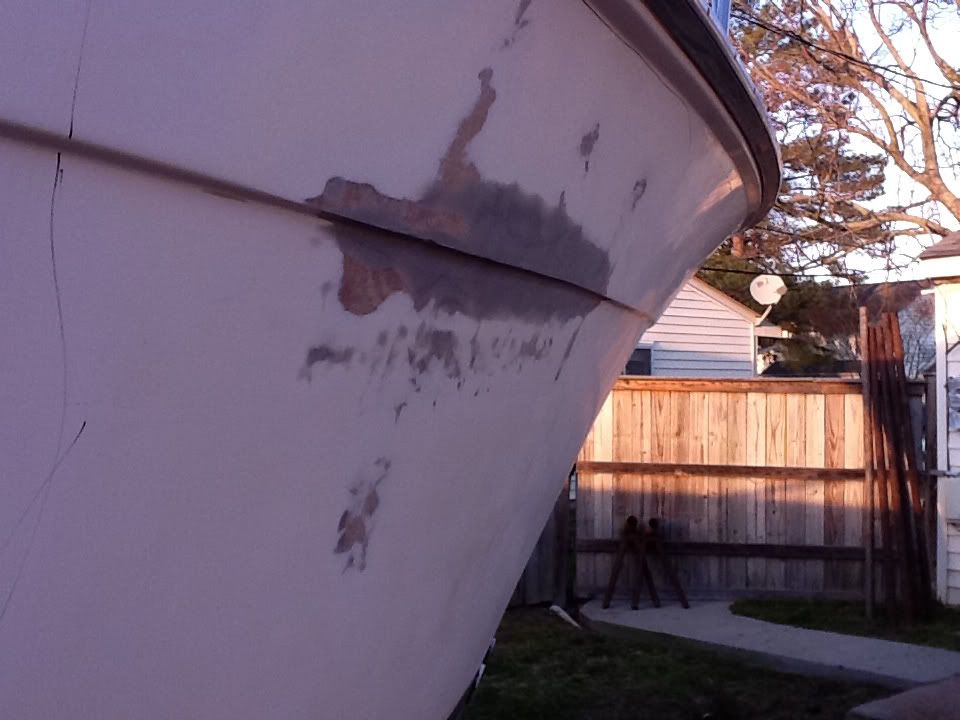
damaged fiberglass hull.

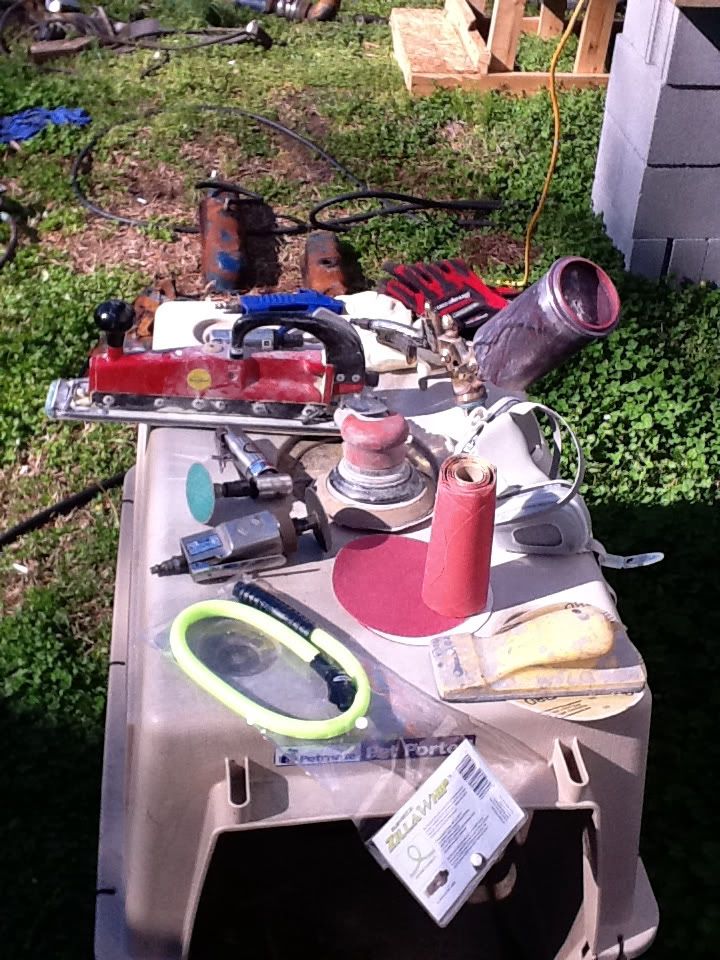
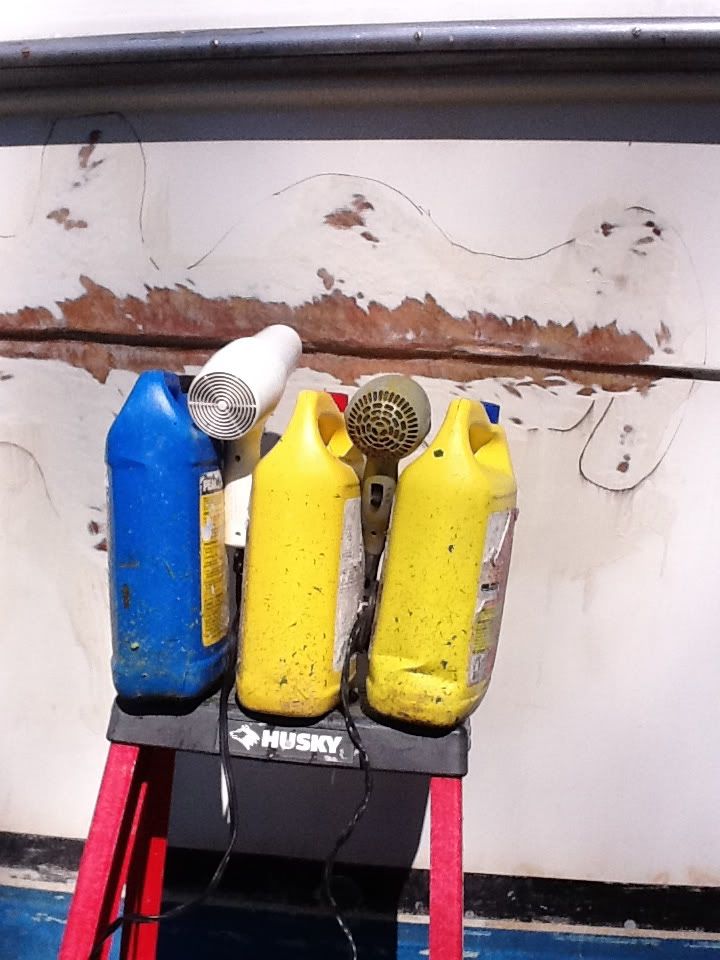
Some of the tools required
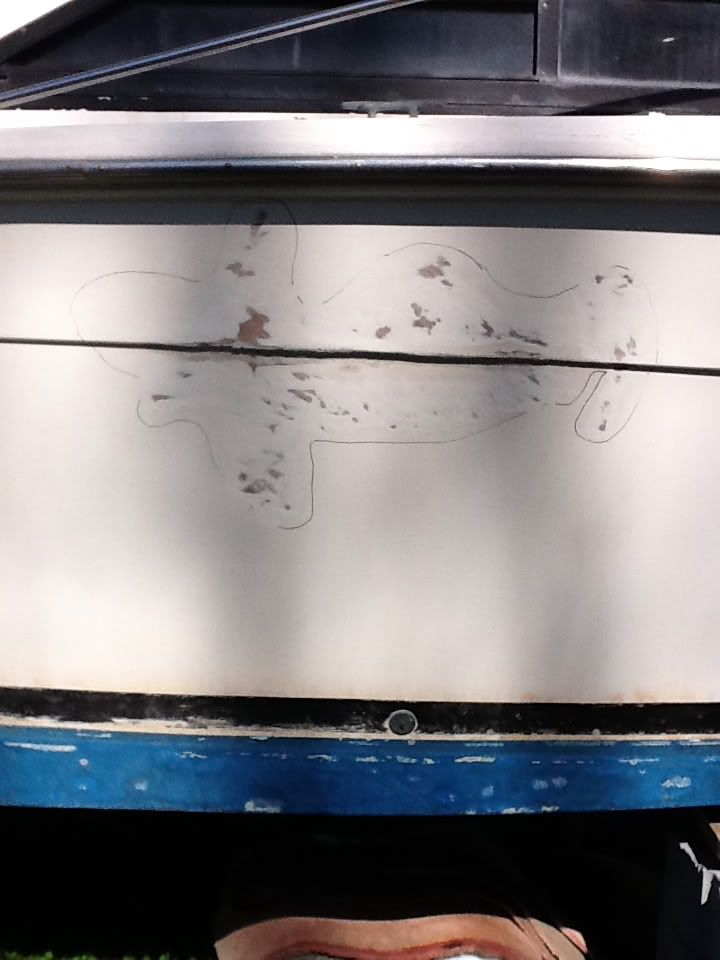
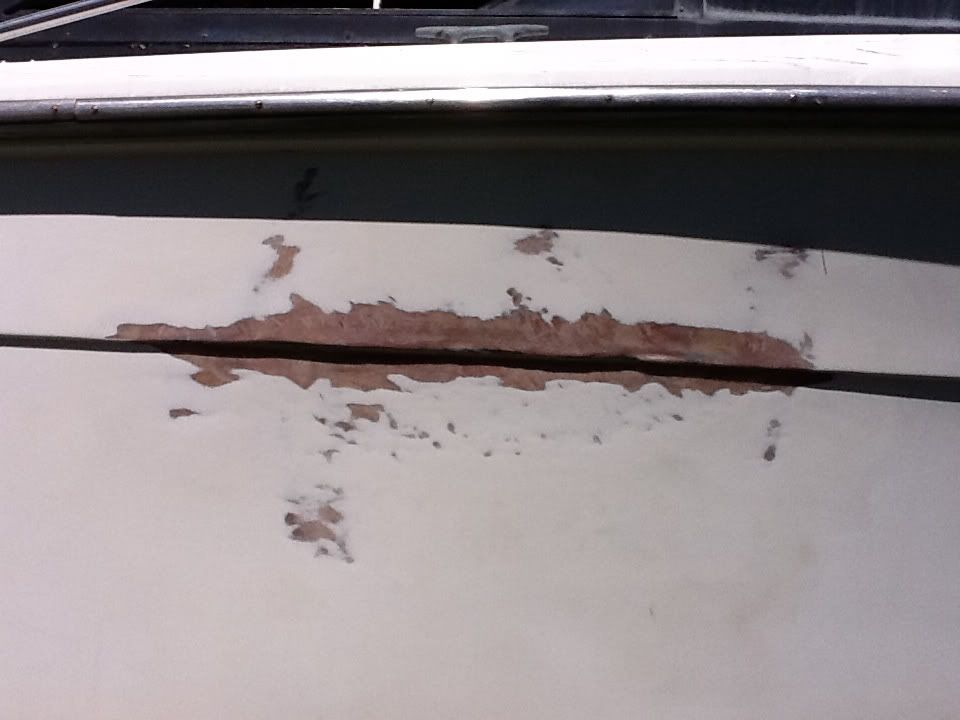
Start by grinding out all of stress cracks first as they can be hard to find as the process get more involved
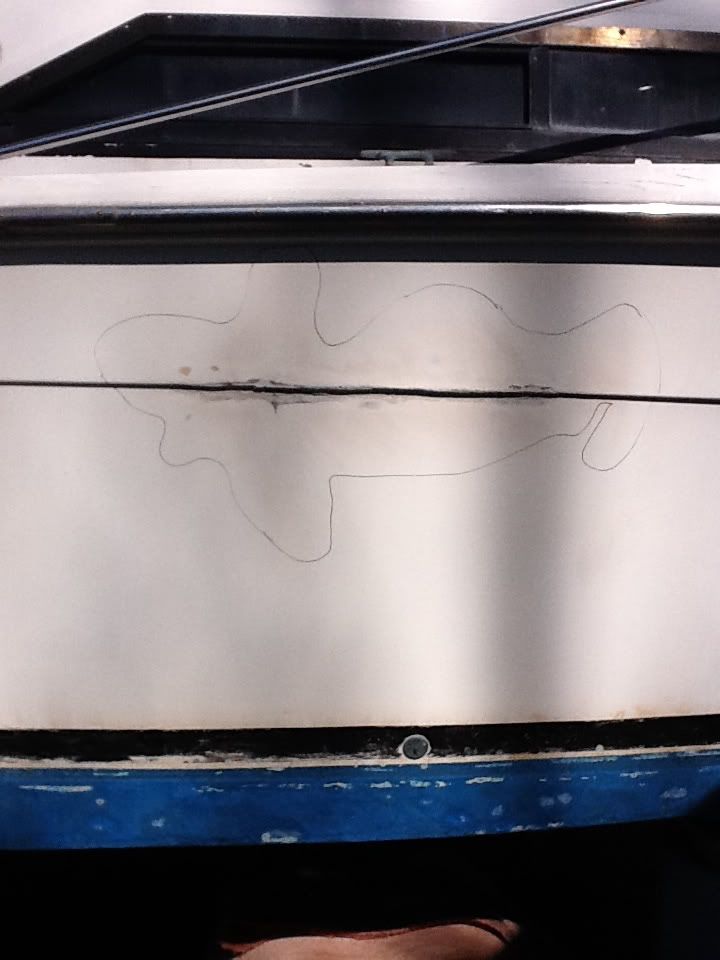
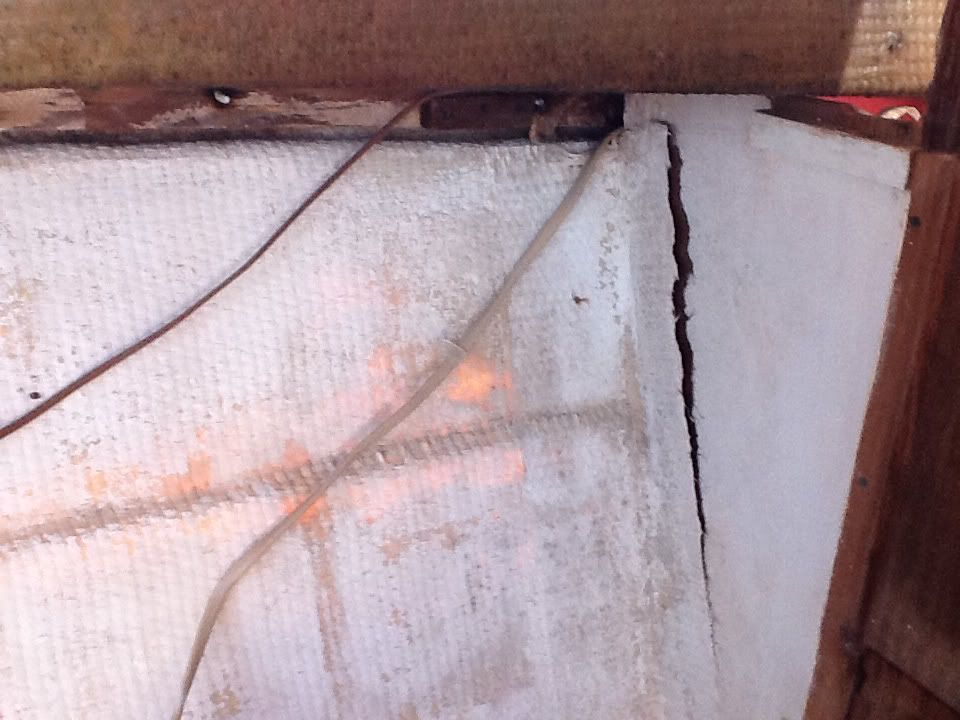
After removing the old repair, which was very poorly done. This is what's left. Next will be to repair the damage inside the boat first so your outer repair will be stronger, that is if the damage was bad enough to penetrate both side as this did.
Inside the cabin
materials

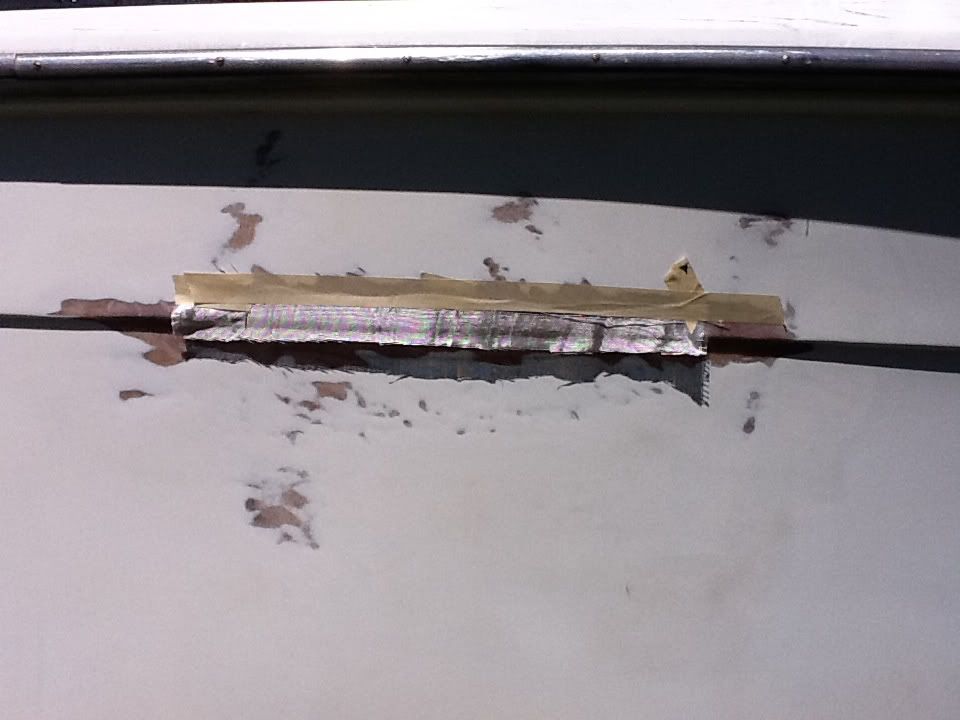
cut out peices before brushing in
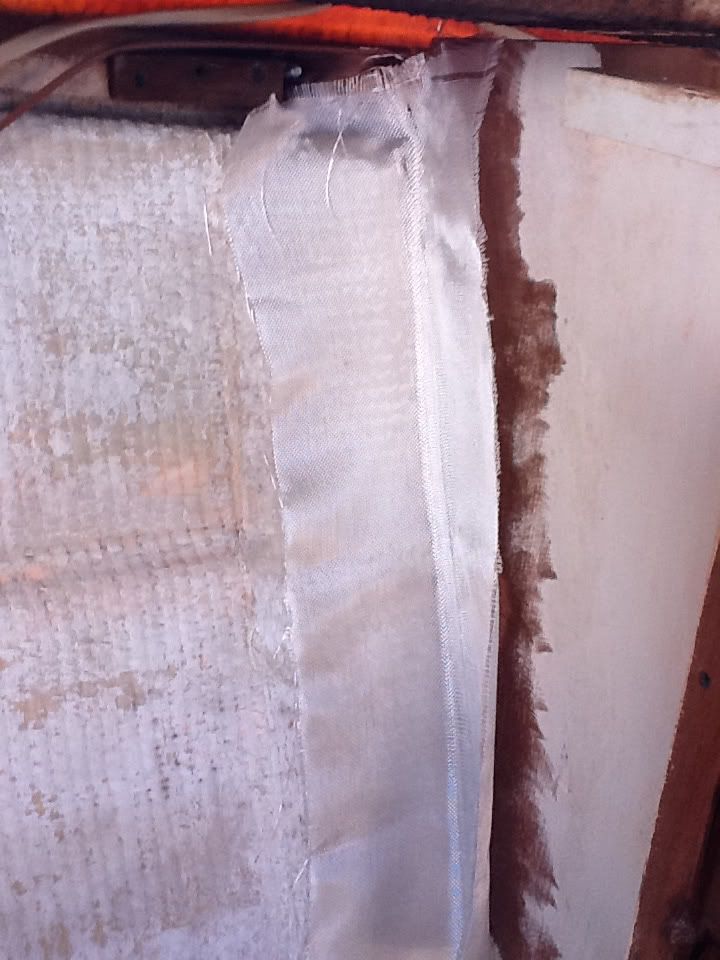
brush in , make sure that the corners are meshed in tight and allow to dry
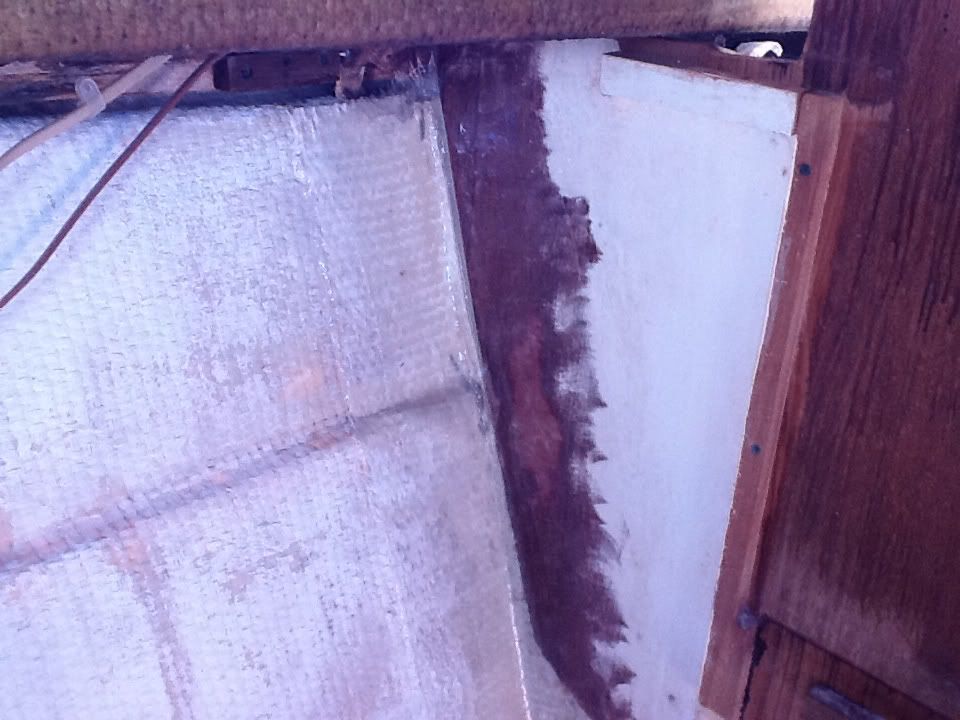
I used left over resin to fill any cracks or holes on the out side before I mesh. It adds a little back bone and uses waste resin. you have to sand this down before you make your repair though.
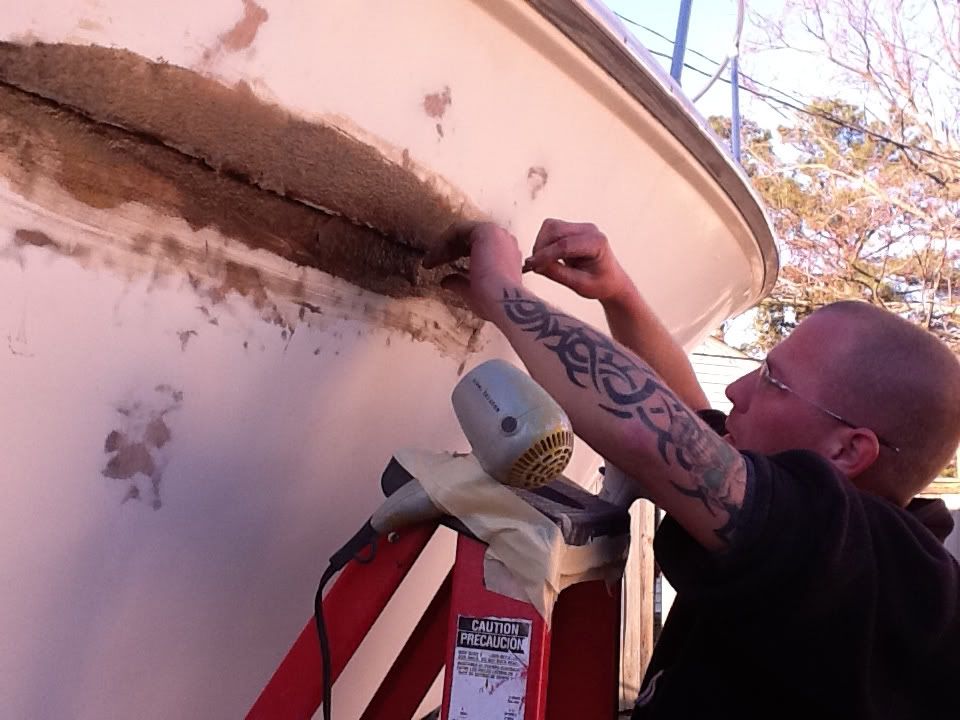
Ok temps ate under 50 here today again, this resin does not like it, so time for extreme measures

OK ready to go, we have resin all sanded down again, looks like we didnt do anythink but it was worth the wait
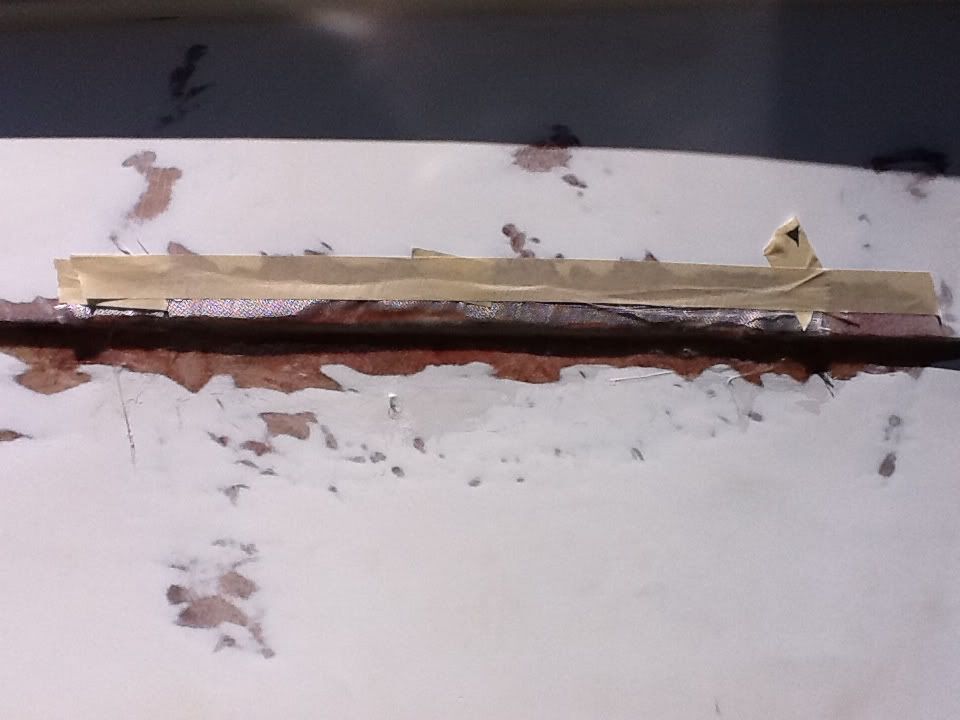
Again cut your mesh peice first, I find it easier to tape it up and start from the bottom
remove tape and finish brushing, this does not have to be pritty just make sure that your mesh is tightly sealed. it likes to move around alot so you have to brush back and forth to make sure it is in the correct place, then use a hard edge to make sure your angles are completly seated, if not when you sand this down the mesh will try to come apart.
Time to wait again, after it is dry we will sand and apply short strand fiberglass

i used long strand glass to top coat
then used an air file to get stright lines
when it warms up ill go back with a lightweight polyester filler to fill in any lower areas, pin holes etc and clean the body line up. Then she is ready to prime